Easy, Peasy FAT Wax Tutorial
September 13, 2017
Ahhhh… FAT Wax—the perfect complement to every FAT Paint project!
If you haven’t tried it yet, what are you waiting for? It’s lush, supple, durable and oh-so-easy to apply. In fact, we recently received this email from one of our FAT Paint Artisans, who had never used it before.
“This was the first time I used FAT Wax and I’m completely sold on it now. I’ve used many before, but this has to be the best and easiest to use wax out there!” — Kim, The Blue Dresser.
With that kind of rave review, again… what are you waiting for?
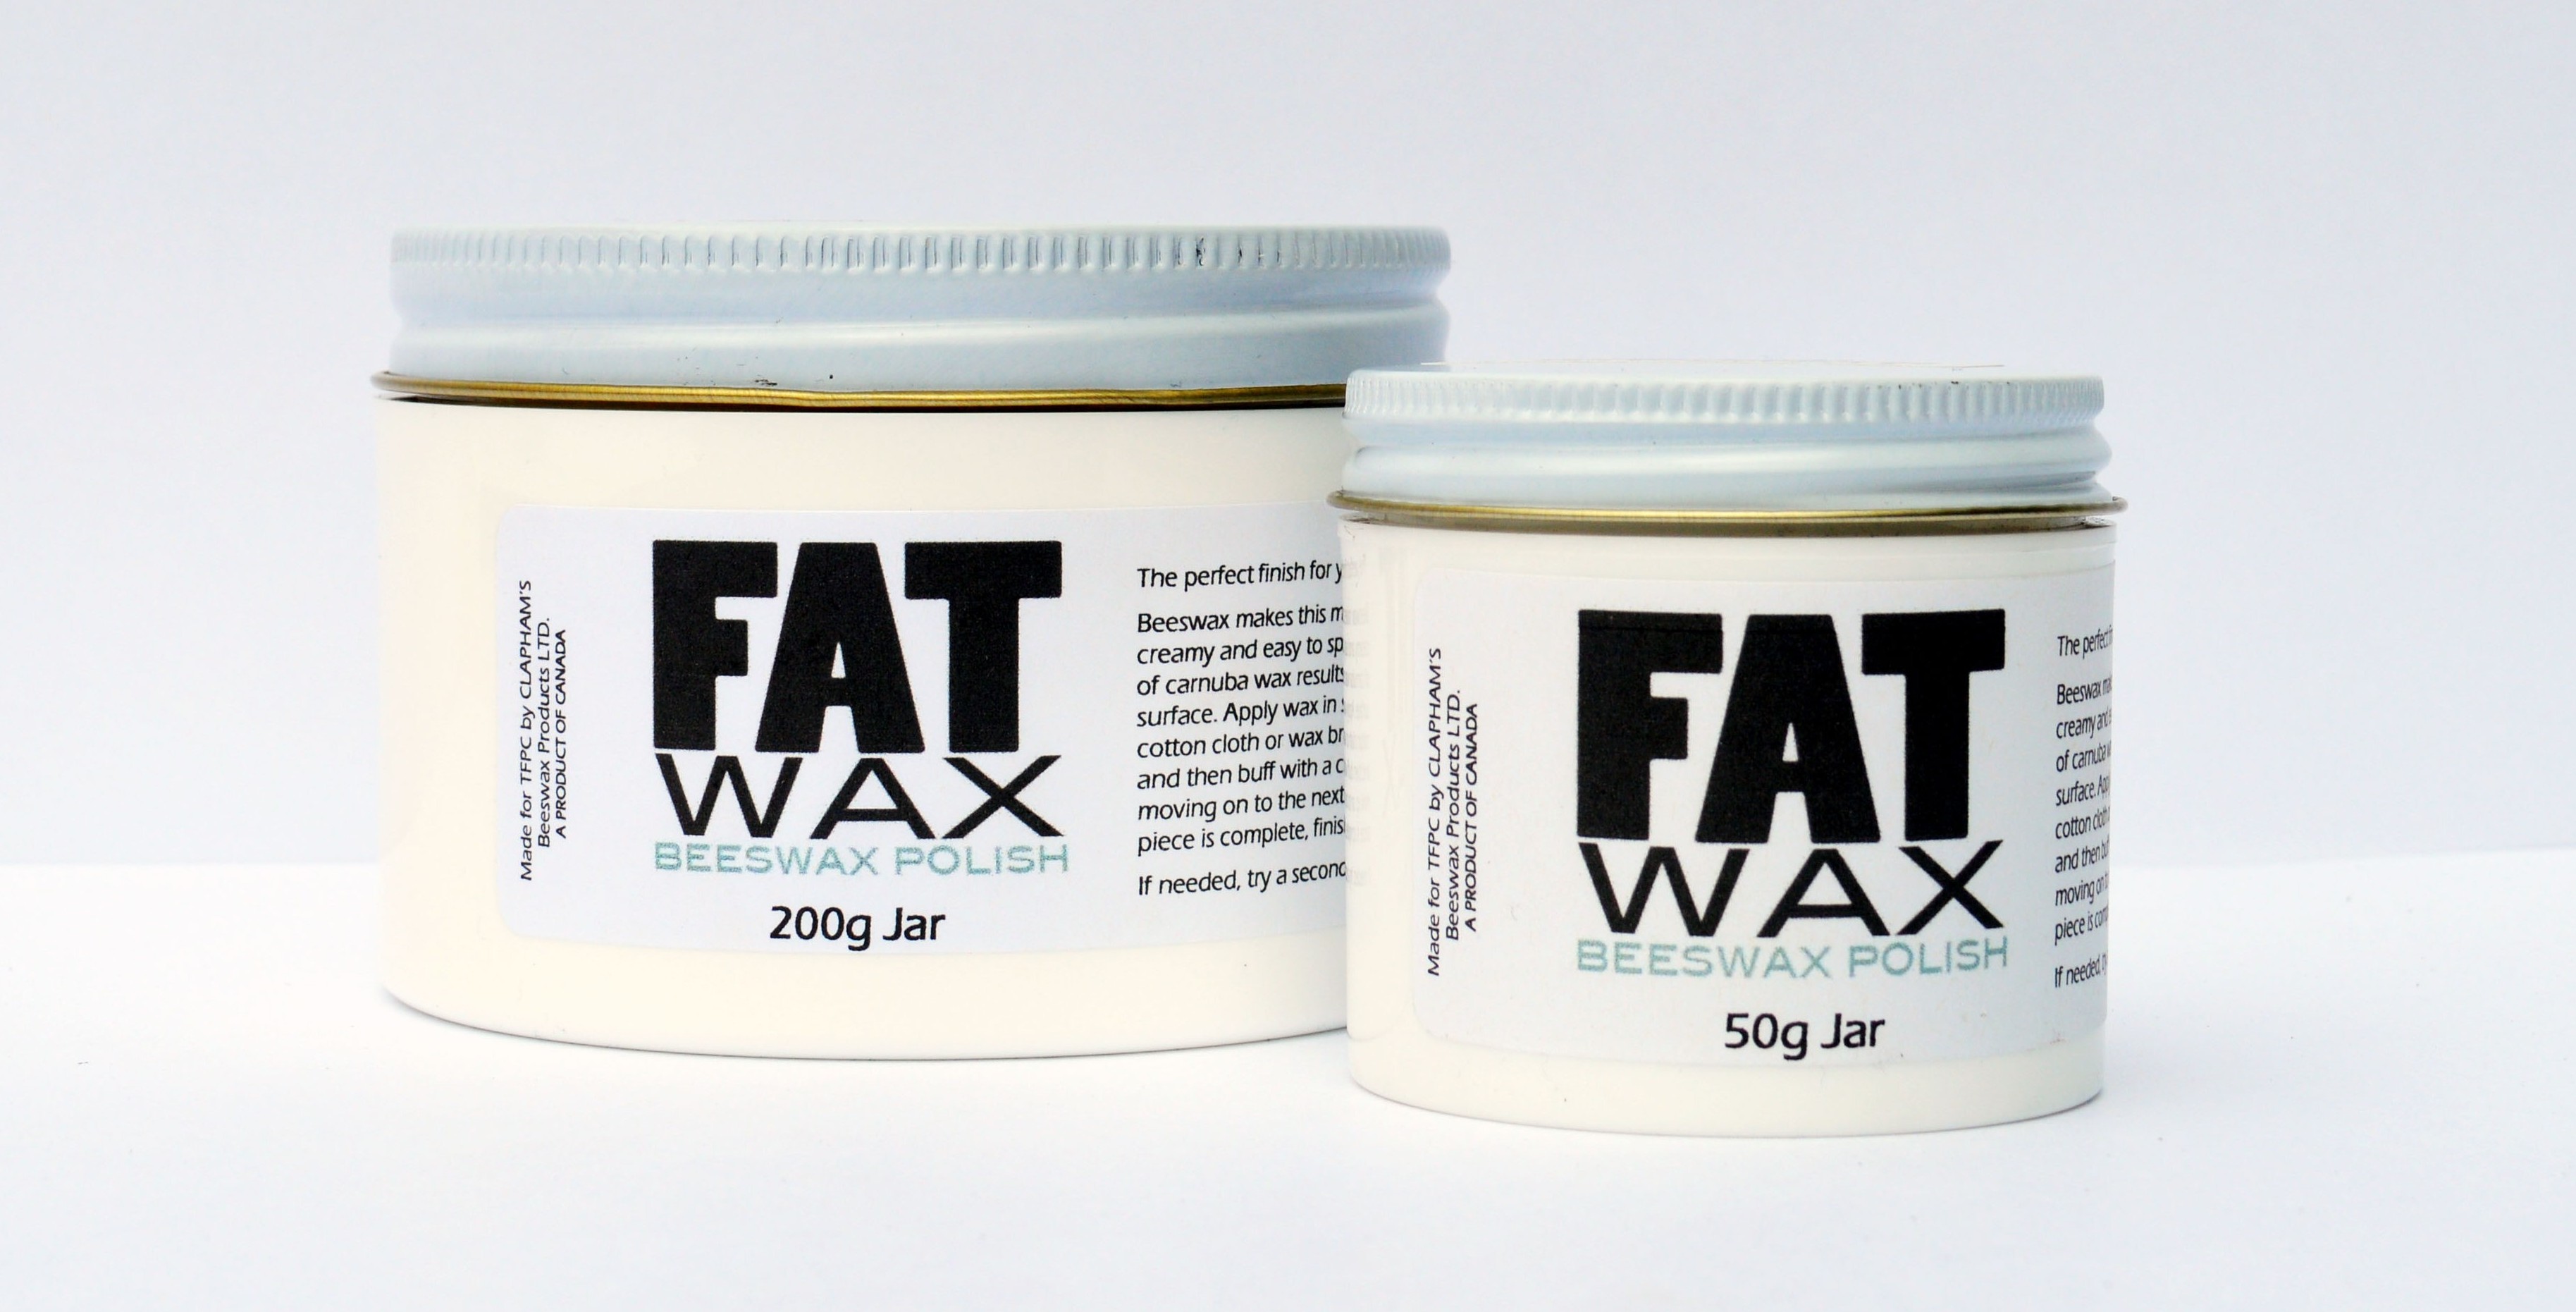
Made from beeswax and a hint of carnauba wax, FAT Wax easily absorbs into any porous surface. It properly seals your freshly FAT Paint’d piece, leaving behind a lustrous museum-quality polish with lasting durability.
FAX Wax comes in three distinct shades—Natural, Patina and White—offering artisans a wide variety of finishes. From authentic, all-natural looks to antiqued, aged or sea-salted effects, these sealants will add character and sophistication to any upcycled project.
Here’s what you need to know about each one:
Natural FAT Wax
- Enrichens the colour of FAT Paint while providing a dependable finish.
- Can be used as a furniture polish for natural wood and metal.
- Does not require additional finish, like our CLEAR Top Coat.
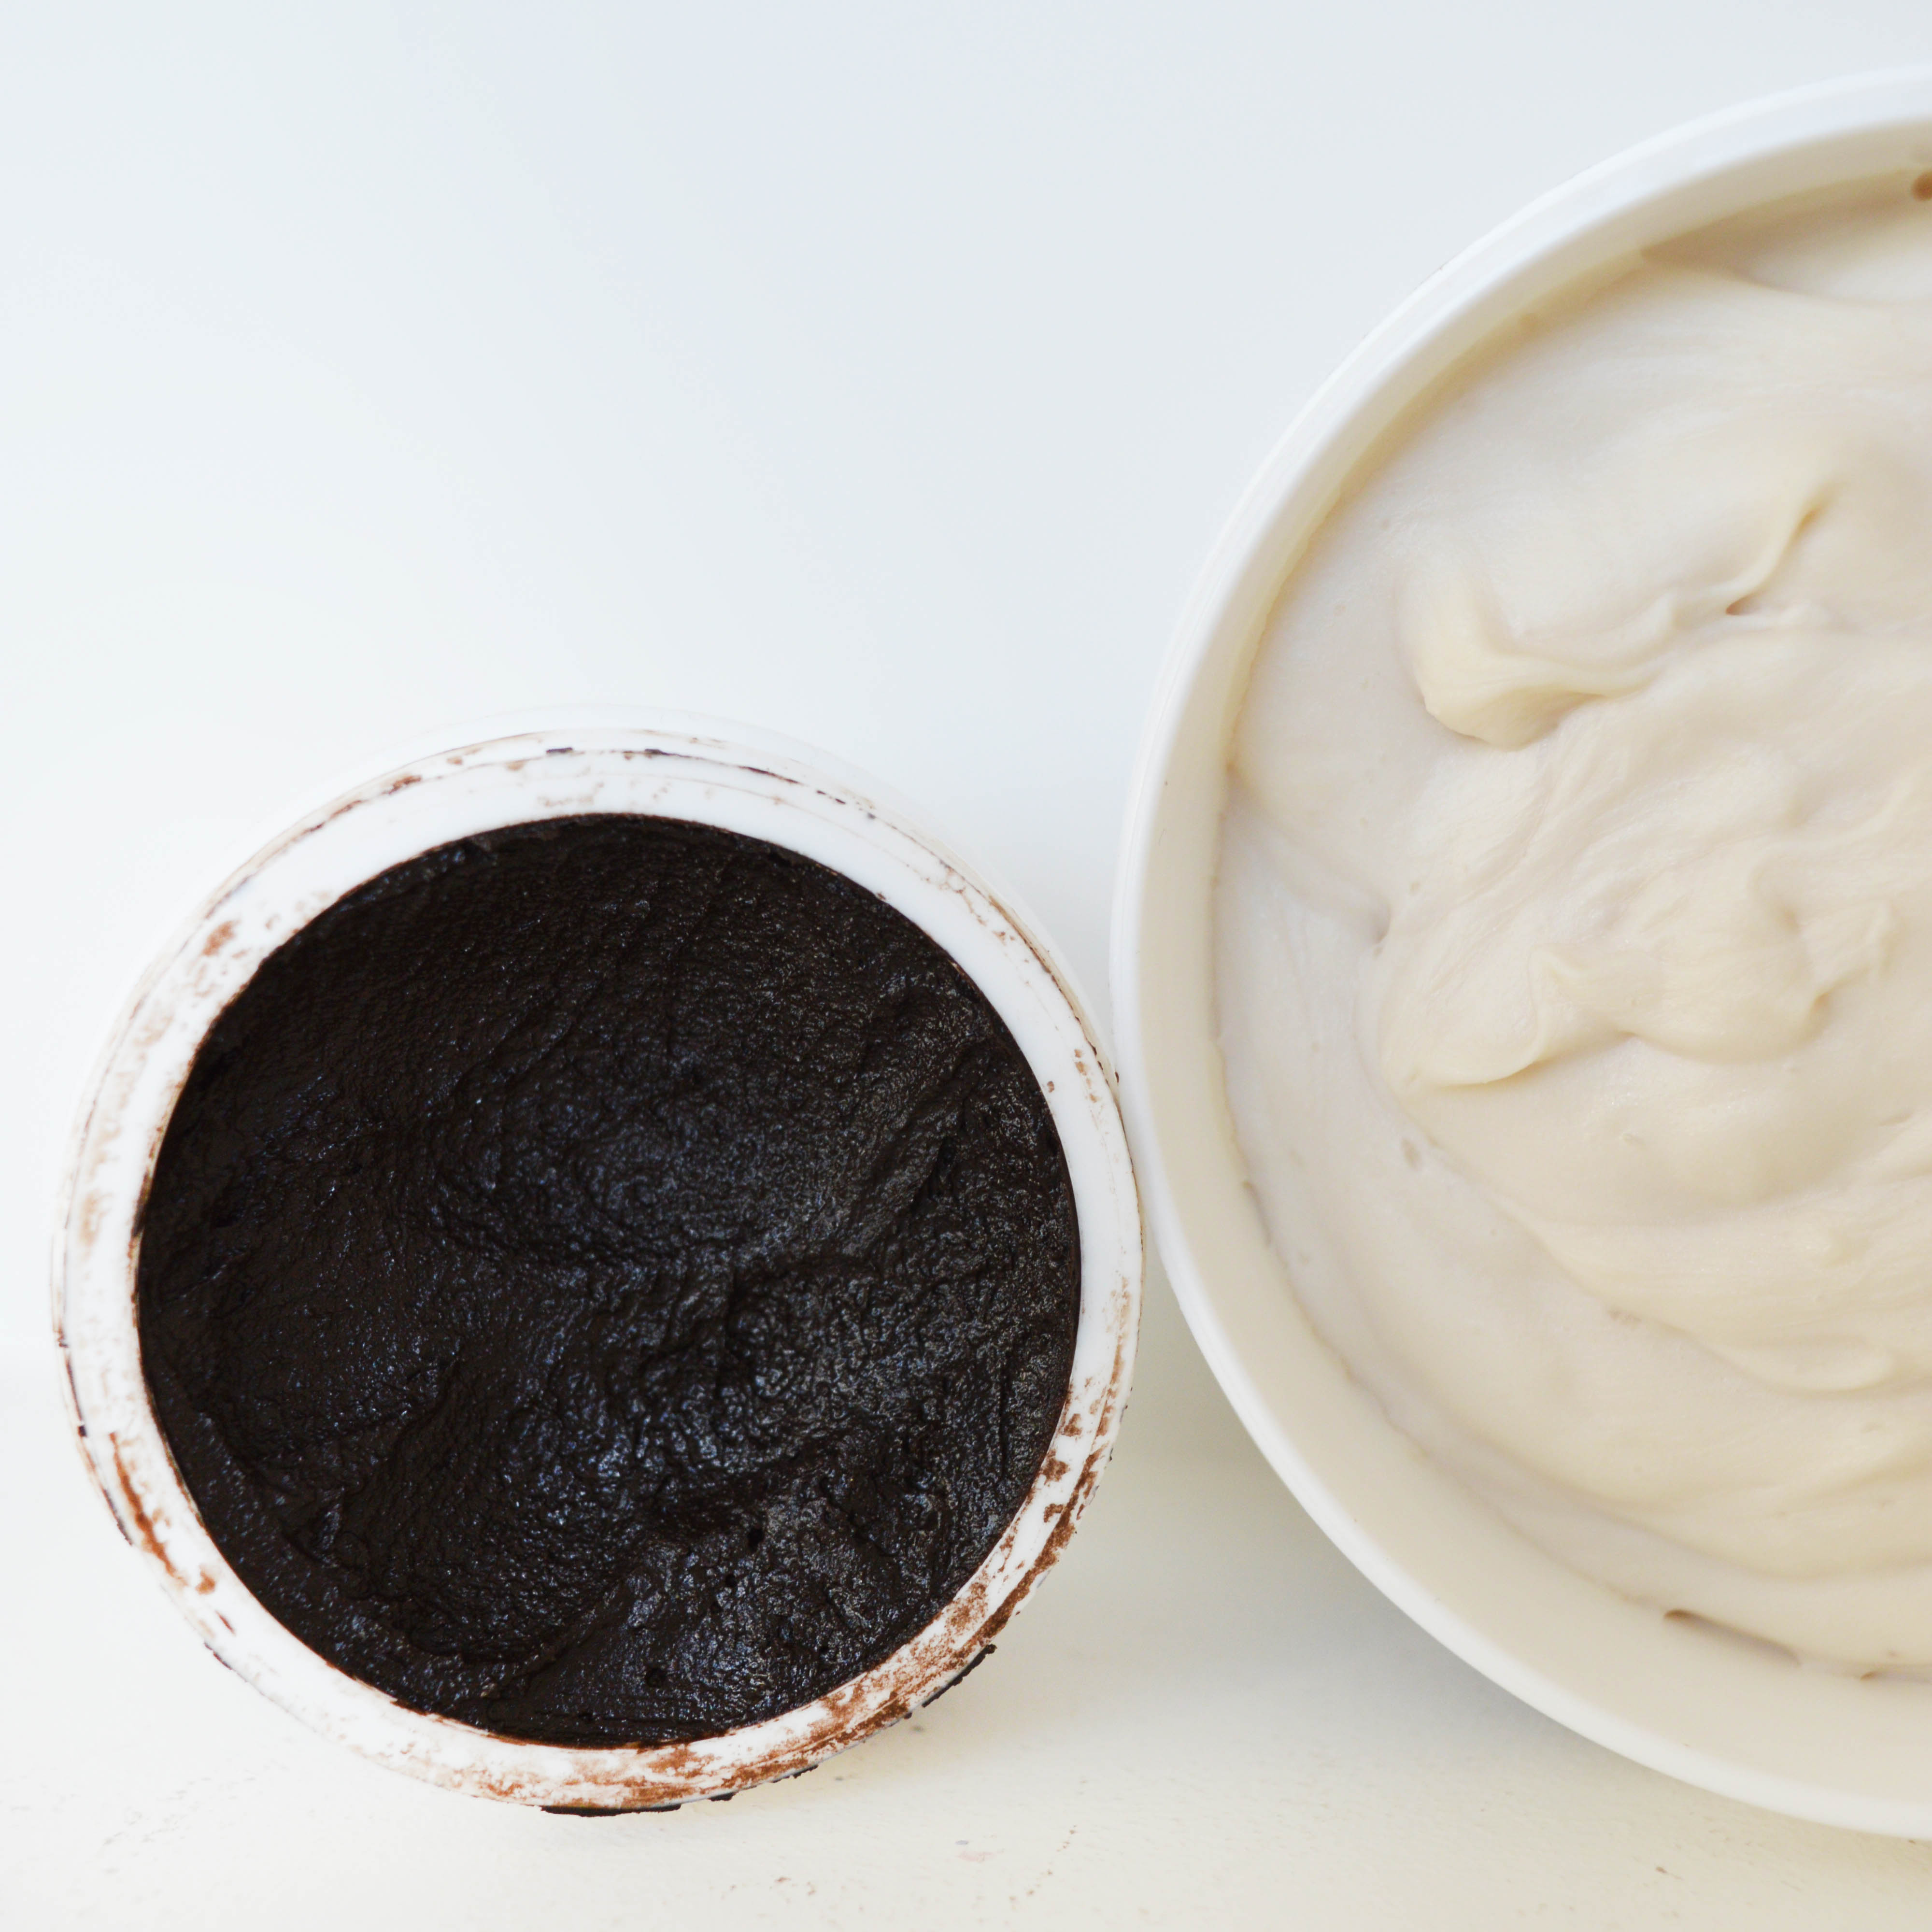
Patina FAT Wax
- Tinted to a deep mahogany brown.
- Penetrates the paint to deepen the colour.
- Perfect for creating variations in tone or heirloom effects, especially on pieces with a lot of detail or texture.
White FAT Wax
- Lightly stained with white pigment to create gorgeous salty, limed and beachy looks.
- Also perfect for creating variations in tone on pieces with detail or texture.
Now that you know what FAT Wax is, you need to know how to use it properly. As mentioned, it’s easy to apply, but there are a few things you need to keep in mind.
Always use a lint-free cloth or wax brush with natural bristles. Synthetic brushes just don’t work all that well for this job, so don’t even bother with them.
Remember: A little FAT Wax goes a long way. You don’t need a lot. In fact, if you use too much, you’ll just end up wiping most of it away, so why waste it? You’ll want to work in small areas, applying the wax in thin layers to avoid tacky surfaces. We like to tell people to rub it in like a hand or body lotion, removing excess wax as you go.
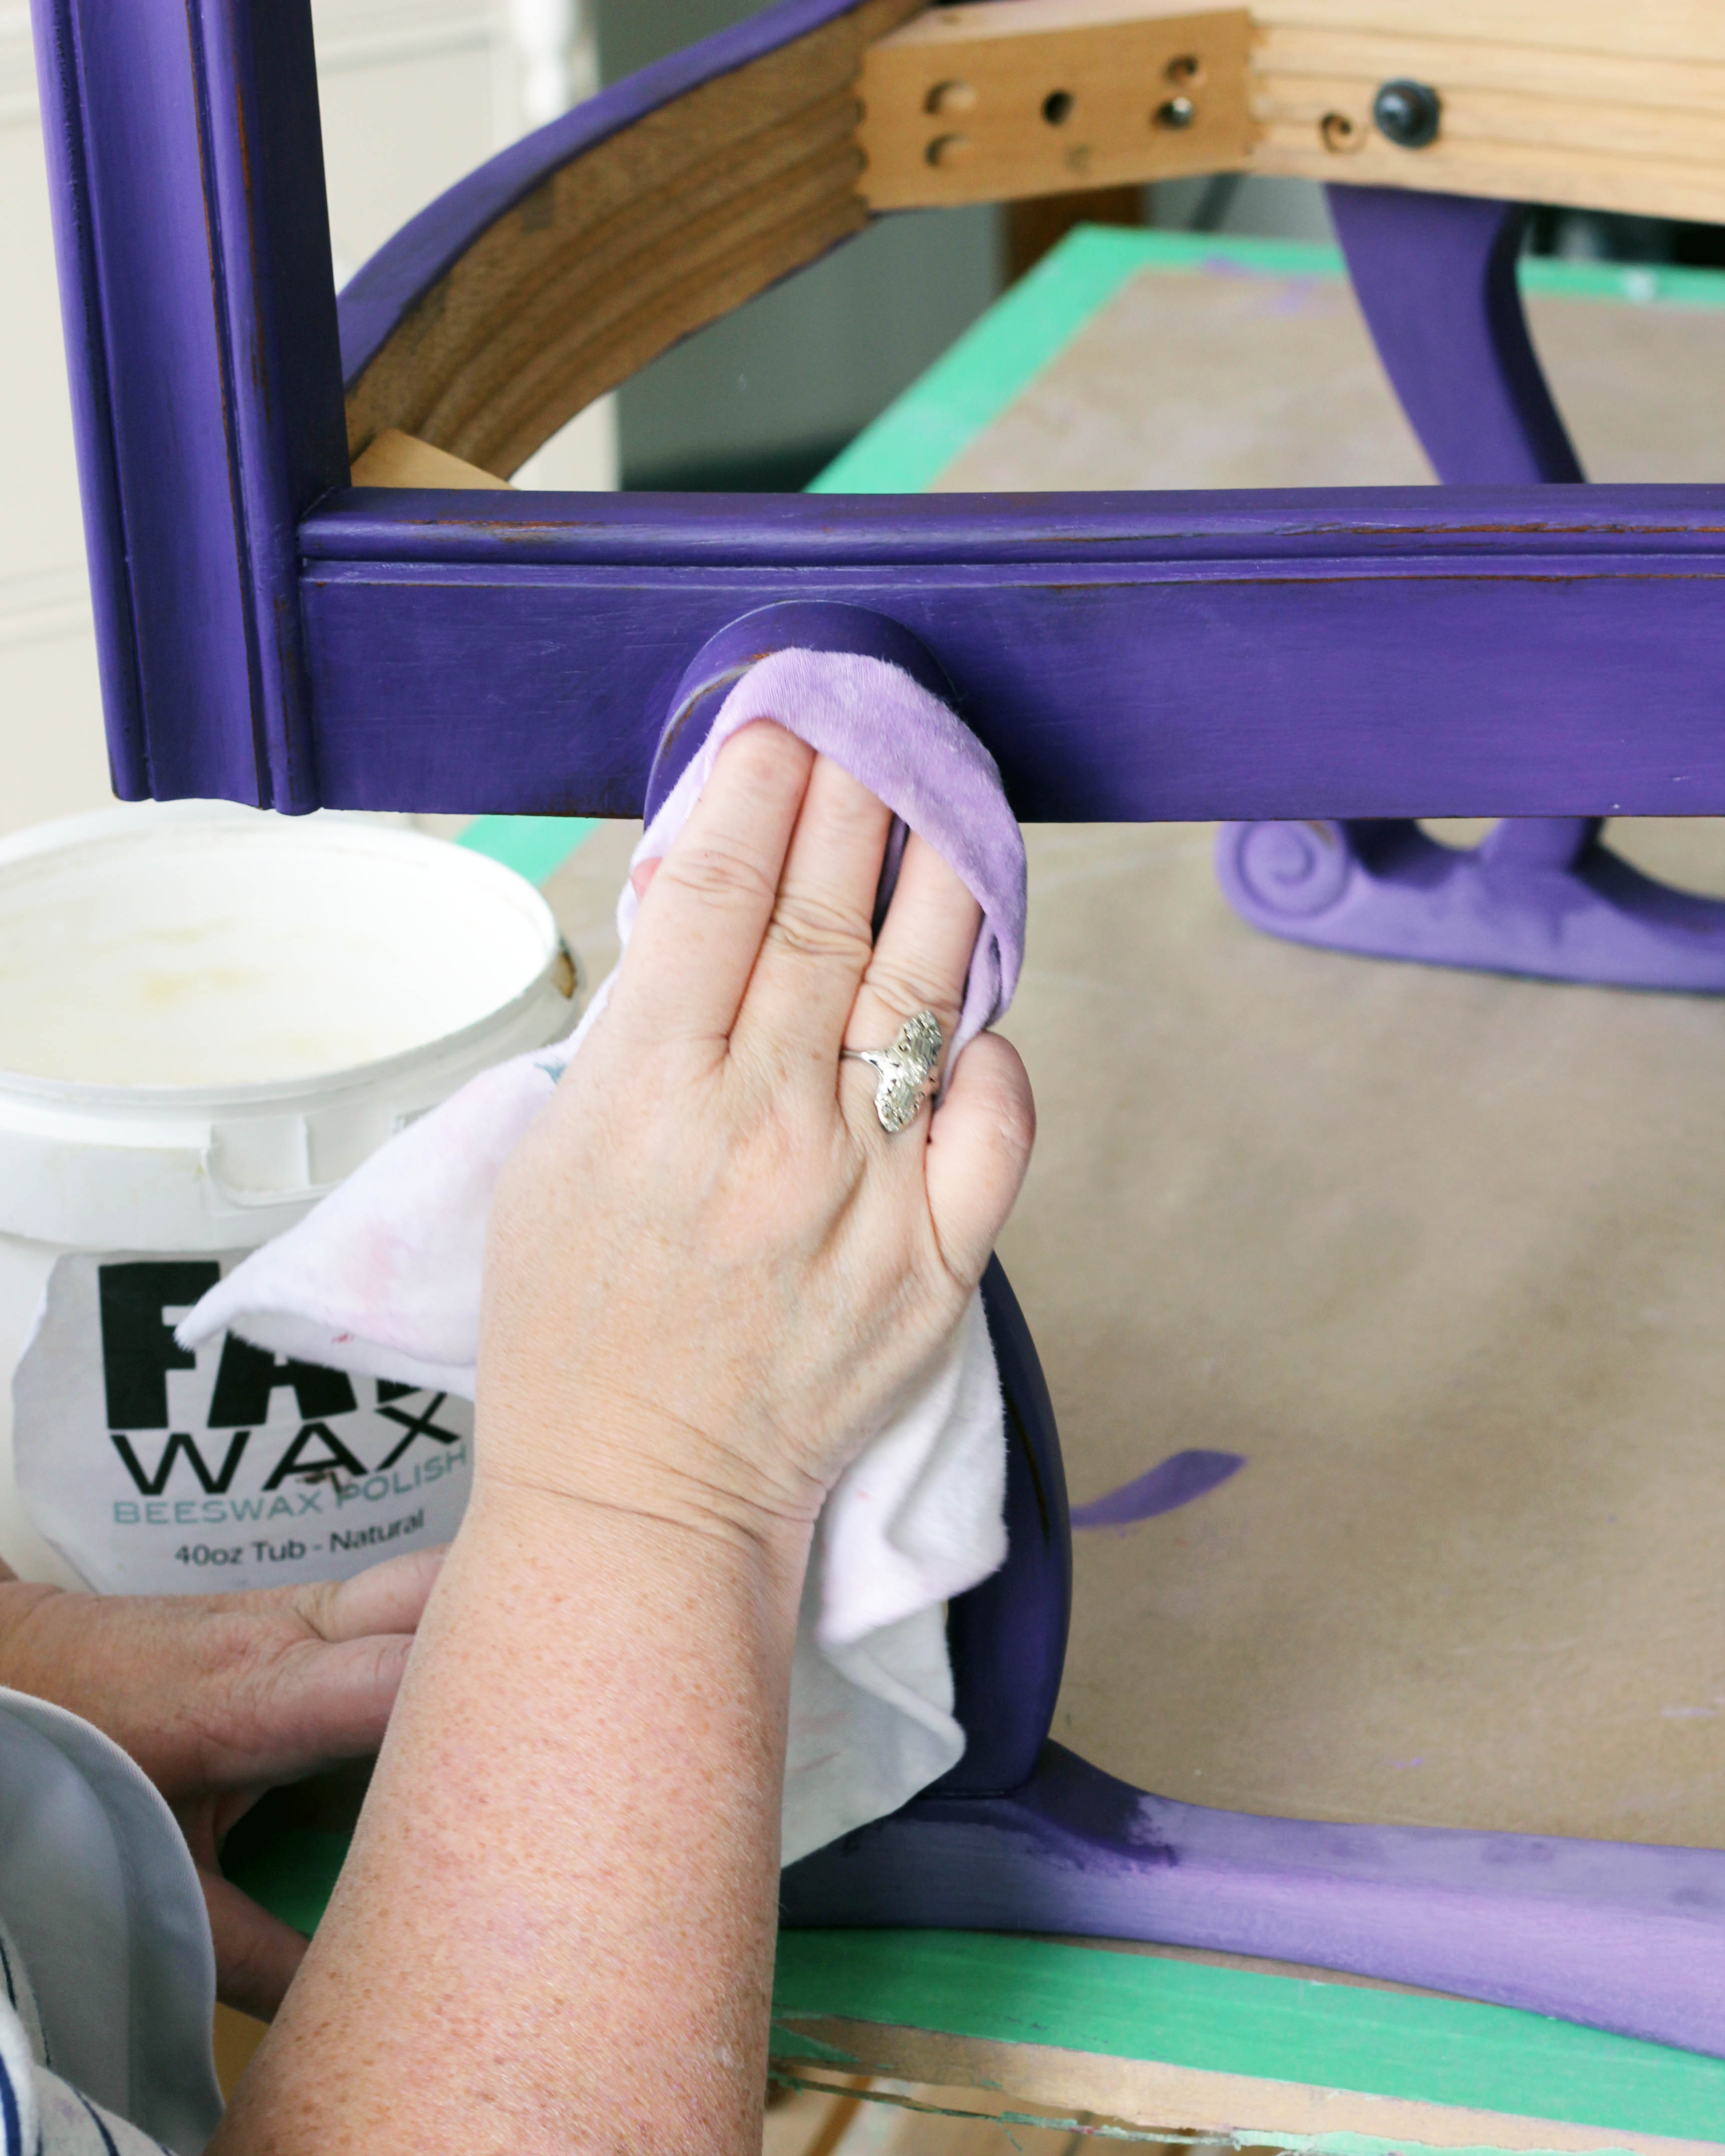
After applying the wax, you’ll want to wait for about 10 minutes, then buff the surface with a lint-free cloth, allow it to cure for at least 6 hours then buff again. If a sheen is what your surface desires, use a little extra elbow grease.
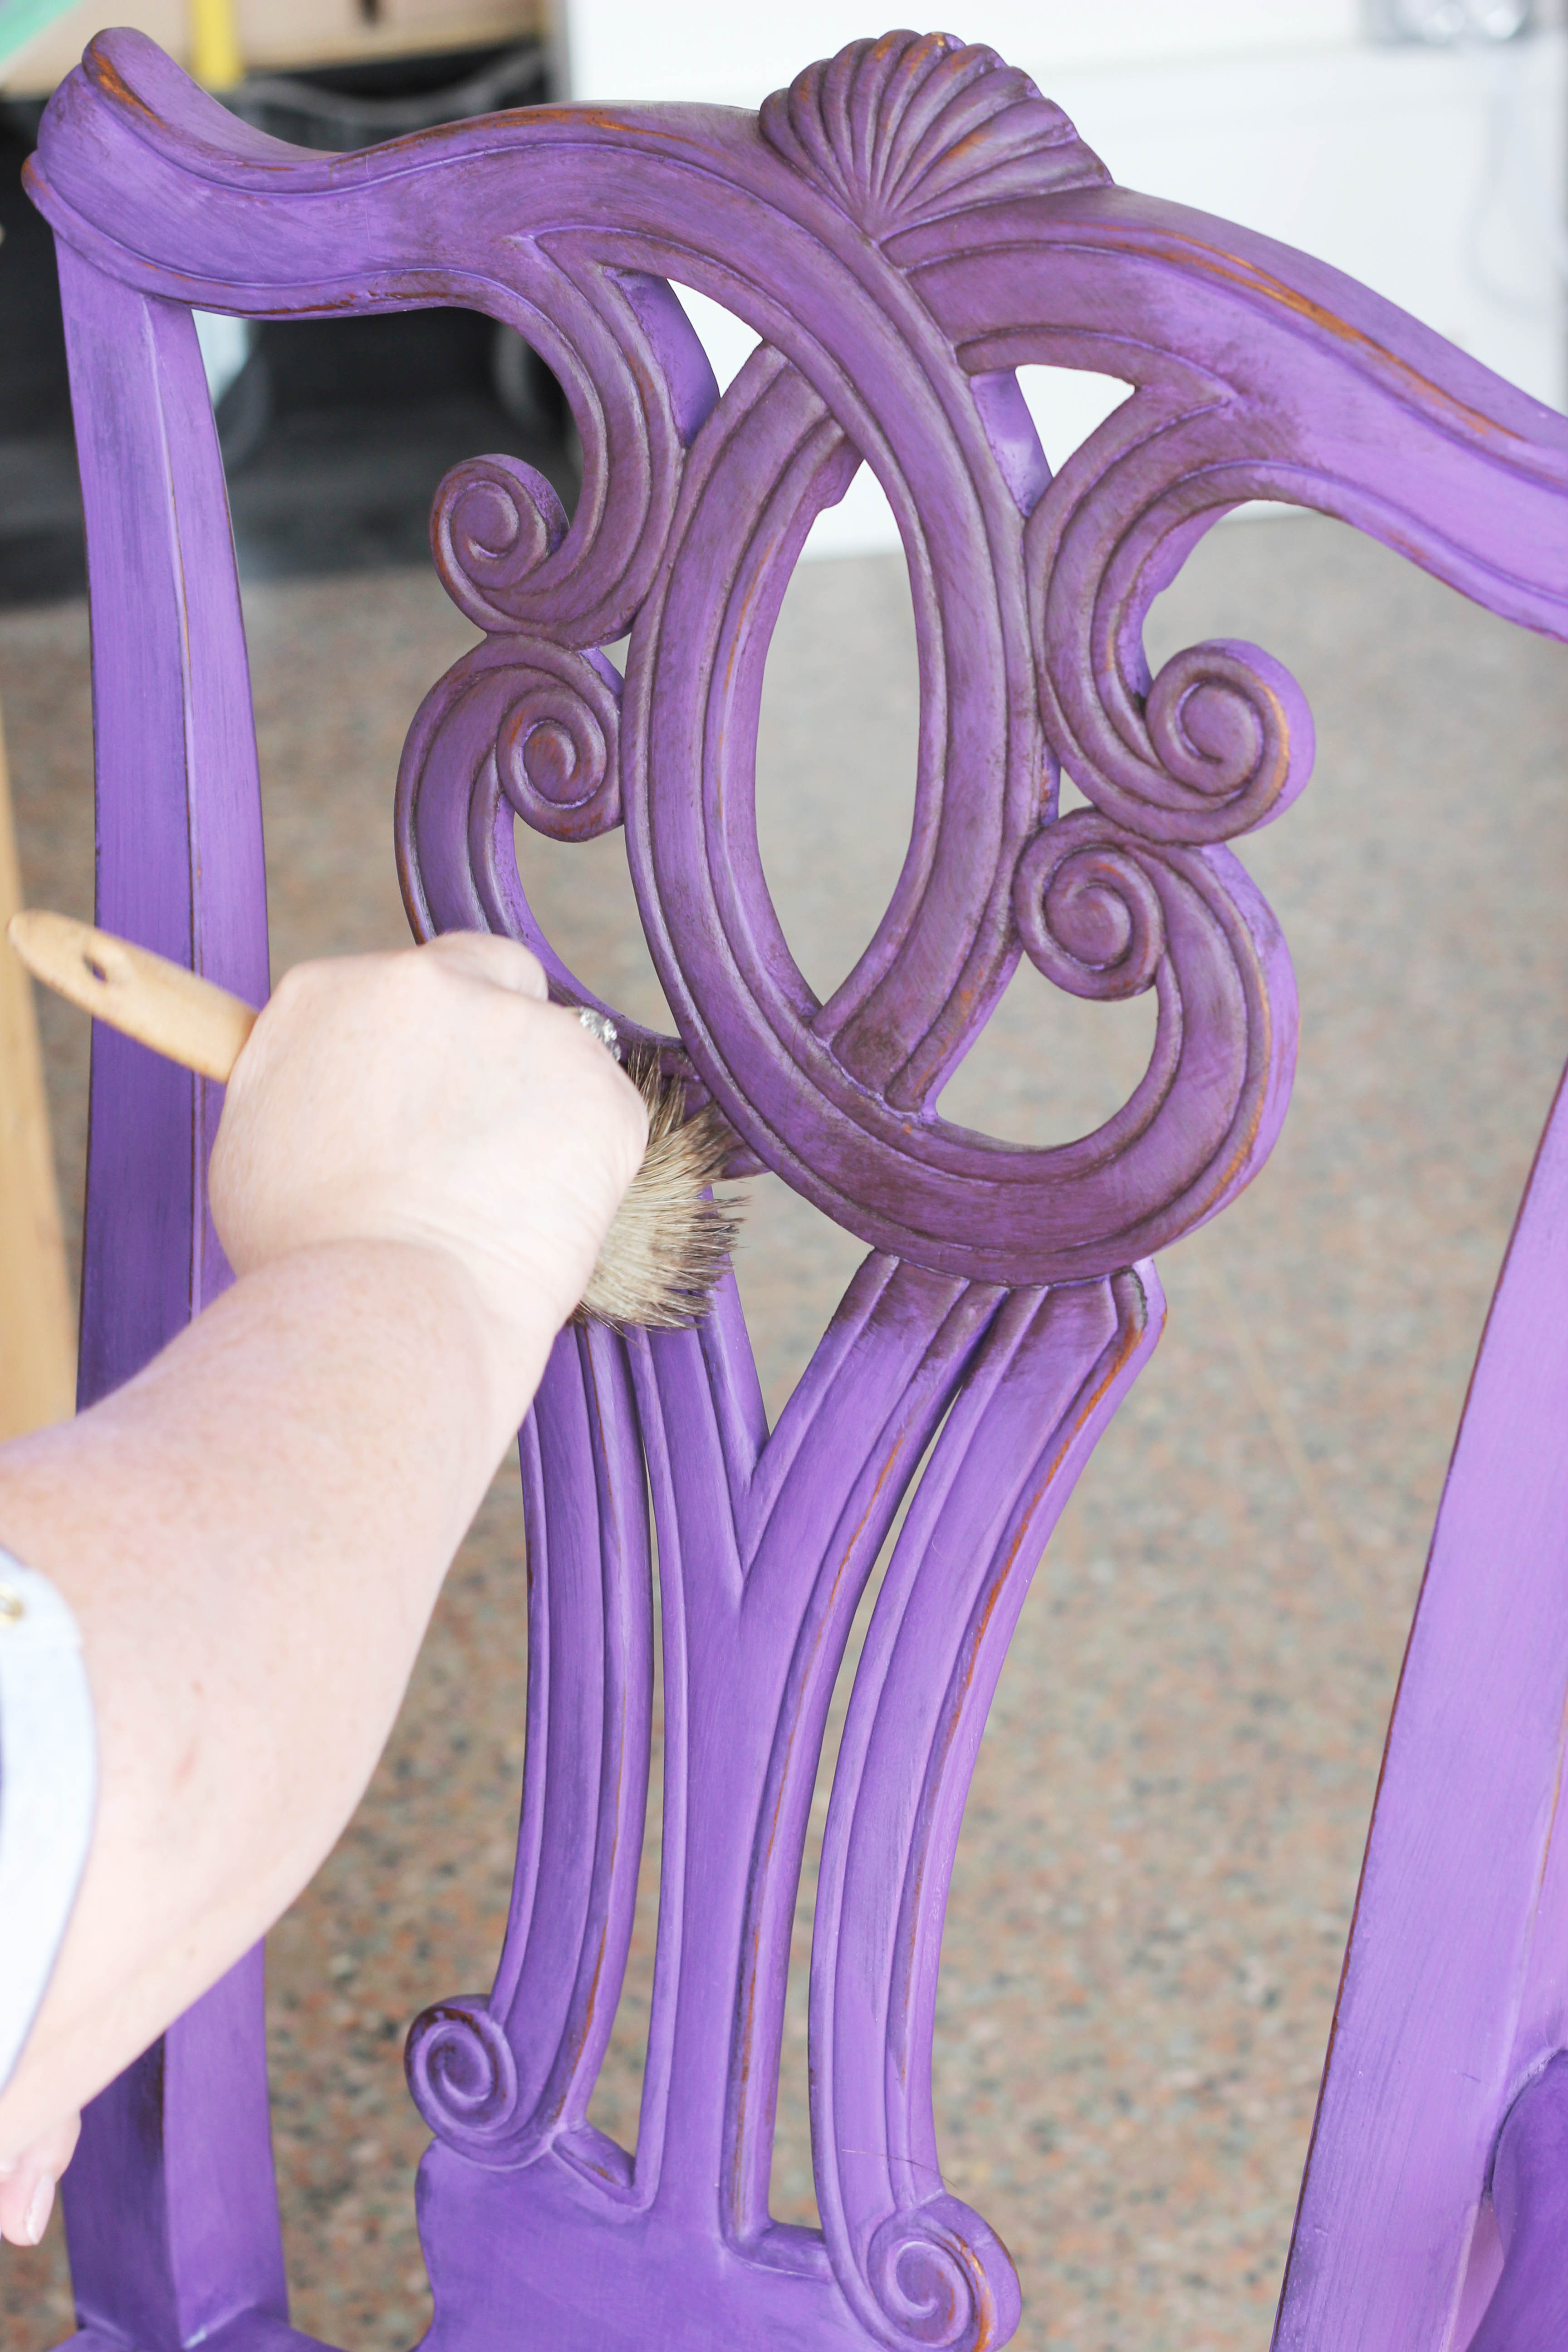
Our tinted waxes are just as easy to use, but you’ll want to seal your entire FAT Paint’d project with Natural FAT Wax first. This creates what we refer to as “slip”, allowing you to manipulate the tinted wax more easily or pull back if you’ve applied too much. Consider working Patina or White FAT Wax into low points or crevasses with a natural bristle brush rather than a cloth. This helps to add definition.
Now, here are a few things you’ll want to remember to make sure you always have a happy relationship with FAT Wax:
- Periodic re-waxing may be required, depending on use of project.
- To fix marred or scratched surfaces, sand gently then re-apply wax.
- Use damp cloth ONLY to clean waxed surfaces. Do not scrub.
- Clean brushes using odorless mineral spirits or degreasing soap and warm water.
- Cured surfaces can be FAT Paint’d over; use mineral spirits to wipe away excess wax prior to application.
And viola! That’s it!
Using FAT Wax is easy, peasy. It looks great. It feels great. And it will ensure your freshly FAT Paint’d surface lasts for years to come.
Wax on, Grasshopper!
Drop us a line
You must be logged in to post a comment.
Post Comments 0