French Farmhouse Style: How to create this FAT-tabulous look yourself! – Guest Post: Camille from The Urban Upcycler
April 19, 2018
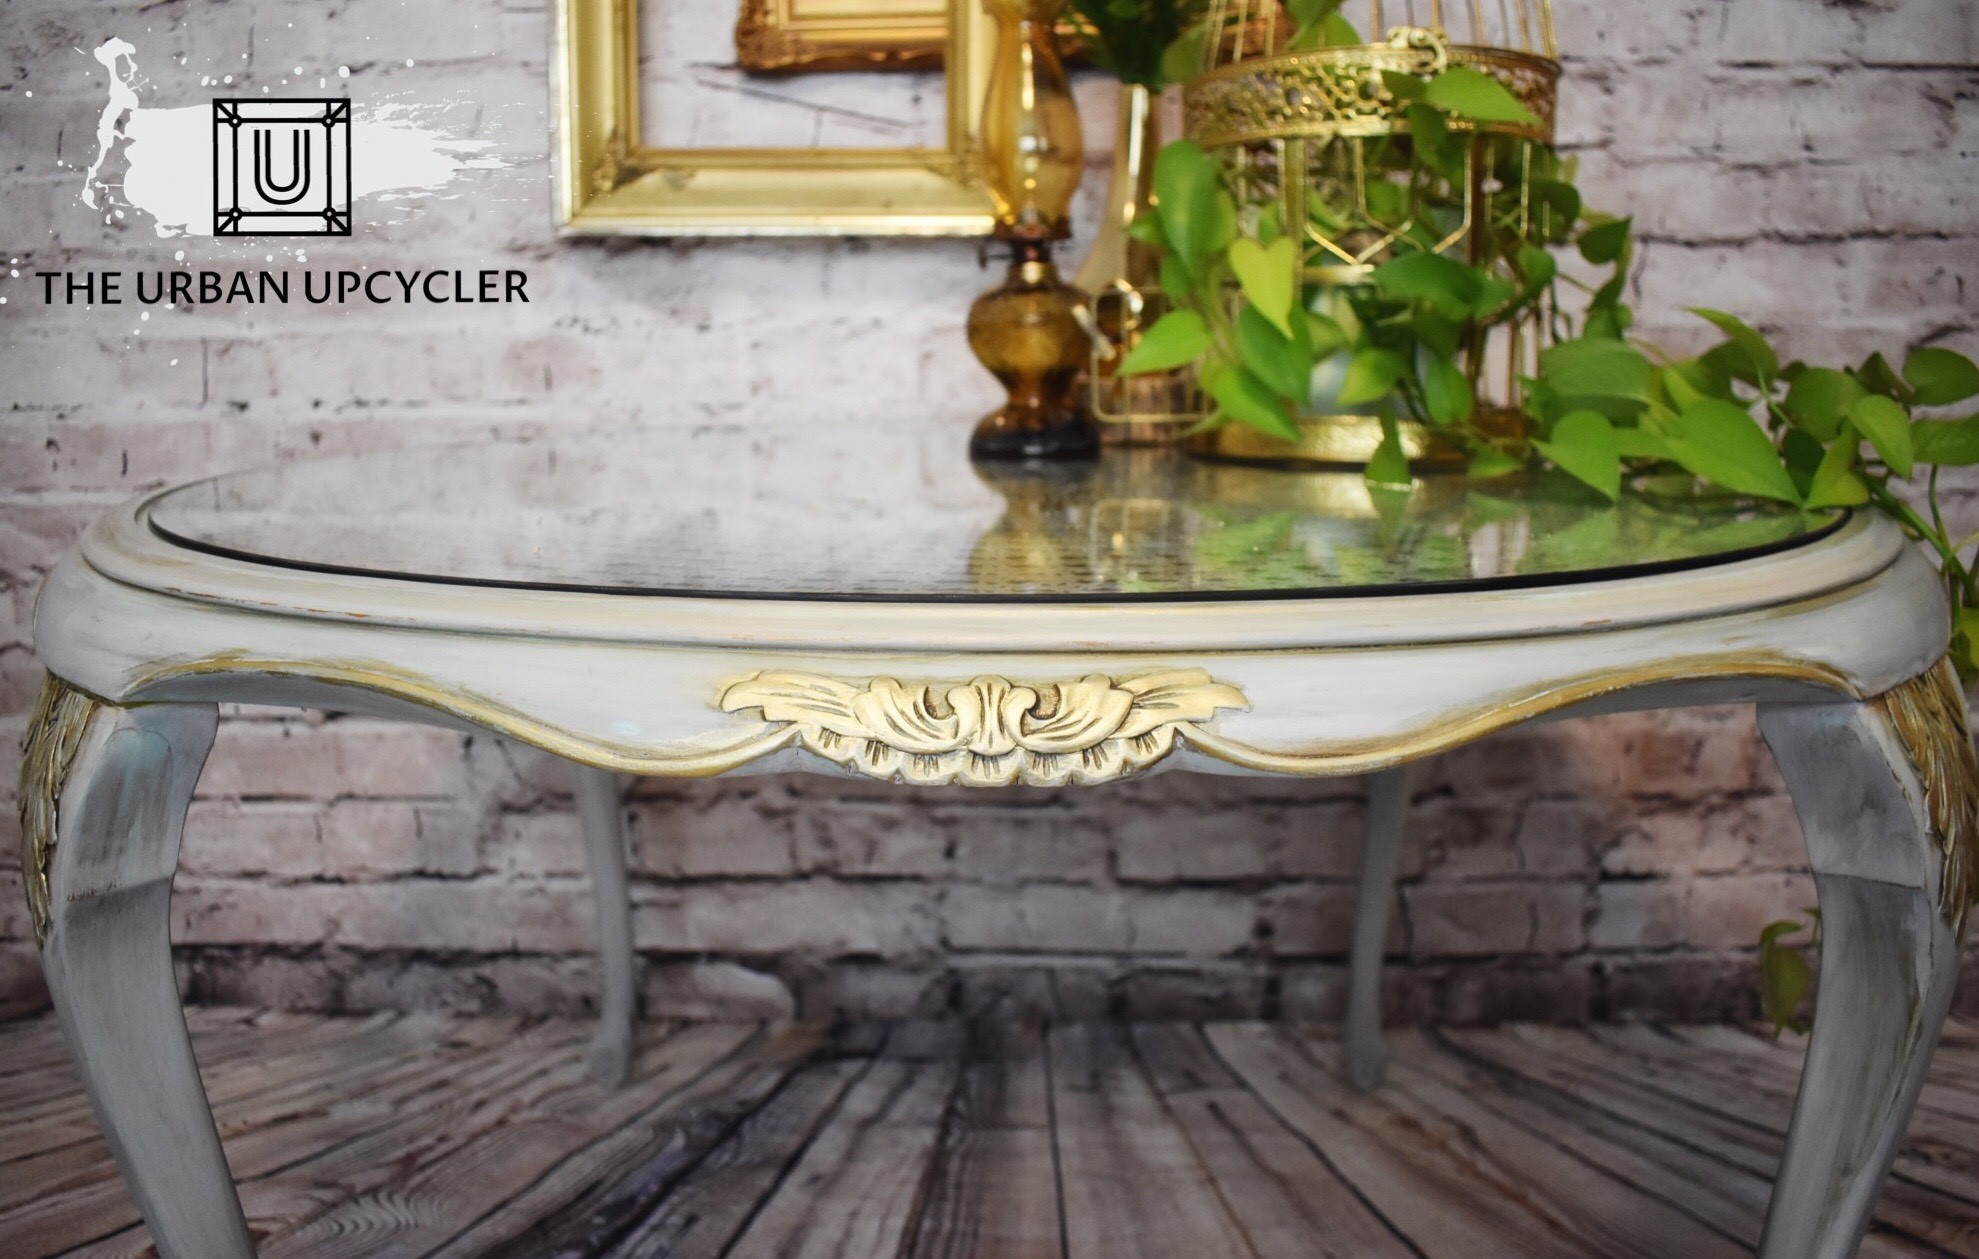
We’re thrilled to introduce Camille from The Urban Upcycler in Ottawa, Ontario; a talented artisan that does FATtabulous things with FAT Paint! Camille has been transforming furniture from shabby to chic since February 2017. We are inFATuated with her passion, talent, expertise and techniques… they leave us inspired and speechless every time! This French Farmhouse in inspired table caught our eye and we could not resist but to ask Camille to share her process with us. We’re so happy to feature her on the TFPC blog for her first guest post, “spilling the beans” on how you can achieve this look with FAT Paint too!
Hello!
My name is Camille, and I am The Urban Upcycler. I am a FAT Paint furniture artisan based out of Ottawa, and in this blog I will be sharing the technique I used to create this fun French Farmhouse-style table! But first…
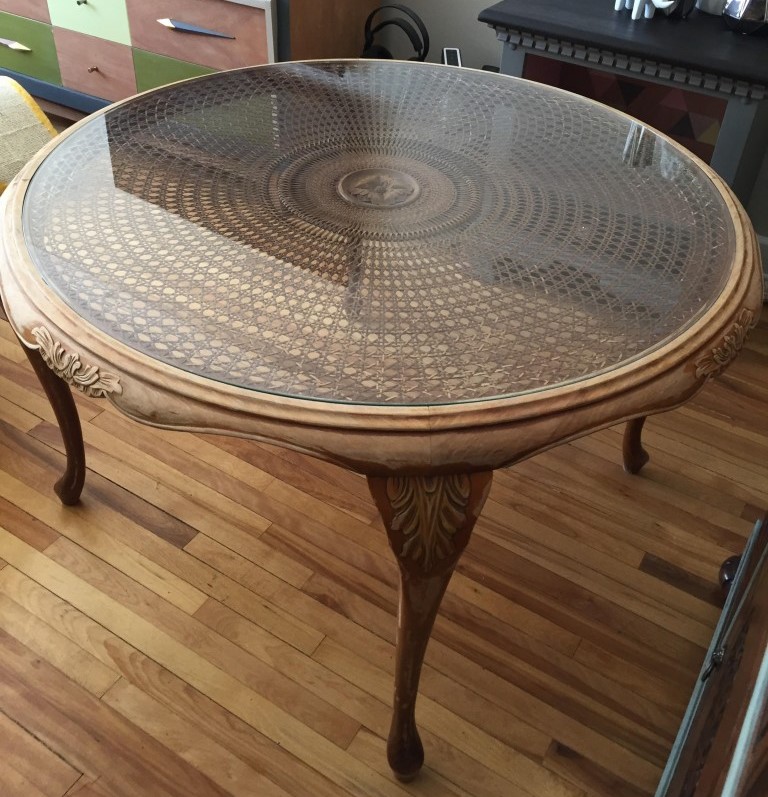
THE BEFORE:
This French Farmhouse table was recreated in FAT paint for the Helping with Furniture 12th annual gala in Ottawa on April 20, 2018, and it will be featured during the live auction. I hope you challenge yourself and take a shot at creating something beautiful for yourself or a loved one!
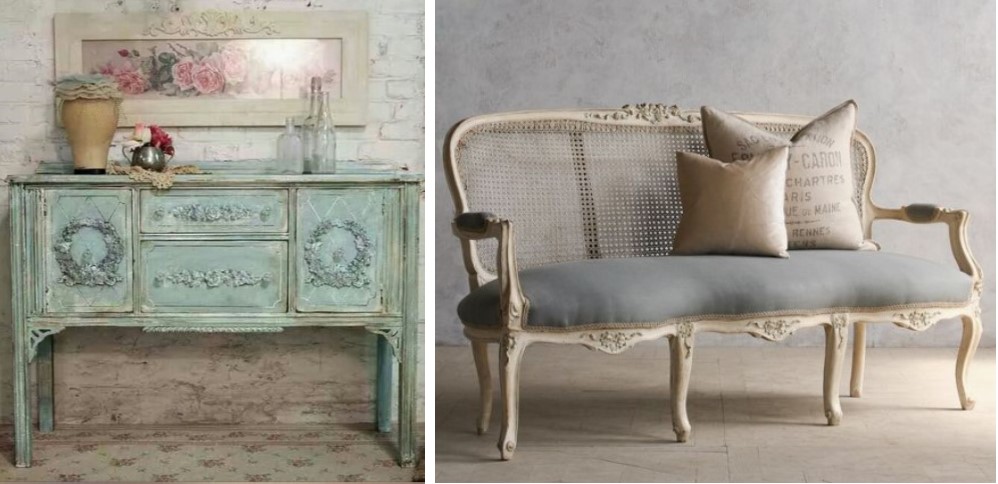
When I originally saw the table, I knew I wanted to give it a French Farmhouse-style look. Before I began this transformation, I found a few inspirational pictures on Pinterest to help guide me:
Once I had an idea of how I would achieve this look, I checked out the FAT Paint colour palette to see what would do the trick, and this is the colour combination I used:
Supplies from the FAT Paint line:
- FAT Paint in Gull Grey
- FAT Paint in Couture Linen (from the “Amanda Forest Collection”)
- FAT Paint in Pistachio
- FAT Paint in Mountain Haze
- CLEAR Top Coat
- Specialty GLAZE in the colour Raw Umber
Depending on the look you want to achieve, The FAT Paint Company has a variety of whites, greys and soft blue hues that would be perfect to create the French Farmhouse-style piece of your dreams!
Lastly, I used the Annie Sloan Bright Gold Gilding Wax for the finishing touch on the hand-carved details of this piece.
You’ll also need:
- Paint Brushes (I love using the Staalmeester Premium Brushes!)
- Small Paint Brushes (from any hobby store or dollar store)
- Solo Cups (for the GLAZE)
- Shop Towels
Preparation Process:
I am a firm believer in properly prepping a piece before painting to ensure it is durable and will be loved for a very long time! That means making sure that the surface is properly sanded and thoroughly cleaned with mild soap and warm water before it is painted.
This particular piece was a well-worn antique table; therefore it did require some minor repairs. I reinforced the legs with Lepage Carpenter Glue, and replaced the glass tabletop.
Applying the Technique: Layers, Layers, Layers!
Since this was my first attempt at creating a French Farmhouse-style piece, I was pretty much flying by the seat of my pants. I am quite happy with the outcome!
Step 1: Gull Grey
I used Gull Grey as the base coat for this piece. It’s a beautiful, soft grey colour that adds a lot of dimension to the piece once all of the other layers have been applied.
Now here’s when you’ll start applying a different technique. I used a paint washing technique in steps 2 through 4. What this means is that I applied each colour with a paint brush, but then I removed any excess paint with a damp shop towel. So before you begin applying a new colour, be sure to have some damp shop towels ready for use.
Let’s start with Couture Linen. I applied Couture Linen because I thought it would add depth to the details of the piece. I applied Couture Linen on top of the Gull Grey base coat, and I used the damp shop towel to wipe off most of the Couture Linen, but I wanted to keep this colour in all of the creases.
Step 3: Pistachio
Once the Couture Linen paint has dried, then you can apply some Pistachio. At first, Pistachio will seem a little bright for the look we want to achieve, but it is the perfect contrast colour to complement the most prominent colour of this piece – Mountain Haze.
I applied Pistachio on top of both colours, but I tried to avoid some of the creases where there was Couture Linen. So I would focus mostly on the raised areas, and then I wiped off any undesired paint with a damp shop towel.
Lastly, I applied Mountain Haze, which beautifully ties all of the colours together. Since Mountain Haze is the primary colour for this piece, I applied it on the majority of the raised areas, but I was careful not to hide all of the Pistachio. Then I used a damp shop towel to remove some of the Mountain Haze until I achieved my desired look.
Seal & Protect
Once I was happy with the layered colours of the piece, I allowed 24 hours for the paint to cure before I applied the CLEAR Top Coat. It is important to apply the Top Coat before using the GLAZE because it will provide a protective finish and prevent the GLAZE from seeping into the porous paint.
Glaze It Up!
Now that the Top Coat is applied and cured, it’s time for the fun part – GLAZE!
The trick with GLAZE is that you can use as little or as much as you want to create the effect you desire. It’s always a good idea to apply one layer at a time because it does dry darker than it looks when it’s still wet.
Full Disclosure: I’ll be honest; I applied the White Specialty GLAZE first to add more dimension and texture. However, since my colours were a little bit on the lighter side to begin with, it did not add as much effect as I was looking for. Therefore, I would certainly suggest using the White GLAZE for slightly darker colours when creating this look.
Secondly, I added the Raw Umber Specialty GLAZE. In this step, we will be using the same paint washing technique mentioned above. When applying the glaze, I used small paint brushes that I purchased at Micheals or Dollarama. Since the glaze dries quickly, you’ll want to work on small sections at a time. Once the glaze is applied, use a damp shop towel to wipe off any excess glaze.
I applied the Raw Umber glaze in all of the creases and small details of the piece to add more dimension and accentuated the beautifully hand-carved details. I also chose to use the Raw Umber glaze on some of the major parts like the legs and the table top to create more of a vintage look.
How About Some Bling?
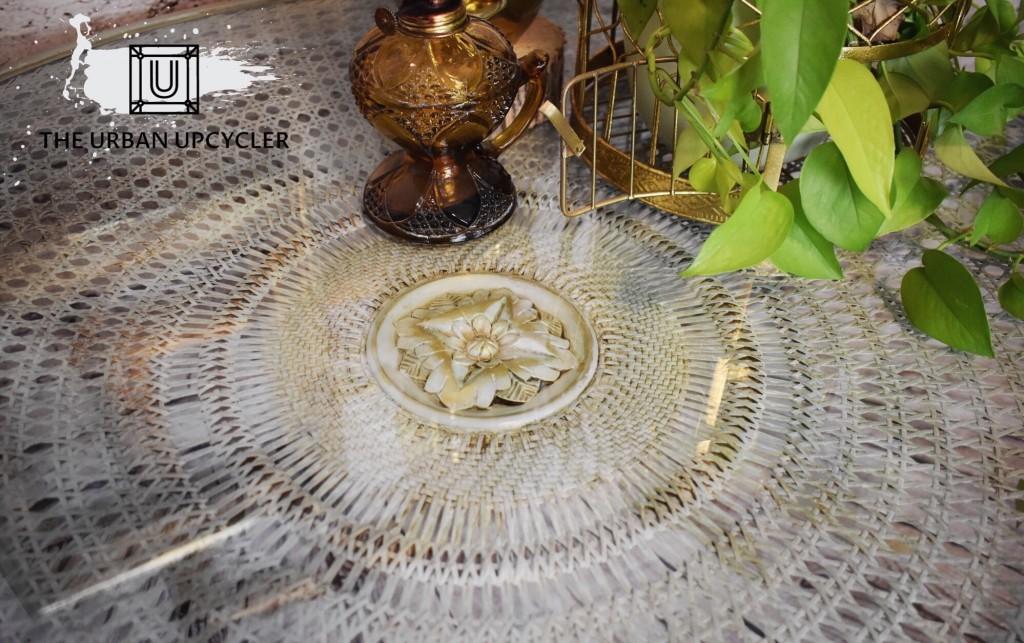
I’m a HUGE fan of metallic, so you’ll usually see a bit of gold, silver or copper on my pieces. For this piece, I thought the Bright Gold gilding wax would be the perfect touch of elegance and flare on all of the raised details. So I applied the gilding wax on the hand-carved patterns located at the top of the legs, the floral patterns on each side of the table, as well as the flower in the center of the table-top. I usually apply gilding wax with my fingers, but you can also use a shop towel.
Tips & Tricks
This is such a fun technique to apply and play with! If you want to create a French Farmhouse-style piece, I really recommend that you make it your own. There is no wrong way to do it! 🙂
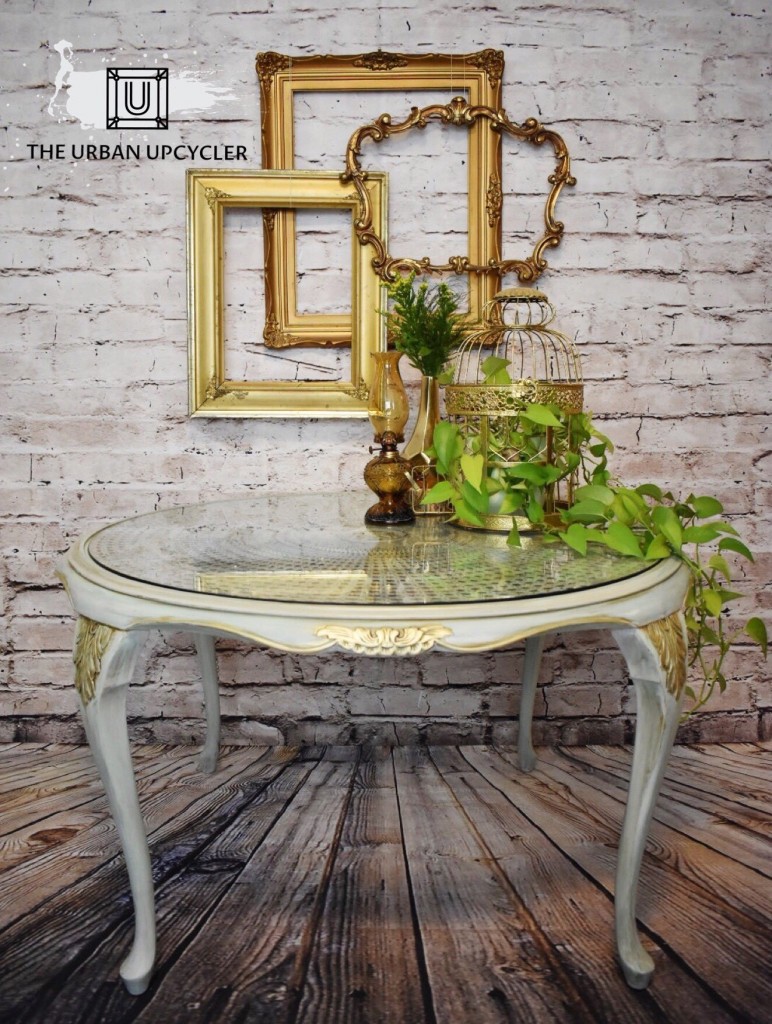
And now The FAT Paint Company says… here, in all its FAT-tabulously amazing glory…
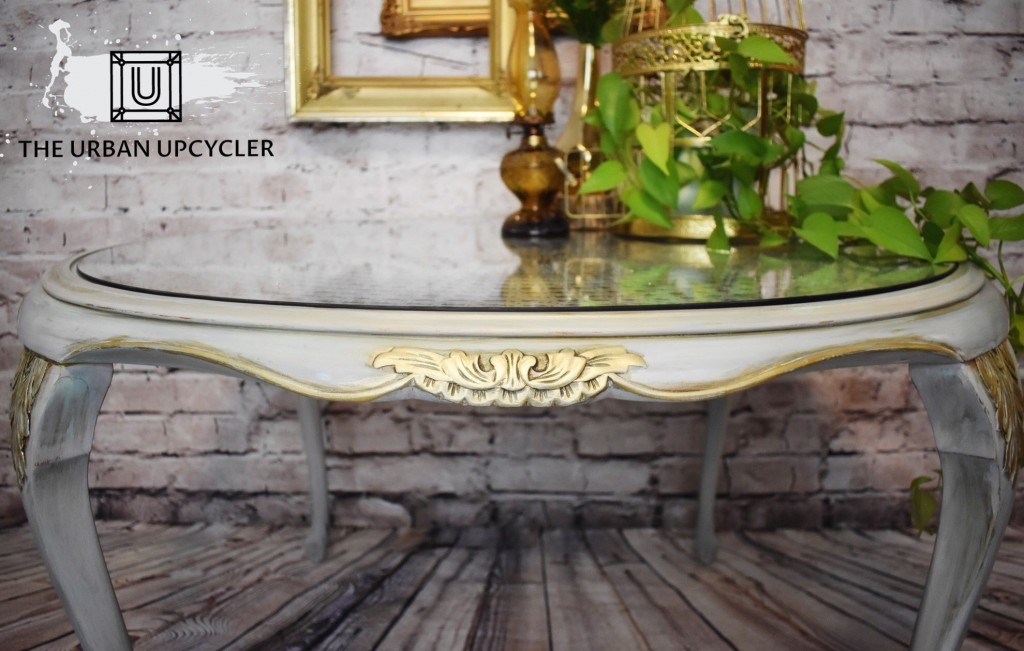
THE FINAL RESULT!
Guest Blog by Camille W.
You can find Camille/The Urban Upcycler on both Facebook & Instagram at @TheUrbanUpcyclerOttawa



Post Comments 0