


Step 1: The “Once Over” & A Good Clean
Prep is the key to success! Give every piece a light scrub with a sanding sponge before you start: all sides, corner to corner. Wipe off excess dust, dirt or grime with a tack cloth, then wash with warm soapy water, a degreaser or heavy-duty paint prep cleaner (on kitchen cabinetry, for example). Finish with a good water-wipe to remove any residual soap/product.
Step 2: Feeling Unsure? Do a Test Patch
FAT Paint has great adhesion, but some surfaces may need a little extra care. Apply paint to a discreet area, let it dry then scratch it with your fingernail. If the paint peels, you’ll definitely need to give the piece a heavy sand and/or apply a quality adhesion primer.
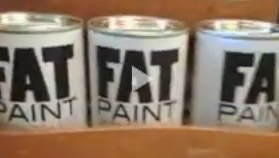
Step 3: FAT’n it up
FAT Paint’g is easy! Grab a good quality brush or low-nap velour roller and apply away, layer by layer. Let dry thoroughly between coats, approximately 20-30 minutes. Most projects will cover seamlessly with just two coats. Highly pigmented colours may require more than 2, so consider using a complementary colour as a “primer” coat… for example, we like to apply a coat of “Tuscan Sun” under 2 coats of “Shop Door”.
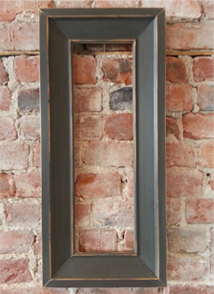
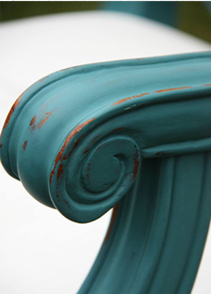
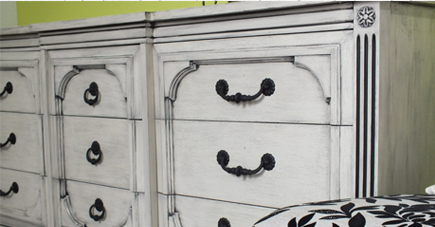
Step 4: Sand it aka The Creative Part!
Sand all FAT Paint’d surfaces with a sanding sponge or medium/fine grit sandpaper to achieve a smooth-to-the-touch finish. For the distressed look, pay extra attention to corners, details or areas that naturally would have more wear n’ tear. Dust with a tack cloth.
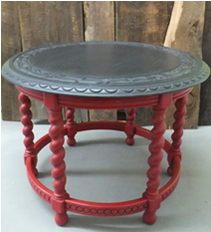
Step 5: Seal it
With FAT Paint, you have two amazing options to seal your work: FAT Wax (natural/clear) or CLEAR Top Coat. The traditional method for sealing chalk-style paints is wax. A waxed finish is silky soft, with a subtle sheen. It can hold up to average household wear, however some pieces – like a kitchen table for example – need more durability. Our CLEAR Top Coat is the perfect option! We’ve formulated CLEAR to closely replicate the subtle sheen of FAT Wax so that makes it ideal for those projects where they’re used side-by-side. Opting to use CLEAR Top Coat isn’t always about durability though; sometimes it’s just a preferred method to seal a FAT Paint project, and that works for us!
CHECK OUT THESE HELPFUL TUTORIALS: