Take Your Instagram Account To The Next Level With A FAT Background DIY!
February 10, 2016
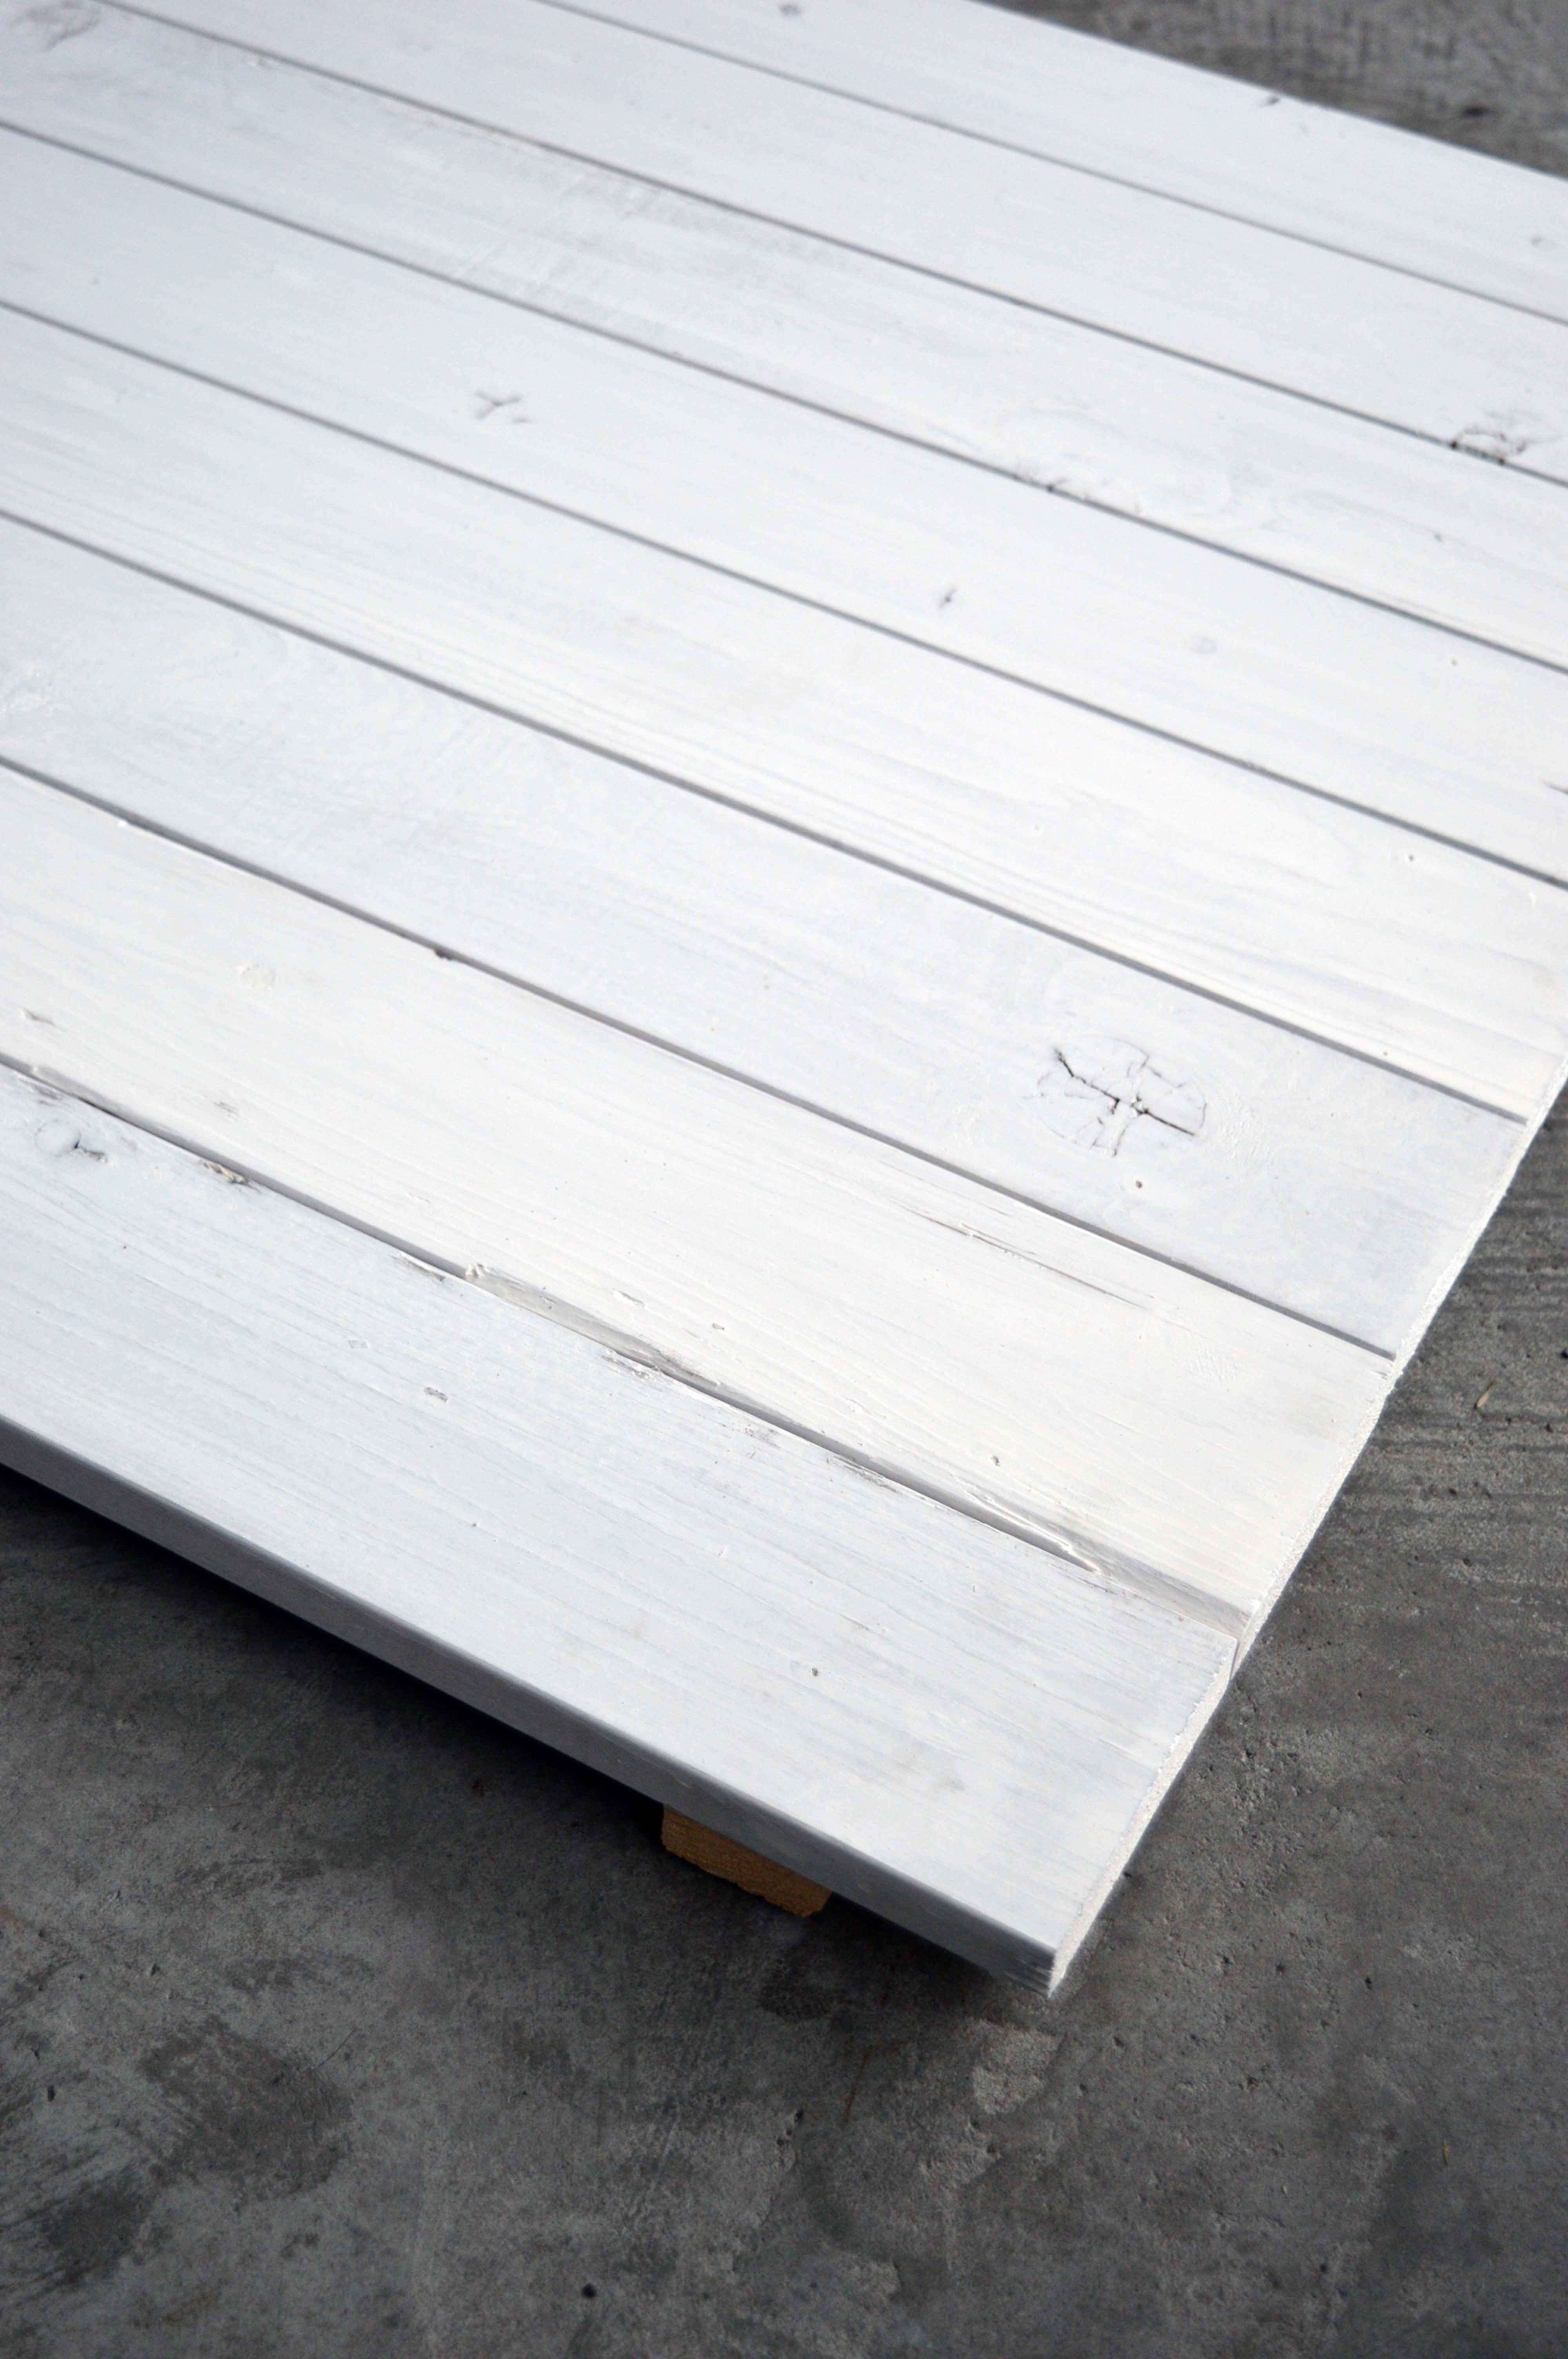
Who doesn’t love the look of a clean, bright Instagram feed? We could spend hours scrolling through the feeds of Jillian Harris, Erin Sousa, Monika Hibbs and Jacquelyn Clark, just to admire their fresh and inspiring style. As you may know, a popular trend on Instagram known as the lay flat often features a bright, white background to style pretty items on. To get a sense of what we’re talking about, check out some of these great examples of a popular Instagram background.
This little gem is our clear skin secret weapon ?? #leVERTbeauty
A photo posted by LeVertBeauty.com (@levertbeauty) on
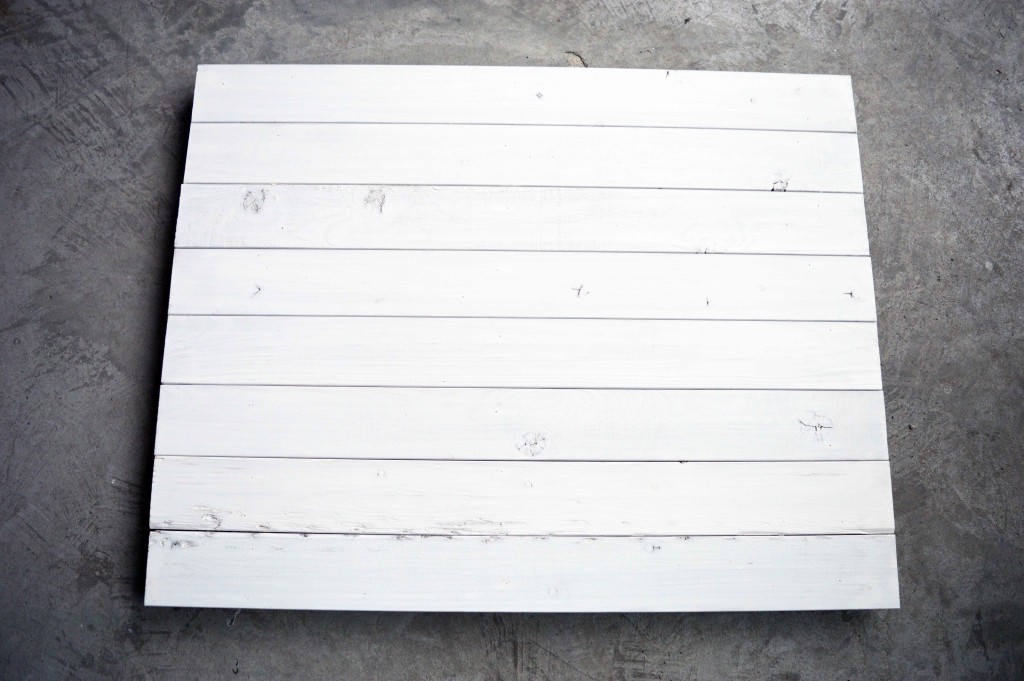
Did you know you can easily create your own perfect Instagram background using FAT Paint? A one-day project like this will help elevate your Instagram style and take your account to the next level!
To Make This Instagram Background, You’ll Need:
- Eight 2×4 planks
- Two smaller planks (to hold the back together) at least 32″ long
- Specialty GLAZE in Raw Umber
- Warm White FAT Paint
- CLEAR Top Coat
- Water
- A bucket
- A paintbrush
- Small nails & nail gun
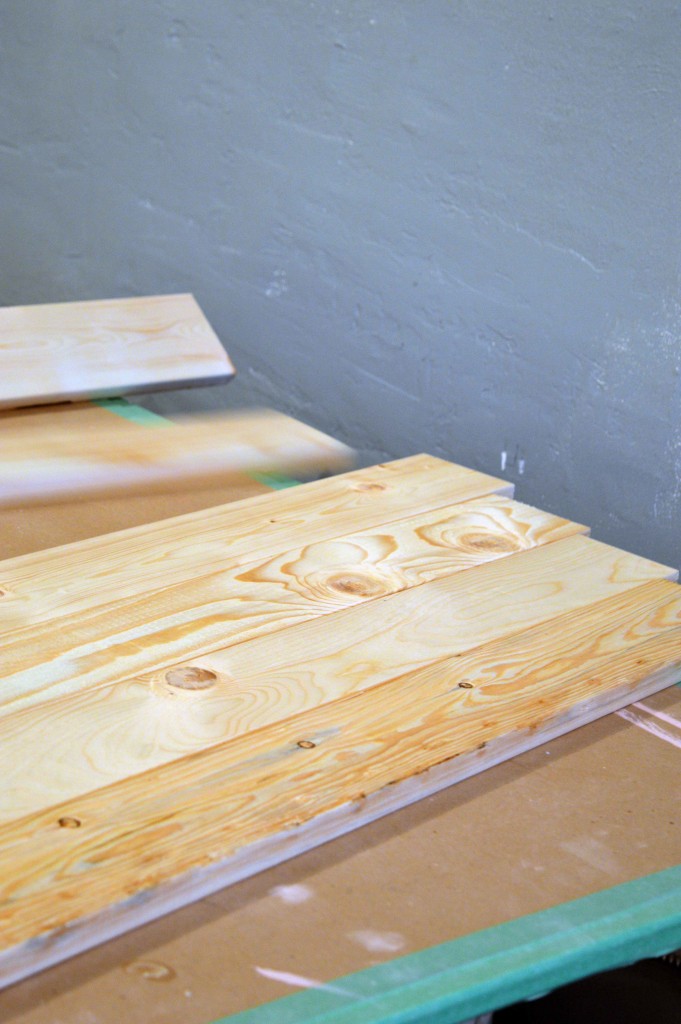
Start off by lying out your planks how you’ll like them. Ensure they’re clean and no odd ends need sanding off.
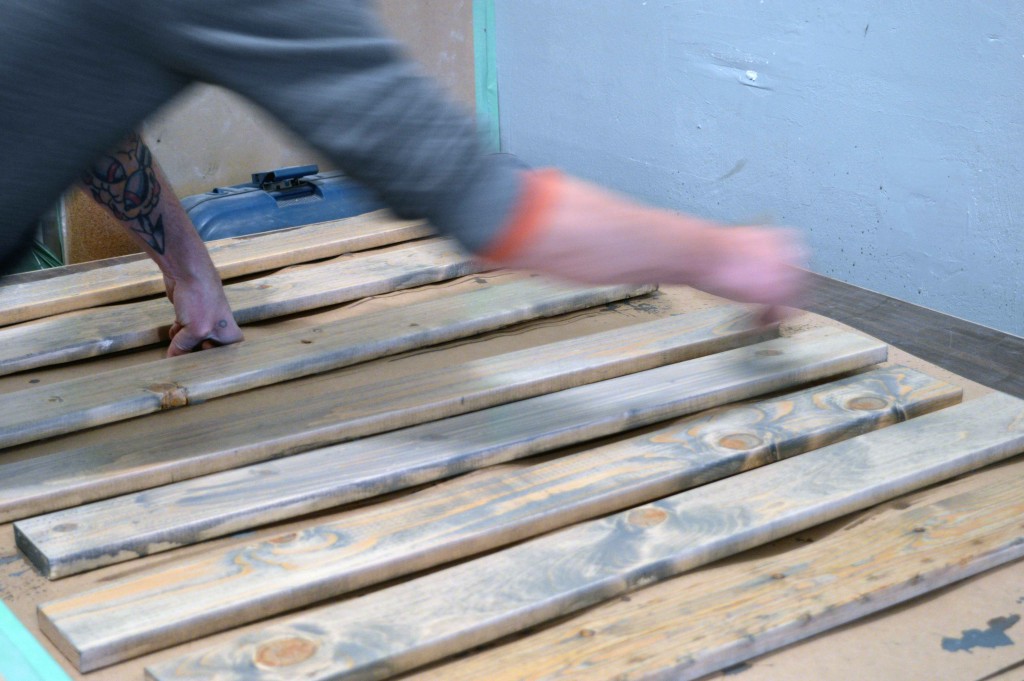
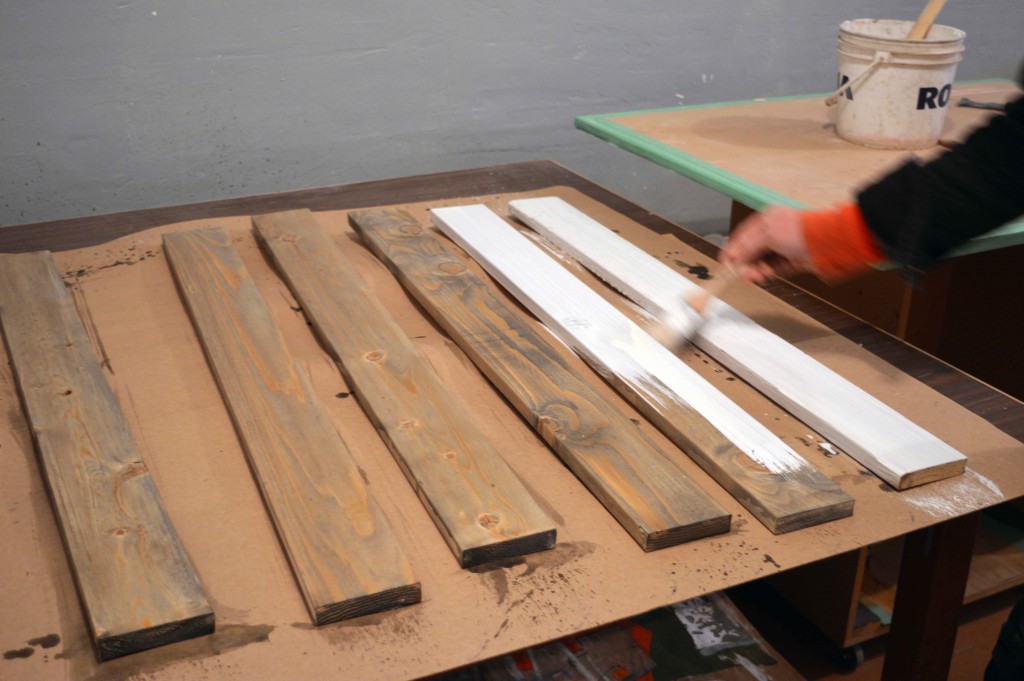
Part of the appeal to this style of background is the hint of wood grain peeking through the white. To enhance this effect, we used our Specialty GLAZE in Raw Umber to bring out the details. Mix your glaze with a generous amount of water before applying to the wood with you brush, about 1:3 glaze to water ratio. Brush on the wash with the grain. Let dry and feel free to add a second layer if you want it even darker. We only did one coat with this step as our focus is a bright, white background.
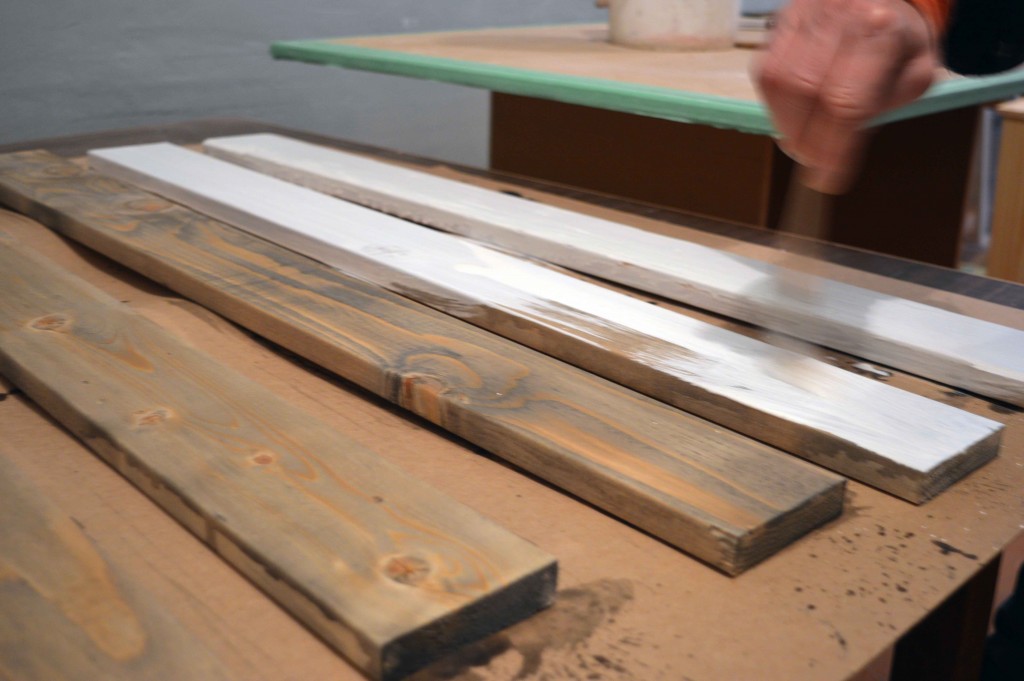
Next, mix some Warm White FAT Paint with clean water to create a wash. We used a 1:4 ratio for our background. Apply to each plank with a paintbrush, again going with the grain, and be sure to not forget the ends of each plank!
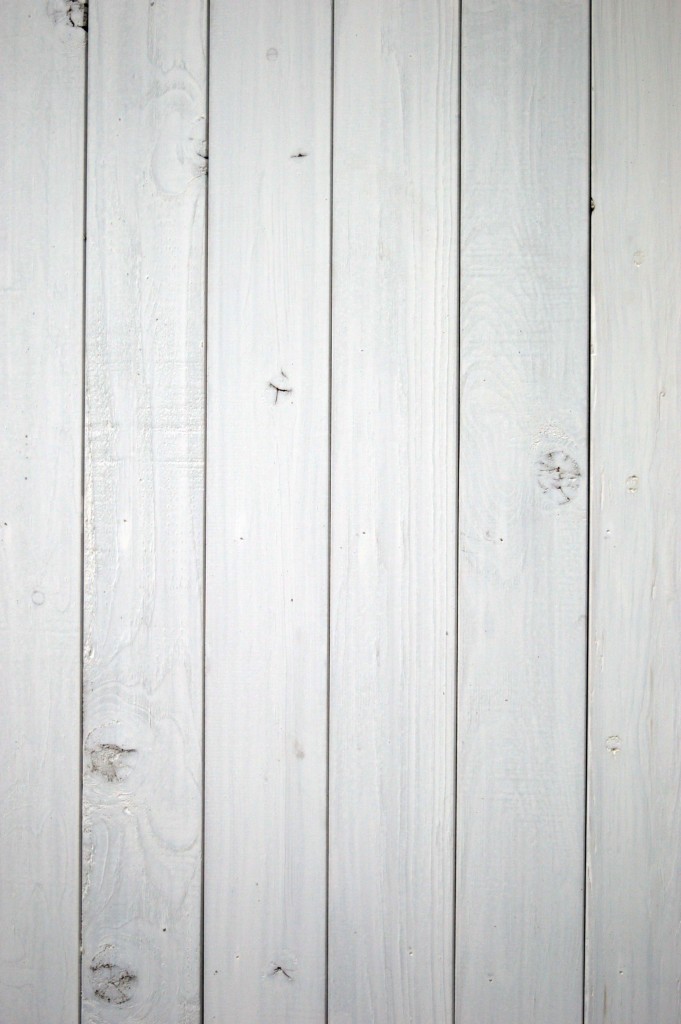
Apply as many coats of your white wash as you’d like in order to reach your desired effect. In the end, we applied three coats before sealing with CLEAR Top Coat. You also have the option to distress your planks in areas if you’d like the blond wood to peek through. Don’t be afraid to let your inner artisan guide you to your desired result. Play and experiment.
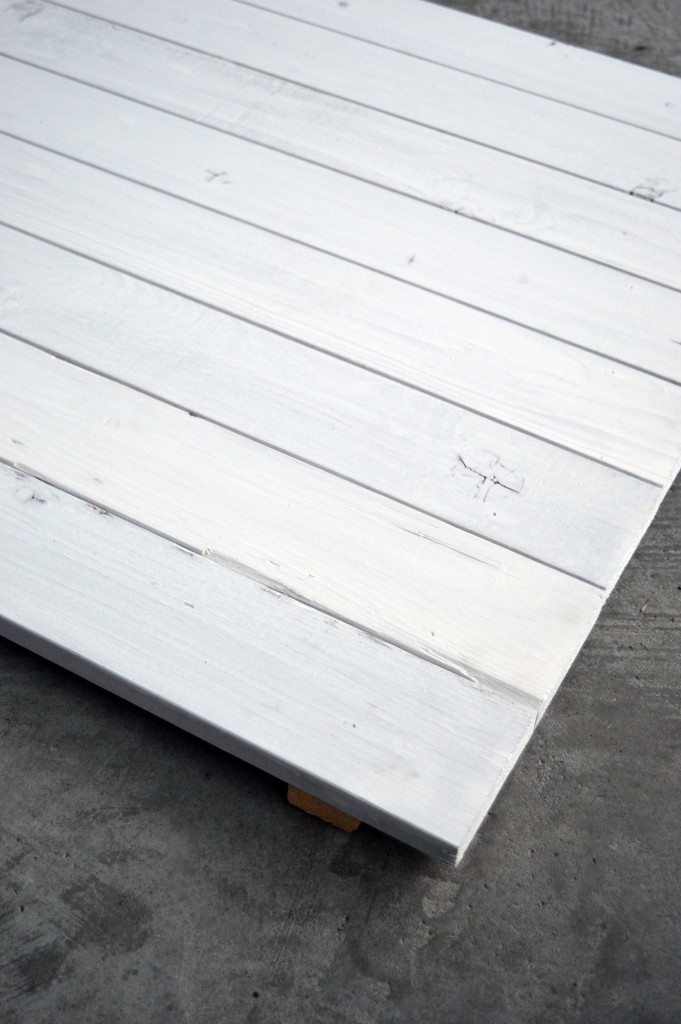
Once our planks were dry, we flipped them over and adhered two long planks to the back, running the opposite direction of the planks. We used a small nail gun to do this, with minimal effect to the front of our background. This way, the planks are secured, and you have a bit of lift off the ground for your background.
This handy DIY can be done in just a couple of hours, with plenty of time to scroll your Instagram feed in-between! Be sure to tag your Instagram shots using this DIY Instagram Background, we’d love to see your work. Follow us at @thefatpaintco!
See The Instagram Background In Action!
A photo posted by The FAT Paint Company (@thefatpaintco) on
Drop us a line
You must be logged in to post a comment.
Post Comments 0