The Inside Story
June 19, 2019
Artisan: Katie from Salvaged by K.Scott ••• FAT Paint colour: “Stark”
After a lot of deliberation, you’ve selected the FAT Paint colour you’ll use to re-invent a piece of furniture. You have your tools at the ready and you’re all set to dive into the task.
But wait! Do you have a design plan?
There’s no doubt in my mind that with just making that (sometimes challenging) colour choice, you’ve tapped into a wonderful feeling of creativity. And when you pick up the brush and start laying down that first coat of FAT Paint, your creative heart is most definitely singing. The thing is, when creativity feels so darned good, why stop at colour choice and the physical action of transformation? There’s so much more! Just imagine the endorphins bursting in your brain when you take your creative spirit to the next level!!
There are lots of ways to embrace creativity when revitalizing furniture, but none more easy and immediately satisfying then paper. I’m talking about taking the extra few steps to fashion a story. A feeling. A moment. You open a drawer or cabinet door and… you’re filled with pleasure!

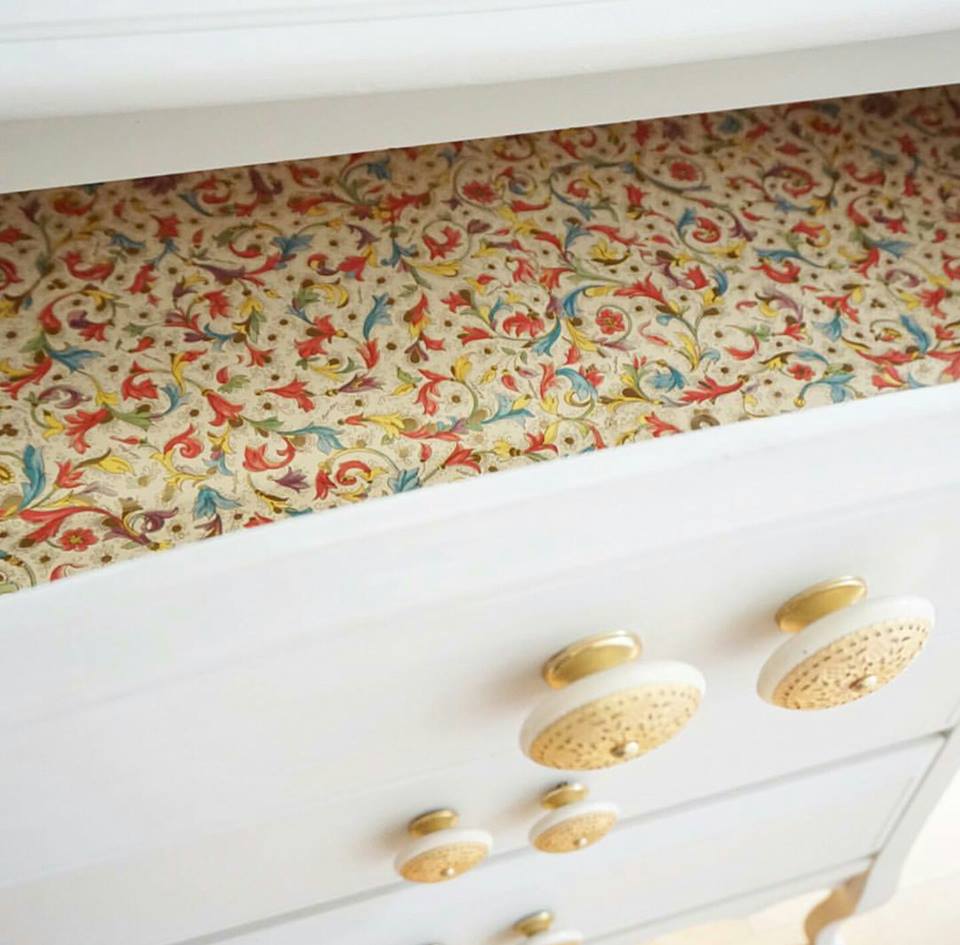
Artisan: Victoria from The FAT Paint Company ••• FAT Paint colour: “June” (retired)
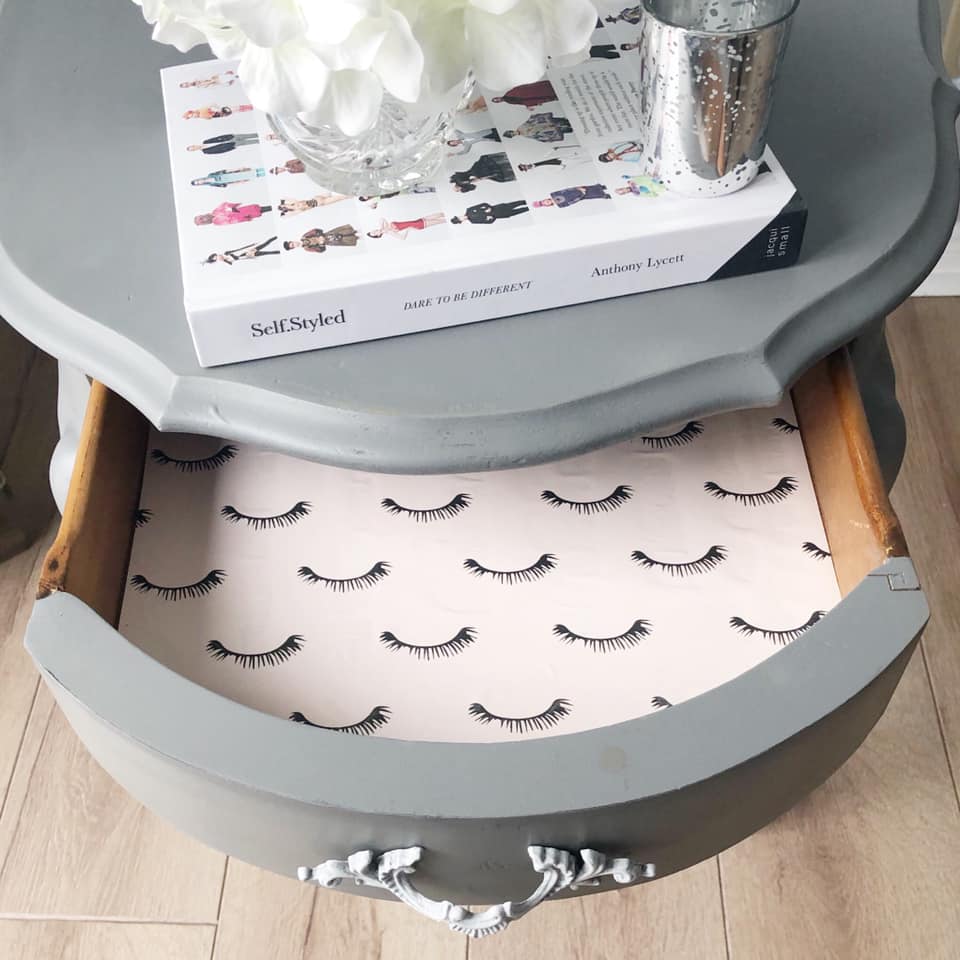
Selecting paper to line your dresser drawers or cabinet backs is most definitely a creative design decision. Are you looking for pretty or funky? Is this for a child’s dresser or a dining room buffet? Do you want to open the drawer and smile at the unexpected quirkiness (like the eye lash paper above), or do you want clean classic stripes (see below)? The paper you choose has everything and more to do with the overall personality you want your piece of furniture to embody.
In fact, you may find it easier to first select the perfect paper and then – using the paper as a colour and/or personality guide – select your FAT Paint colour. Of course most of the inspiration photos in this post showcase papers that coordinate with the paint colour and not specifically “match”. Regardless of your approach, have fun and embrace your creative heart!
So where do you find paper?
- One source is the gift wrapping section at local stores. I recently watched FAT Paint Ambassador and amazing furniture artisan Katie from Salvaged by K.Scott (IG: @salvagedbyk.scott) do a series of Instagram Stories of her search for the perfect mermaid wrapping paper. She hit Walmart and her local dollar store, but eventually found the most perfect scallop-designed paper at the Hallmark Store. To see the paper she found – and the FATtabulous purple & turquoise blended bedside table she put it in – head over to her IG feed and scroll down a little!
- Wallpaper is a great option. What I love about wallpaper is – like wrapping paper – it comes in rolls. And that means that you should have enough to line all the drawers in a dresser… and maybe even all the drawers in a second dresser. Hit up design shops to see if they have discontinued rolls in stock. These rolls may be “last design season”, but they’re still gorgeous… and less expensive per roll! Another option is the design section of Home Depot or Lowes. Options are limited, but I found the shimmery neutral brocade print (photo below) at Home Depot.
- My most favourite option for pretty paper is stocked at a very special paper-loving store here in Vancouver called Paper-Ya. They stock large format (about 18″ x 36″) sheets of a variety of decorative paper designs. The photo below shows some of the papers I purchased from them. I’m particularly in love with the pink & blue botanical print!! Purchasing individual sheets of paper like this can be expensive, but the impact is straight up WOW! I encourage you to source out artisan-focused shops like Paper-Ya in your area!! (another option for sheets of artisan paper is De’Serres, Opus, or art stores local to you)
- Design your own paper! Spoonflower is an awesome on-line resource for printing your designs!! They also have a gorgeous inventory of other designs that you can purchase too.
- Drawer lining paper. Yep… actual paper for lining drawers. I haven’t found a reliable source for this kind of paper. The box shown in the photo below was a lucky find at HomeSense (Marshals in the US). Actual shelf lining is an option, but admittedly I’m not a fan.
- I once lined the drawers of a bedside table with a decoupage of torn up tissue paper! The results were so awesome, but unfortunately I couldn’t find a photo to share with you.

Paper options galore!
And now… apart from the occasional design tip, no more words… just inspirational photos! Where available, I’ve linked the photos to their makers’ websites or Facebook pages. Go check them out!
Artisan: Marijana from Studio 3 Interiors ••• FAT Paint colour: “Antique Wedgewood” with white FAT Wax
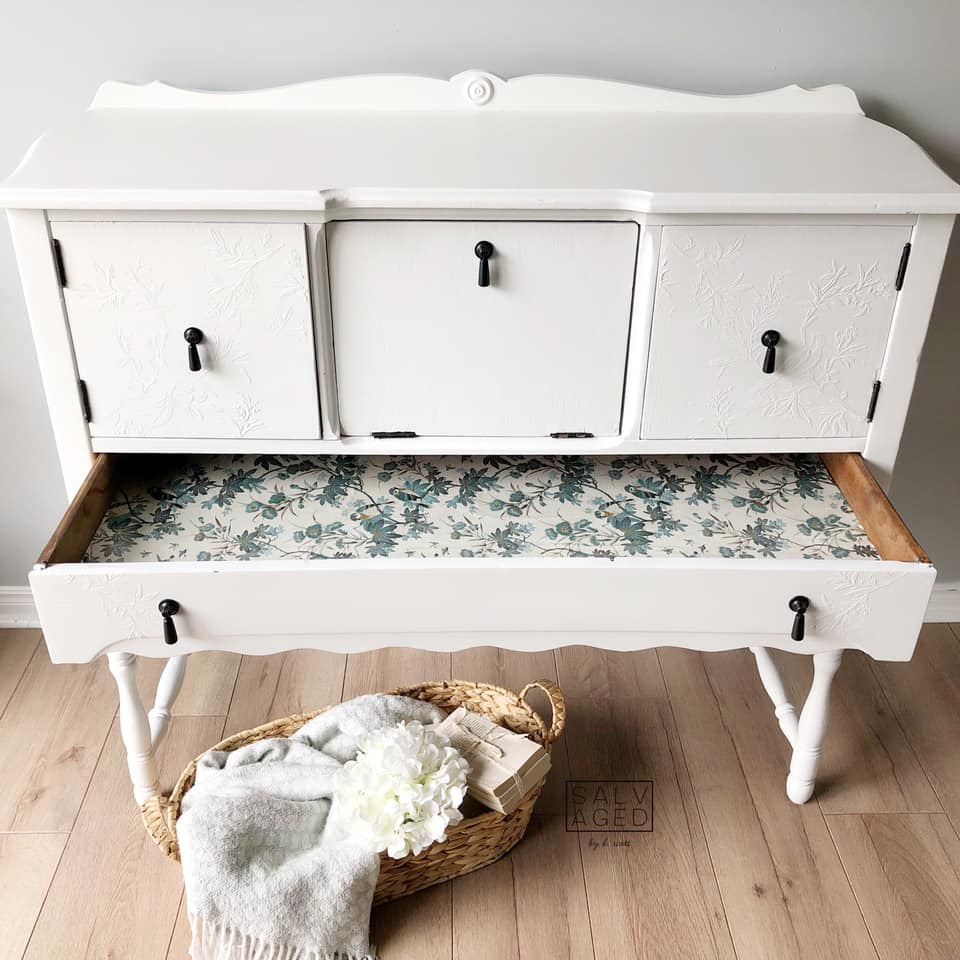
Artisan: Katie from Salvaged by K. Scott ••• FAT Paint colour: “Warm White”
Design Idea: Consider lining the top drawer of a 3+ drawer dresser in a different paper, especially if the top drawer (or drawers – some have two or three on top) has a different face design. I love this idea! It’s important that the papers compliment one another as well as the personality you’re working to create for the furniture piece.

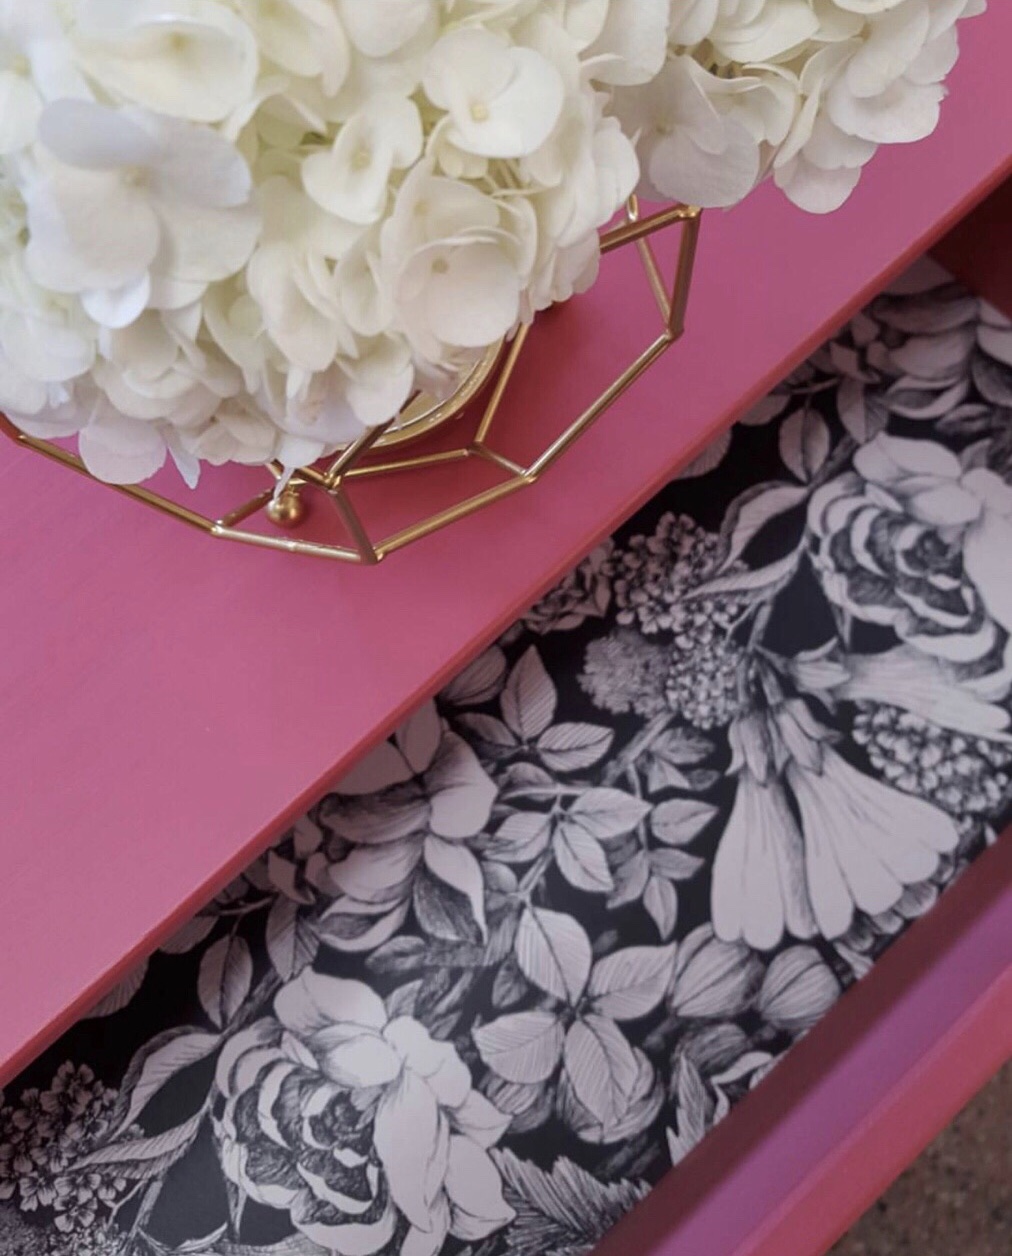
Artisan: Katie from Salvaged by K. Scott ••• FAT Paint colour: “Piri Piri”
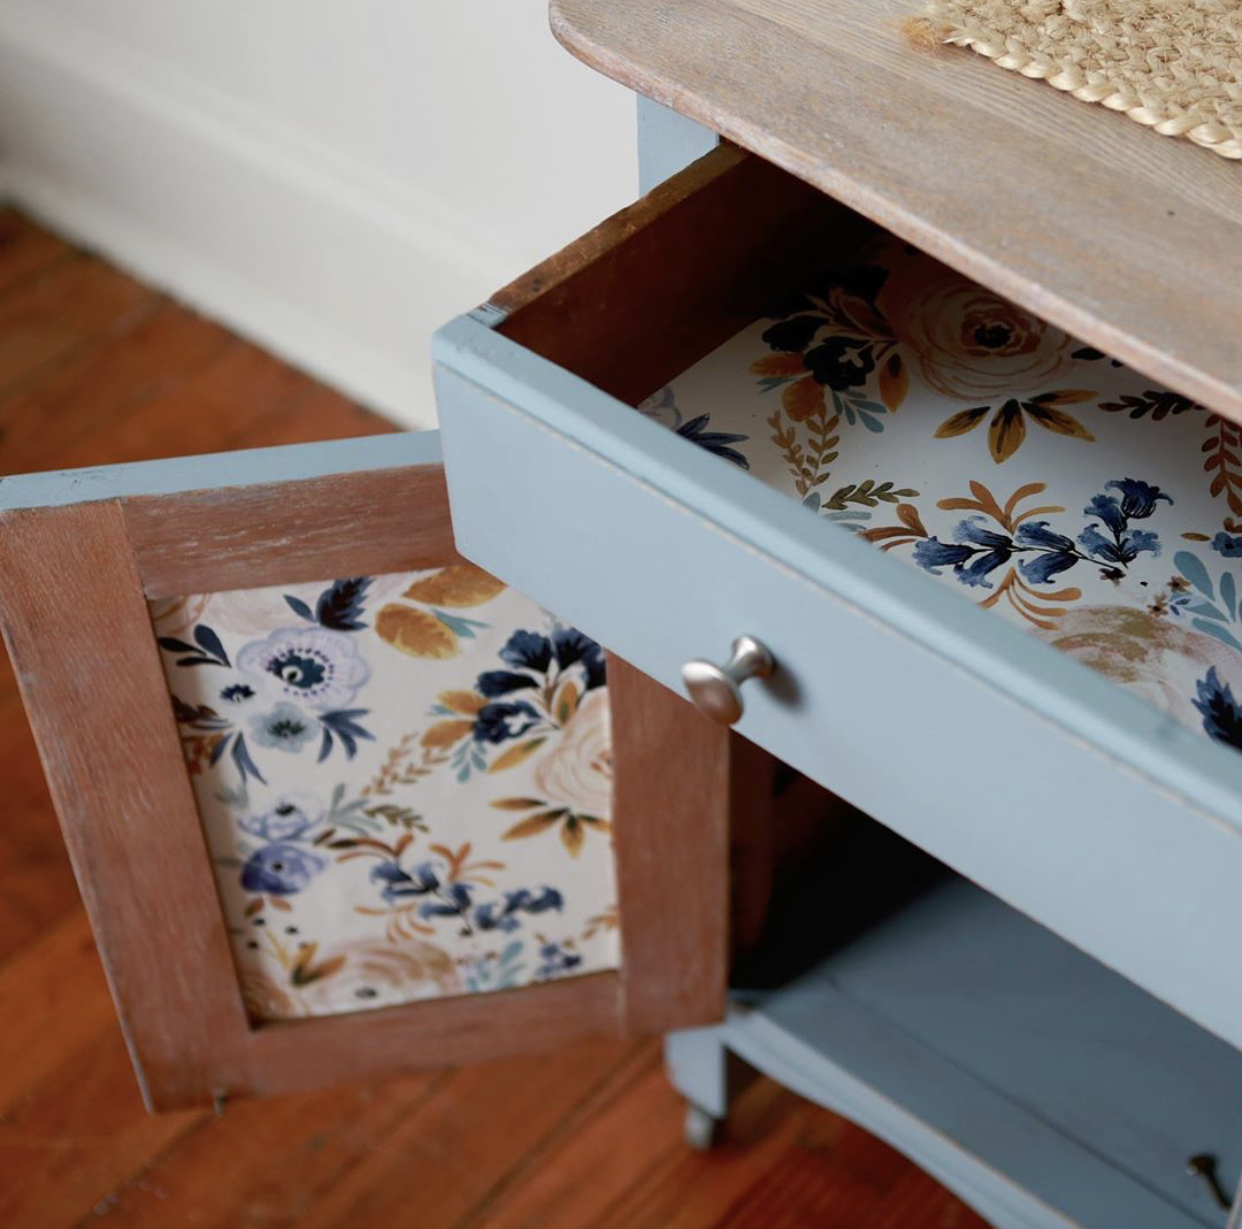
Artisan: Victoria from The FAT Paint Company ••• FAT Paint colour: “Blushing Bombshell” (retired)
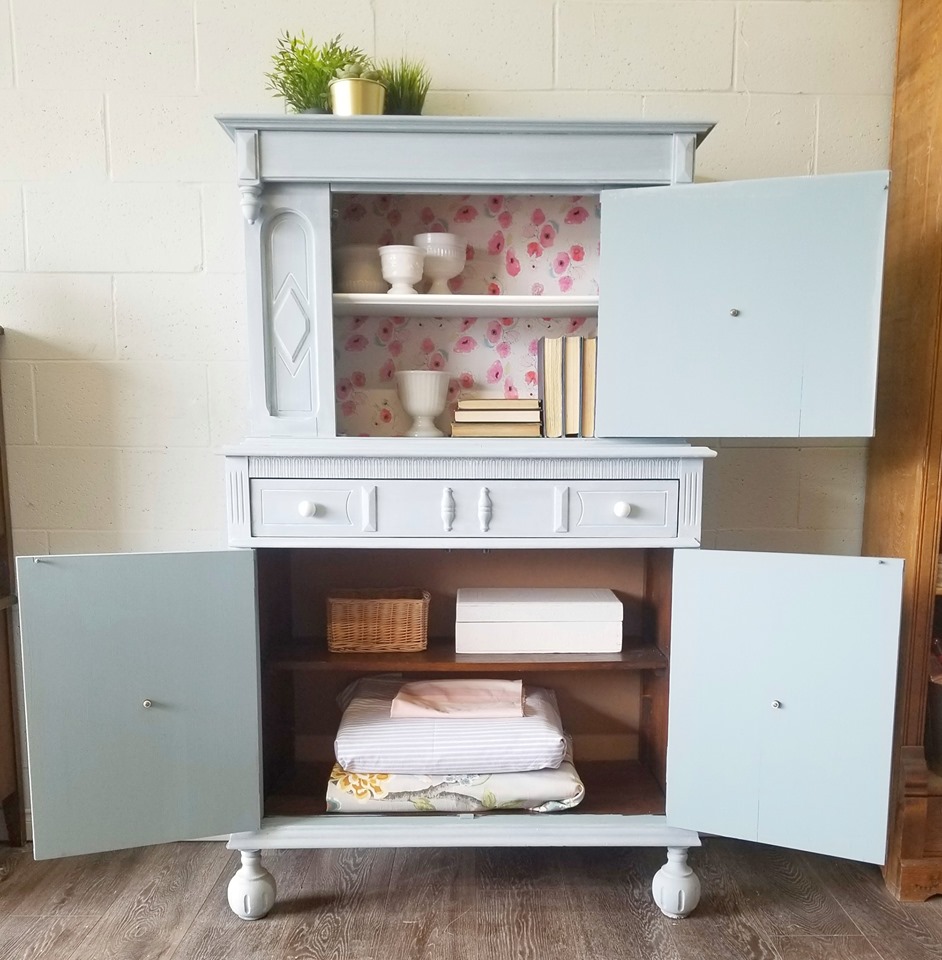
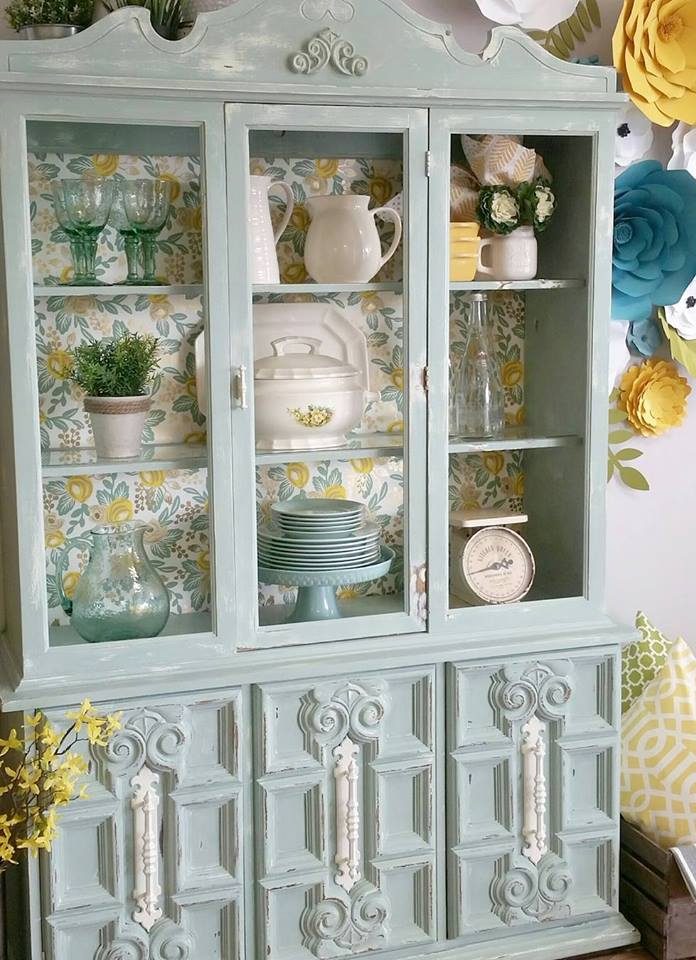
Artisan: Kim from Paint That Pretty ••• FAT Paint colour: “Gull Grey”
Artisan: Whitney from White House on the Square ••• This piece is not FAT Paint’d, but shared because it’s a perfect example of an “Inside Story”. And because it’s so darned cute!
Design Idea: Pretty paper isn’t just for lining drawers and the inside of cabinets. Bring character and personality to your dining room or kitchen by papering the back of your china cabinet!
Tip: If you don’t want to permanently adhere the paper to the back of an open cabinet, try this:
- Cut 1/4″ MDF boards to the dimensions of the inside back of your cabinet. If the shelves are removable you may be able to cut one piece to fit the back, but that will depend on the depth of the shelf (Will the shelves fit into the cabinet if there’s a board taking up room in the back? If no, cut separate boards that fit in around the shelves).
- Prime both sides of the board(s) because water in the glue you use may cause the MDF to warp.
- Adhere paper to the MDF. Allow to dry.
- Place the board(s) into position. They should stay in place but if they don’t, double-sided tape should do the trick… as will the items you place on the cabinet shelves (have a few larger items leaning/standing against the back [a plate for example]).
Artisan: Amelie from The Suburban Home ••• FAT Paint colour: “Ocean Spray” (retired)
I hope you’ve found some inspiration in this post! Be bold, have some FAT fun, embrace creativity in all you do and always, always shine!
P.S. One more must-see inspirational piece before you click away!
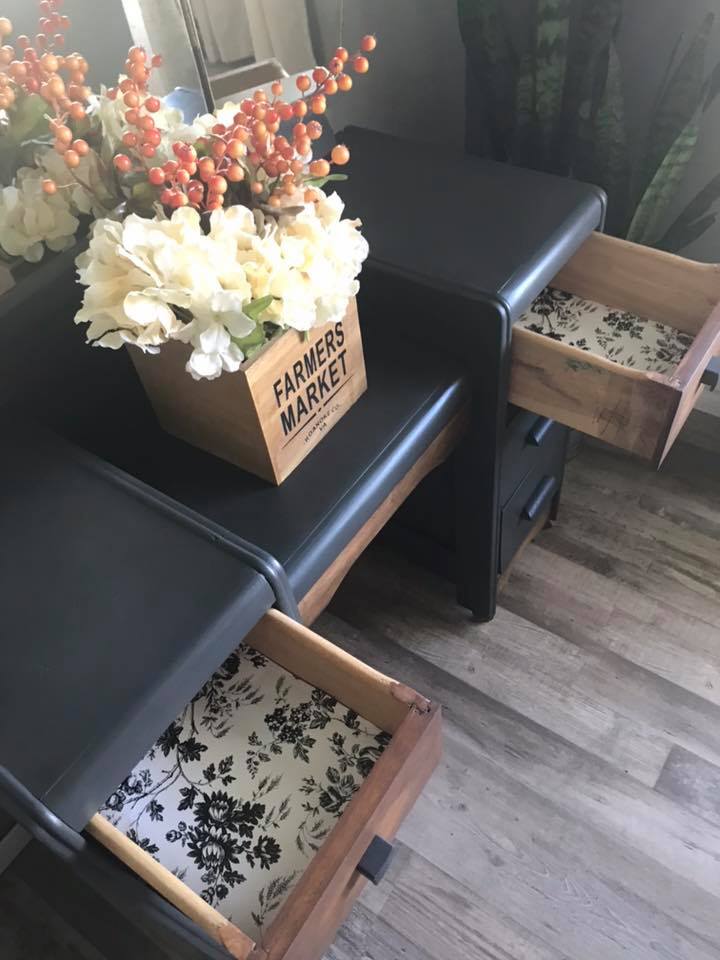
Artisan: Bobbie Lee from Sensational Finds ••• FAT Paint colour: “Raven”
Post Comments 0