Prep Before You Paint
January 3, 2018
You may have heard through the grapevine that you don’t have to prep a surface before you use FAT Paint. We’re here to dispel that myth. There is NO SUCH thing as a no-prep paint!
Yes, it’s true that FAT Paint has great adhesion. It easily affixes to most porous surfaces, such as wood, glass, metal, plastic and fabric. It’s also naturally smooth and creamy, so it covers most projects with just a couple of coats. But that doesn’t mean you can just whip out a brush and go for it on every surface you encounter. That approach may look pretty good in the short term, but the truth is you’ll likely be unhappy with the results over the long term. Why go to all that effort if you’re going to have to redo it in a year or two?
Prep is really easy! Trust us! You’ll be happy you took the effort.
The level of prep really depends on the condition of the substrate, or the surface of the piece. Some substrates only need a good clean with warm water and dish soap or a homemade vinegar wash. If there is any grease or oil on the surface, use a heavy duty degreaser.
Some projects require a whole heck of a lot more that just a quick wash. If a dresser, for example, is covered in chippy, old paint but you want to upcycle it to have a pristine, smooth surface, you’ll have to sand and/or strip off the old paint. There’s just no way around that.
There are other factors as well. You must ensure the new layer of paint bonds properly with the substrate. FAT Paint will adhere perfectly to most surfaces without sanding about 90% of the time. But, as with anything in life, there is always an exception to the rule and you need to be prepared for that.
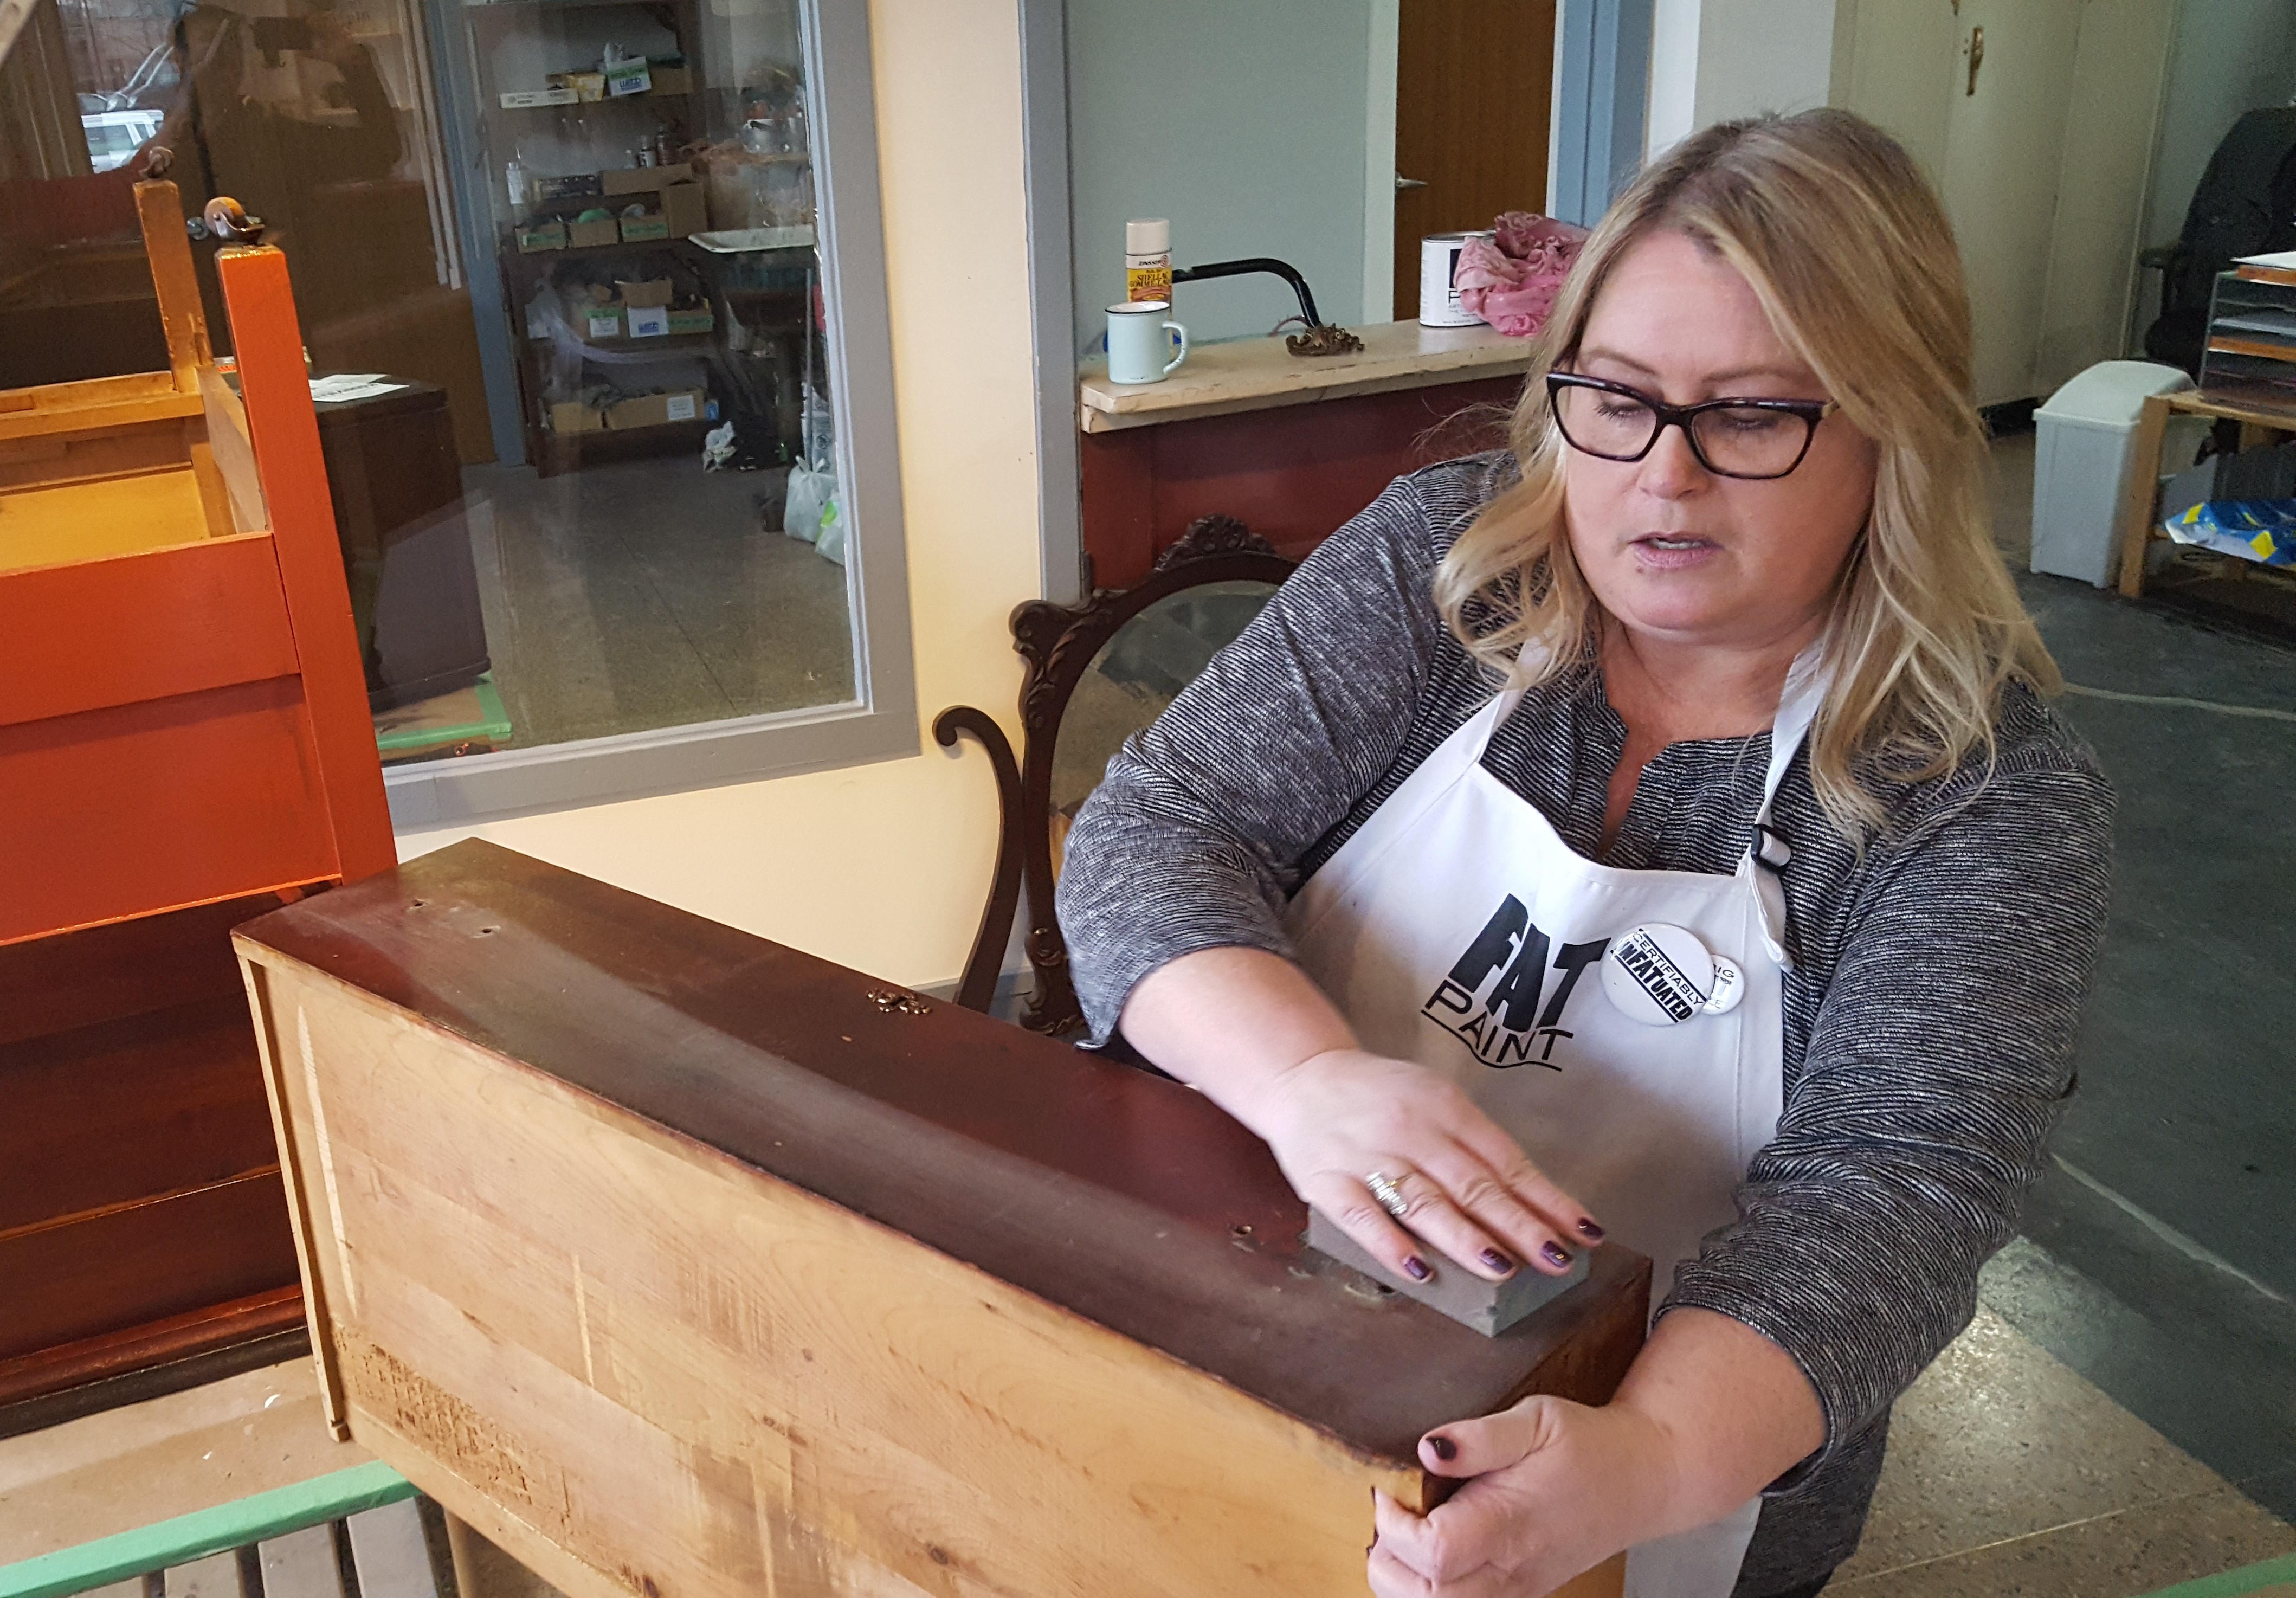
A light sand, or burnishing, in many cases is all you’ll need. This gives your paint something to stick to. Think of it like you’re getting a manicure. The esthetician files down your nails before applying a gel coating or polish. The same principle applies here.
If you’re unsure about adhesion, we recommend the scratch test. Apply FAT Paint to a discrete area of your piece, let it dry then scratch it with your fingernail. If the paint peels off, you’ll need to give the surface either a heavy sand, apply a quality high-bond primer or both. We recommend the following three brands: Sherwin-Williams, Benjamin Moore and Zinnser BIN.
A quick FYI — we are testing out products in order to bring our own primer into the FAT product family. We hope to secure and release that in the new year, so stay tuned!
Adhesion isn’t the only potential problem an artisan can encounter. There’s also bleed-through. There are several reasons this happens: a) tannins in the wood can be leached up when a water-based paint is applied b) old nicotine stains have seeped into the surface over time or c) the original stain used on the wood. The result in all of these situations is a staining of the paint colour.
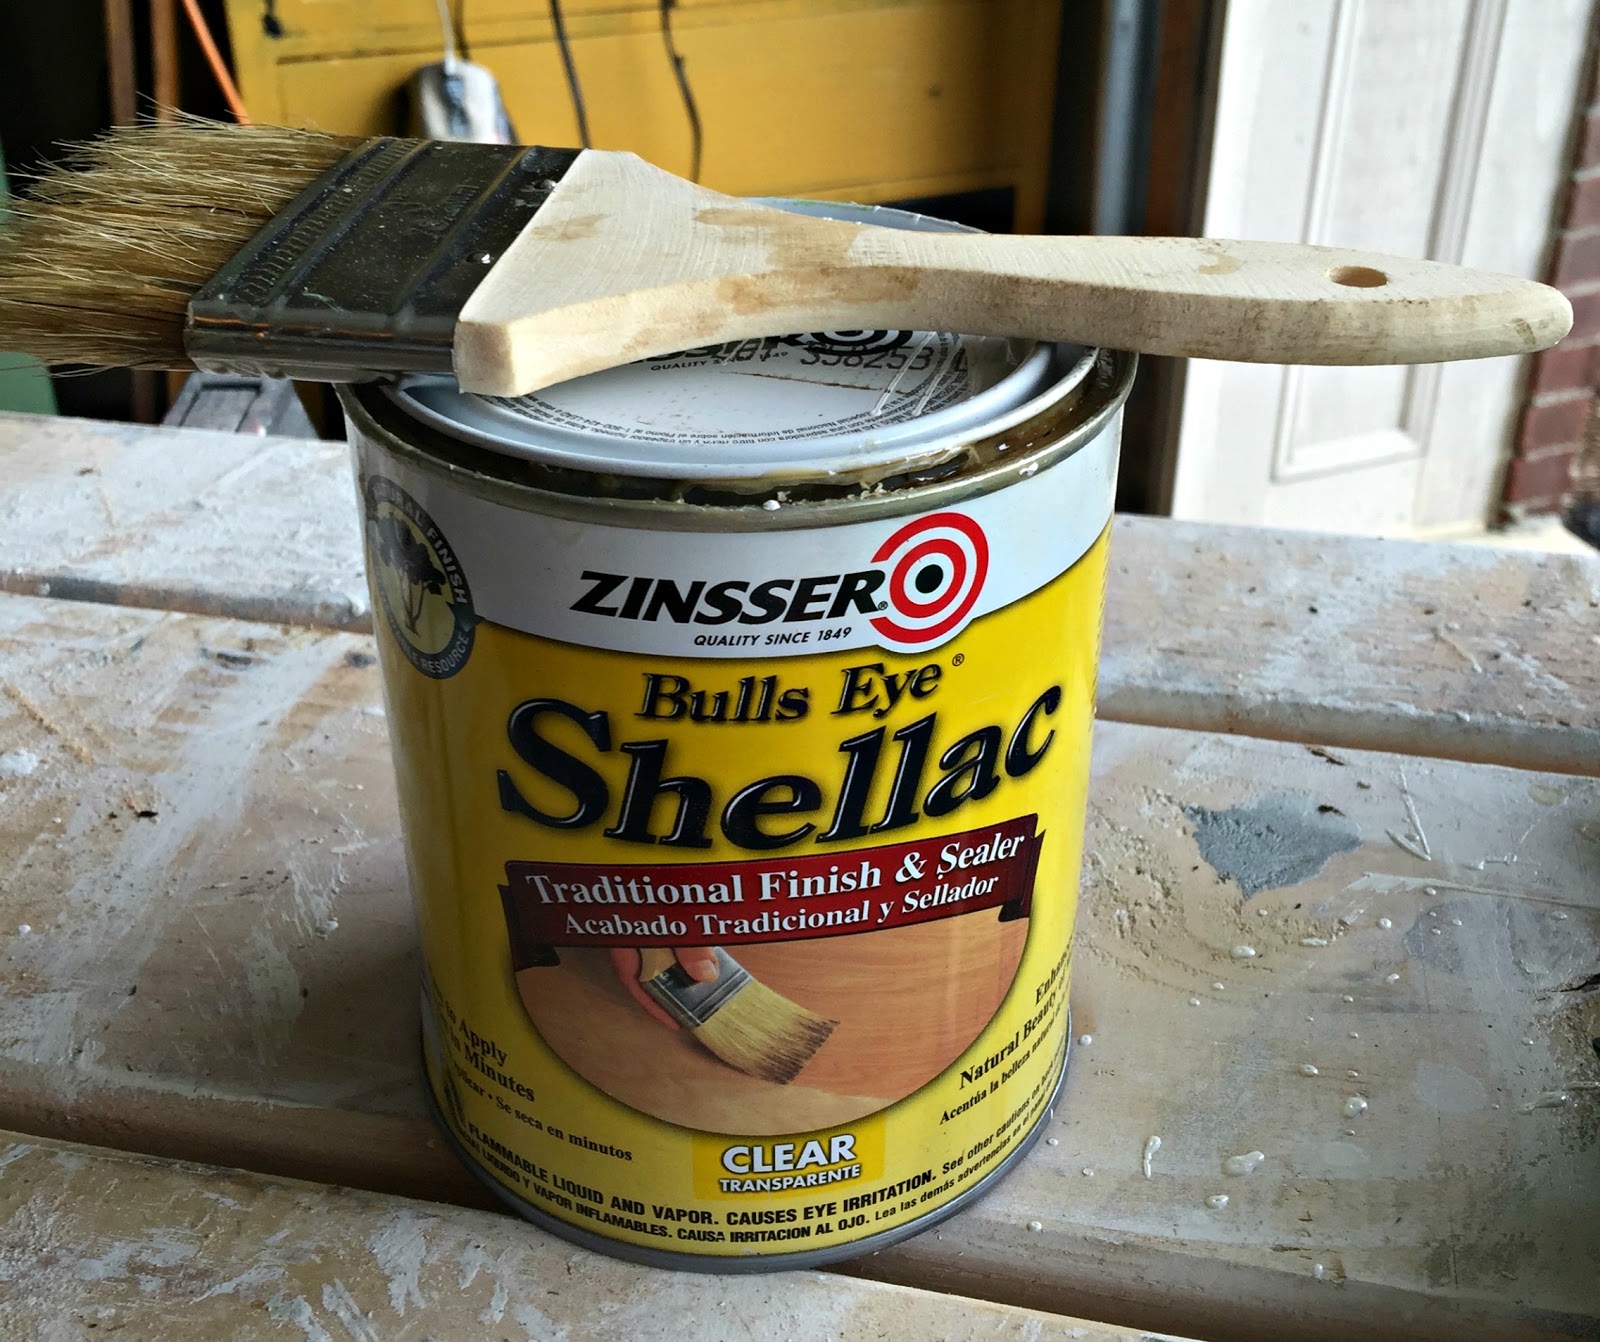
The go-to solution for bleed-through is Zinsser Shellac. You can use either the spray or the brush application version, but I recommend the brush application as it ensures even coverage. Shellac is very smelly; the spray should only be used in well-ventilated areas. Also, make sure to use a brush you don’t mind throwing away, that is unless you’re okay with using mineral spirits to clean it up.
As you gain experience as a furniture upcycler, your intuition will kick in when it comes to knowing what kind of prep a piece needs. Remember: Paint is only as good as the surface you apply it on. Make sure to take the time to properly prep each surface and you’ll have FAT-tastic results every time!


Drop us a line
You must be logged in to post a comment.
Post Comments 0