How Fabrics Can Inspire Your Next FAT Paint Project
January 23, 2017
With spring just around the corner, you may be itching for a new FAT Paint project, but have no idea what to do or where to start.
You don’t have to look far for inspiration.
From the drapes to throw pillows and rugs – even your favourite old fuzzy blanket – ideas are lingering in every corner of your house. In this blog post, we’ll help you harness that creativity and turn it into a fabulously beautiful focal point for any room.
The vision for our latest FAT Paint project began in one of the rooms on the top floor of The FAT Paint Company’s 3,065 square-foot production facility in New Westminster, BC. Currently that room houses a dusty collection of wooden chairs, vanities and other FAT-tastic finds from second-hand and vintage stores.
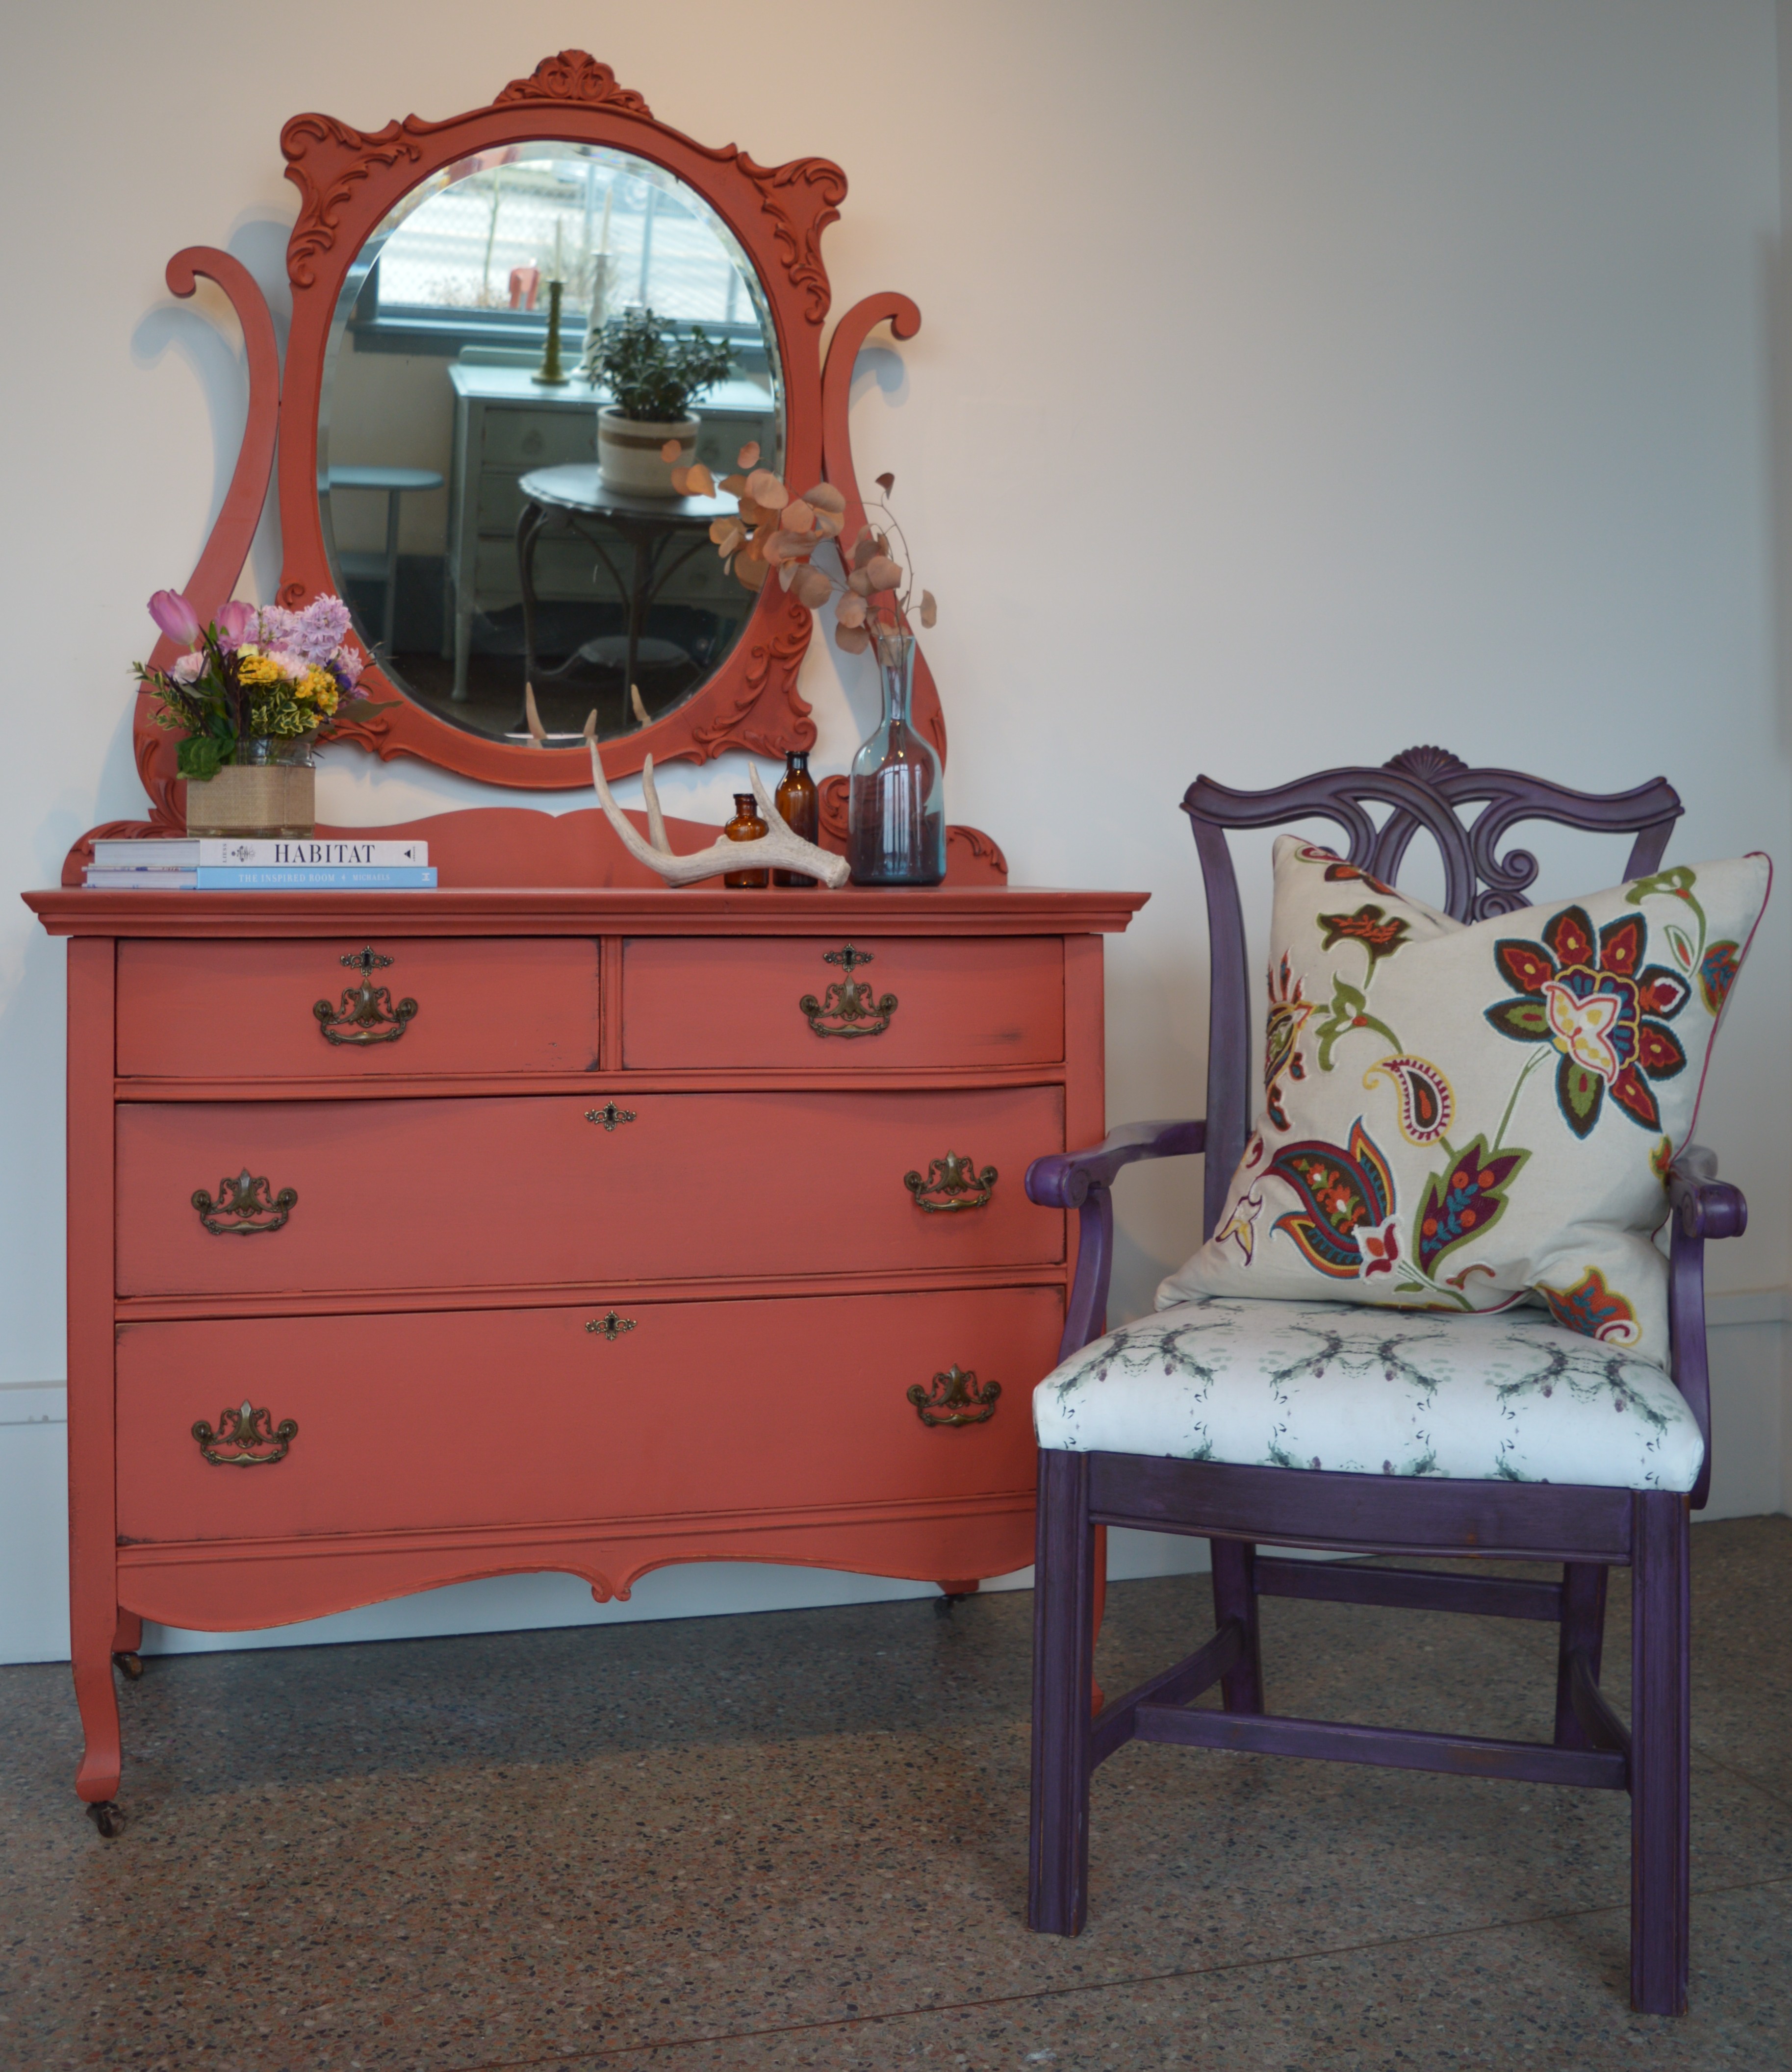
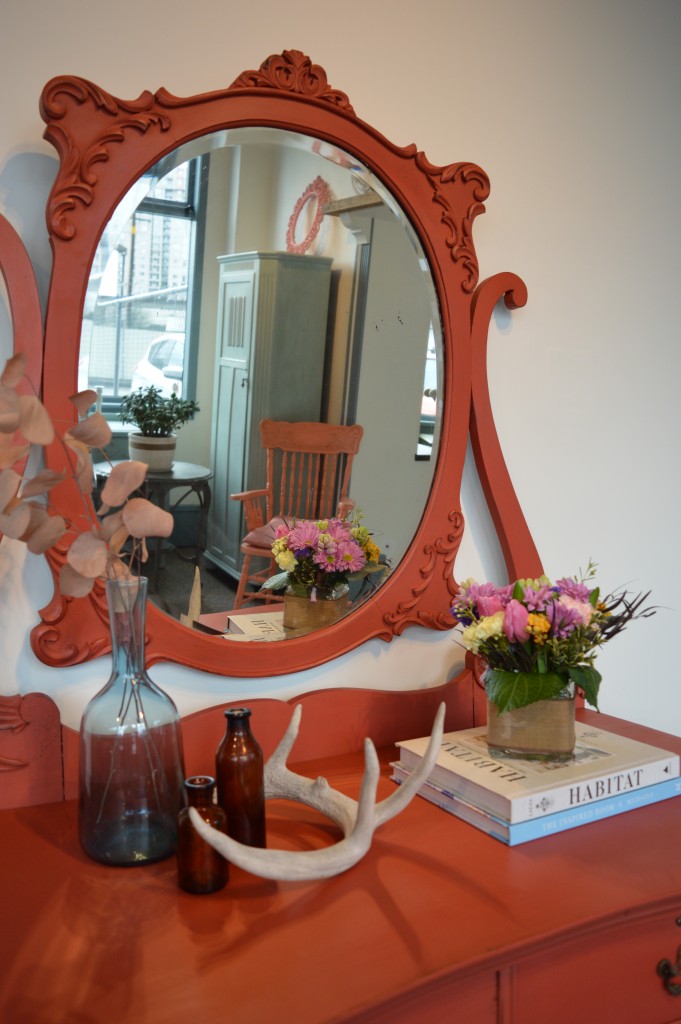
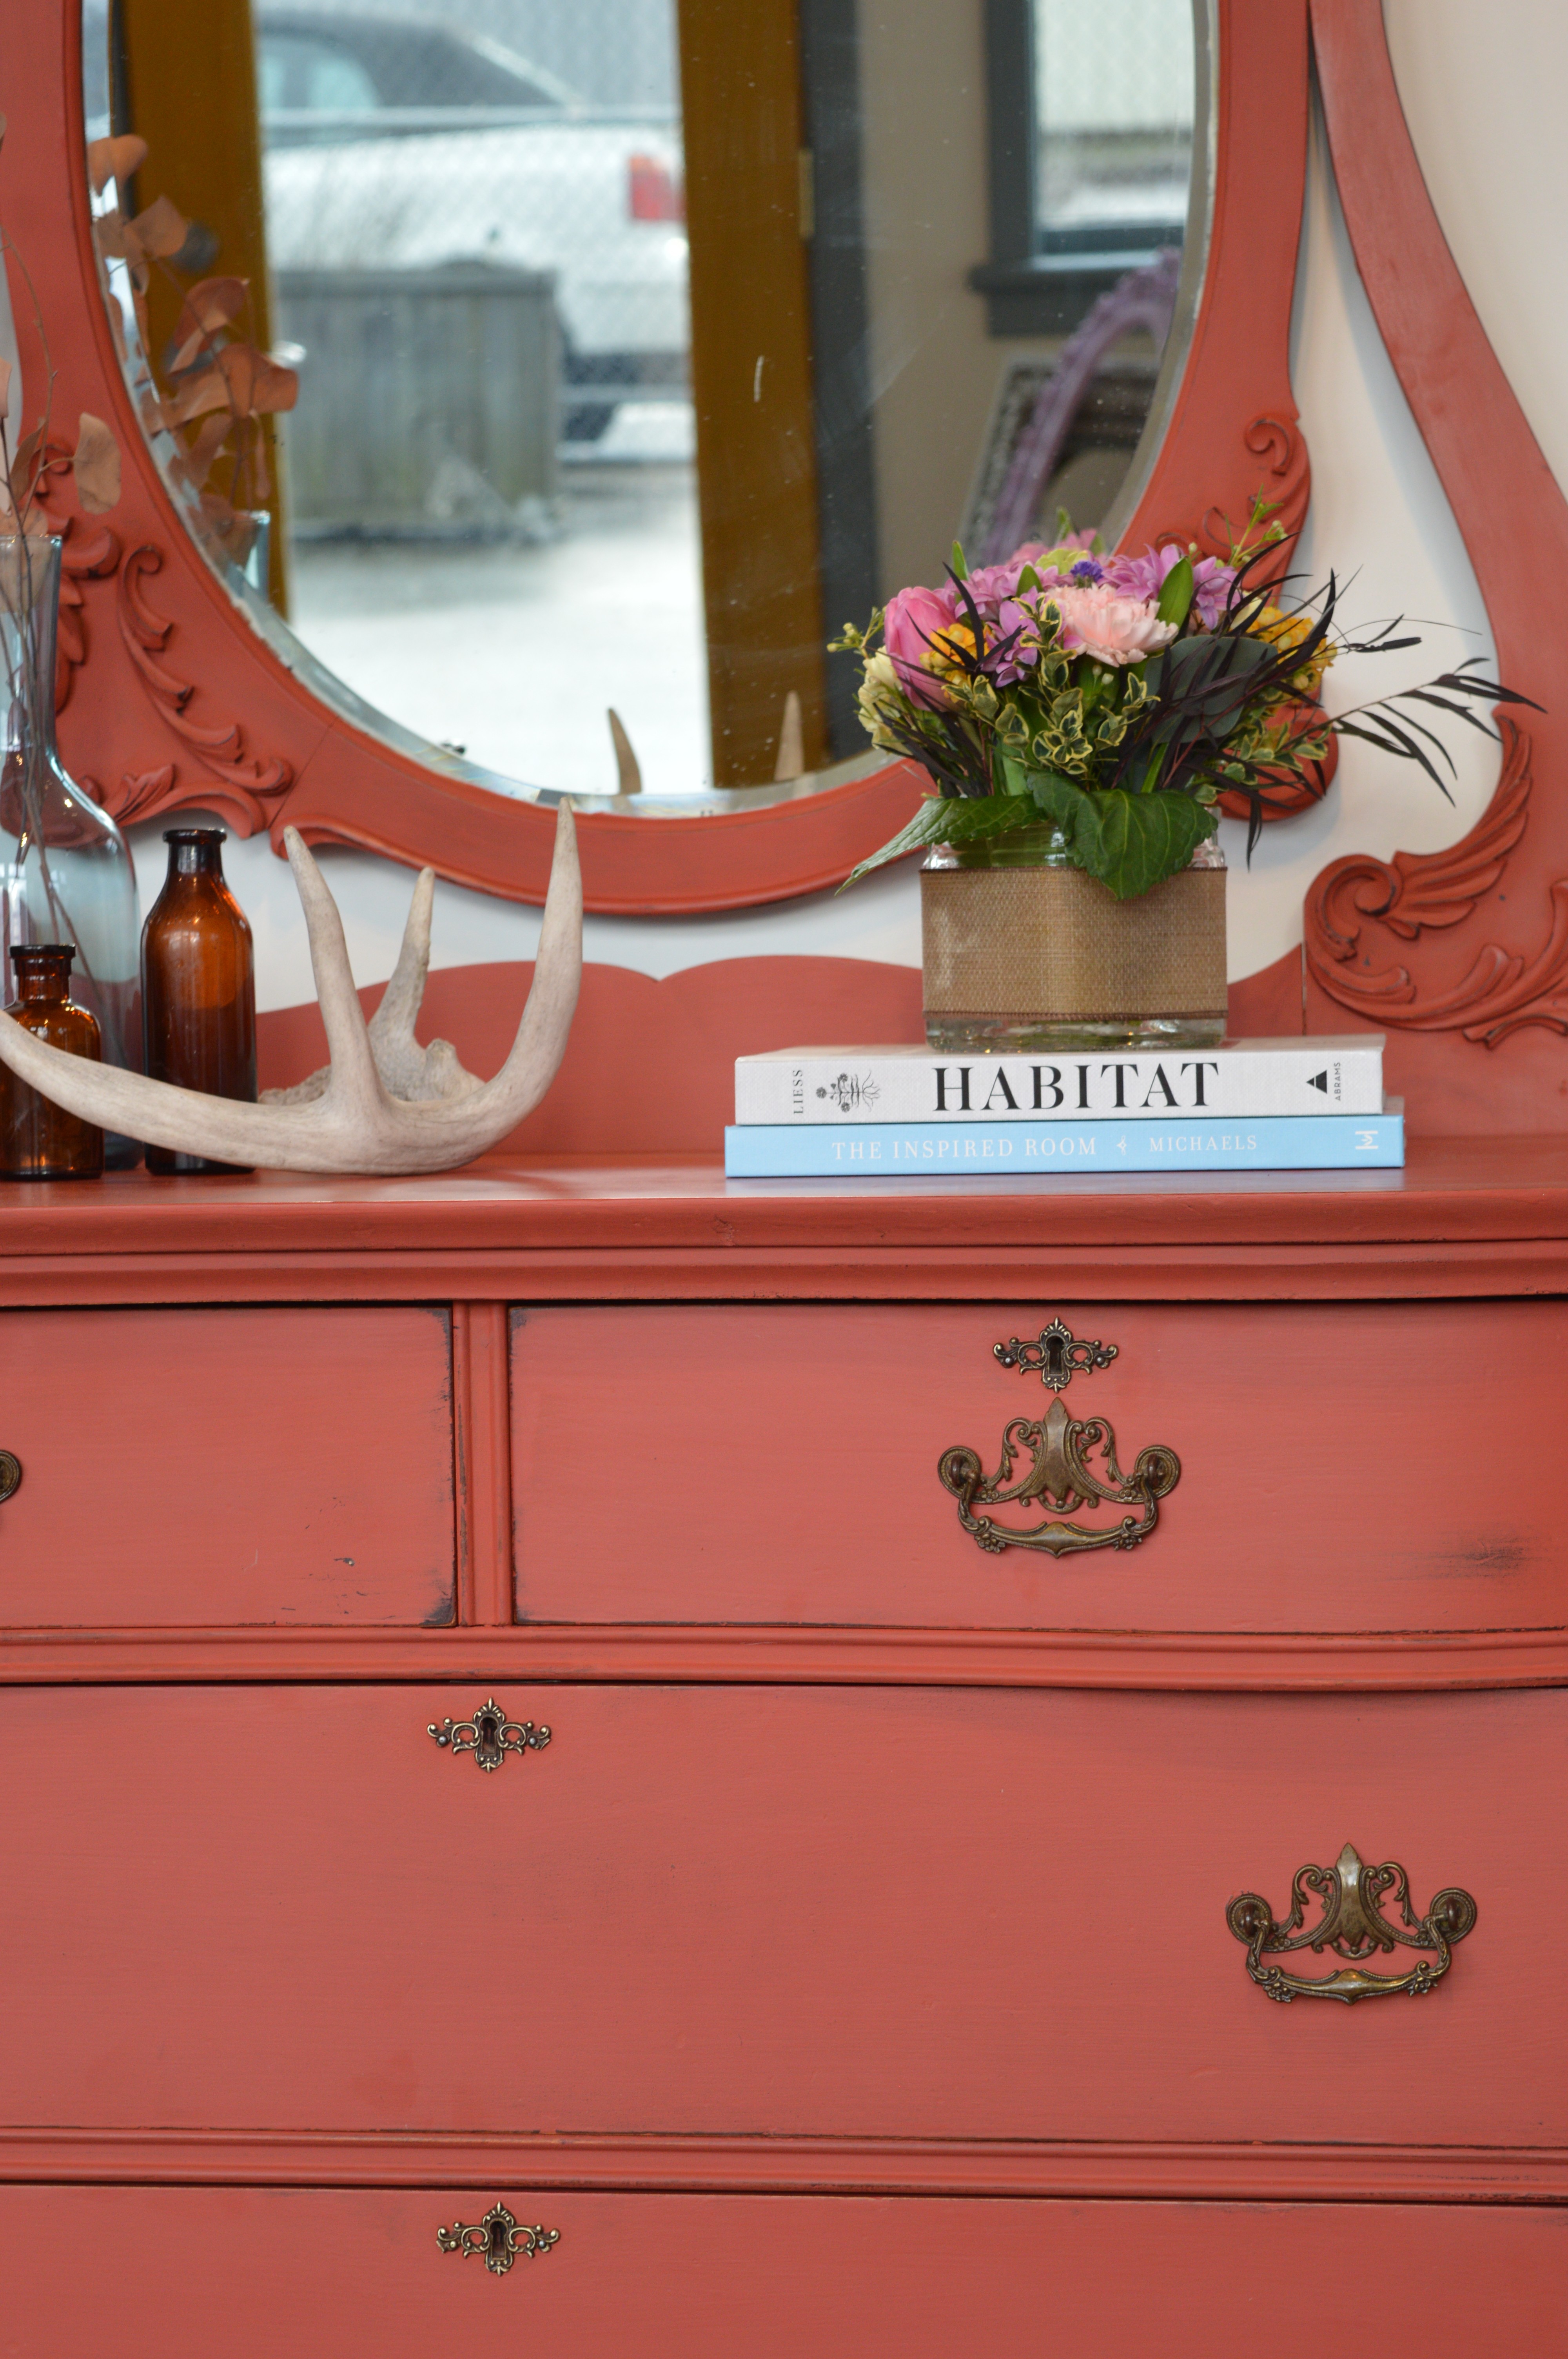
Tucked away in a corner we discovered this beautiful old dresser which, to be frank, has seen better days. There are several nicks in the wood; some of the details in the mirror are missing and the stain has been faded by the sun.
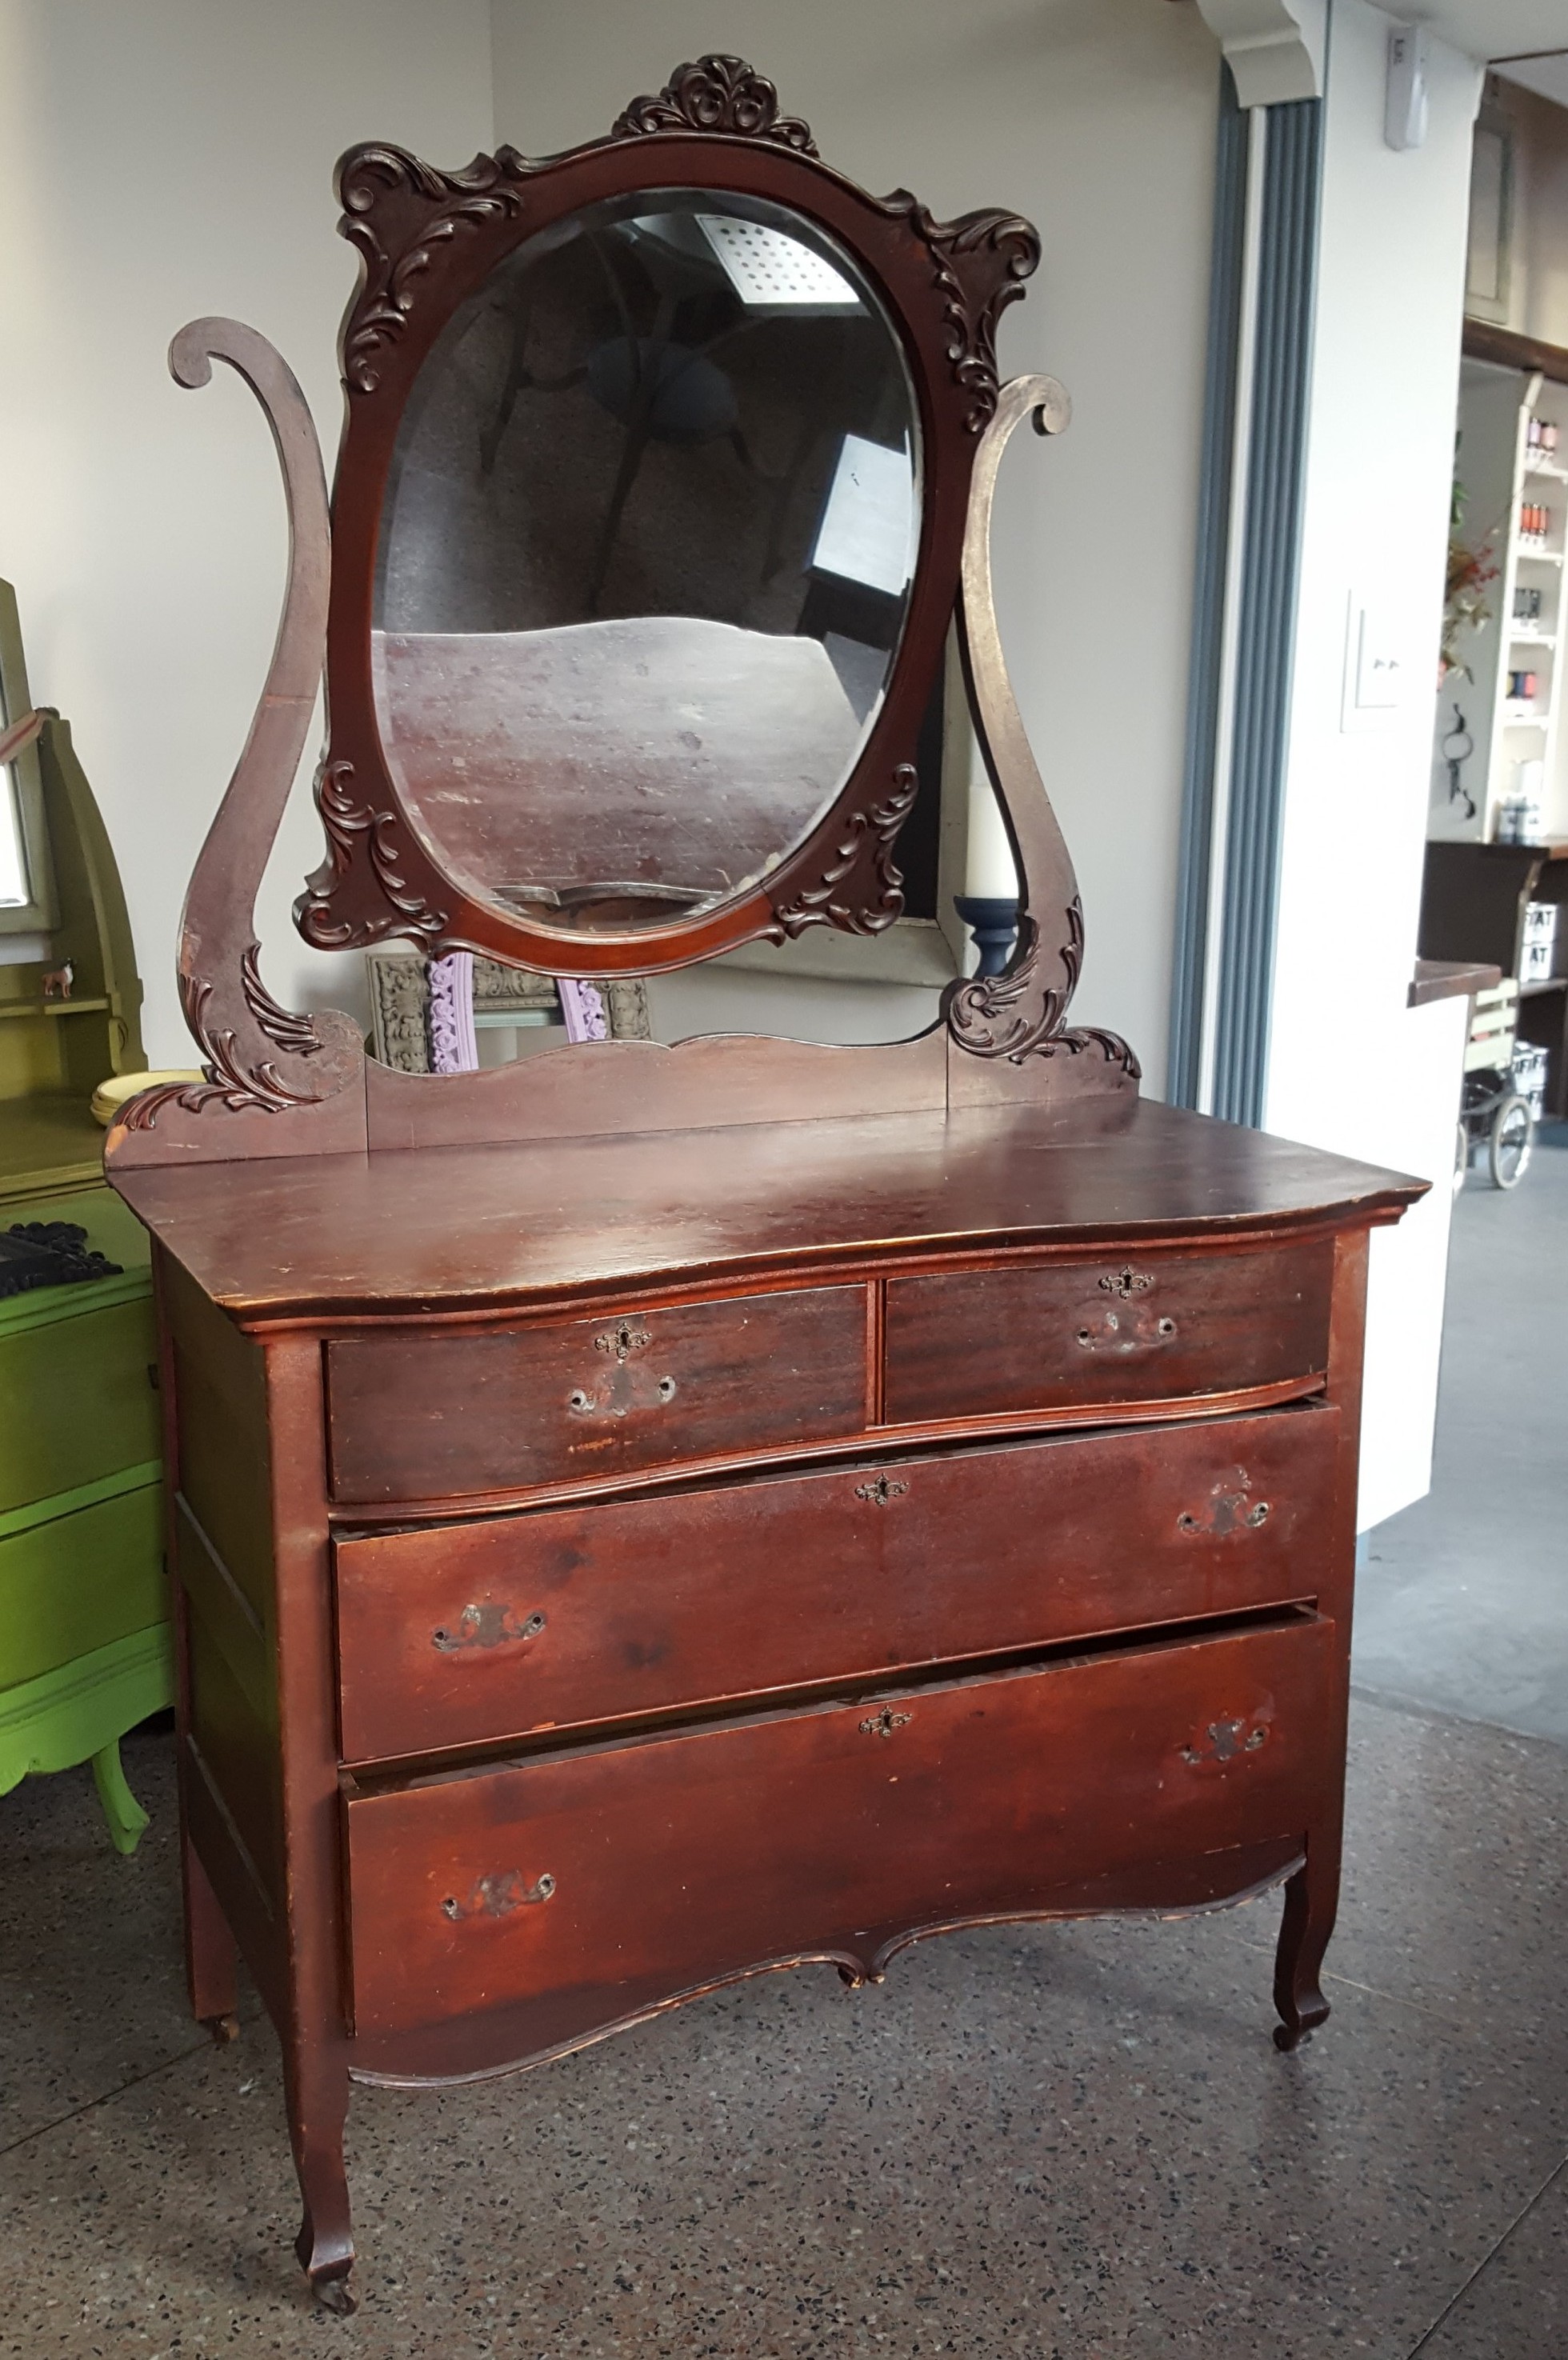
The dresser certainly deserved a big FAT chalk-style paint makeover to transform it into a true statement piece.
But, what statement should we make?
Many homes these days are built around a neutral colour palette – whites, greys and beiges for walls and whites, dark blues, browns or blacks for sofas and other furniture. The trick to bringing energy into a neutral home is to inject pops of colour and/or pattern into select pieces of decor. The easiest and most versatile way to do this is by introducing soft furnishings – pillows, drapery, rugs – into the room and transferring a colour from one of those items into a piece of painted furniture.
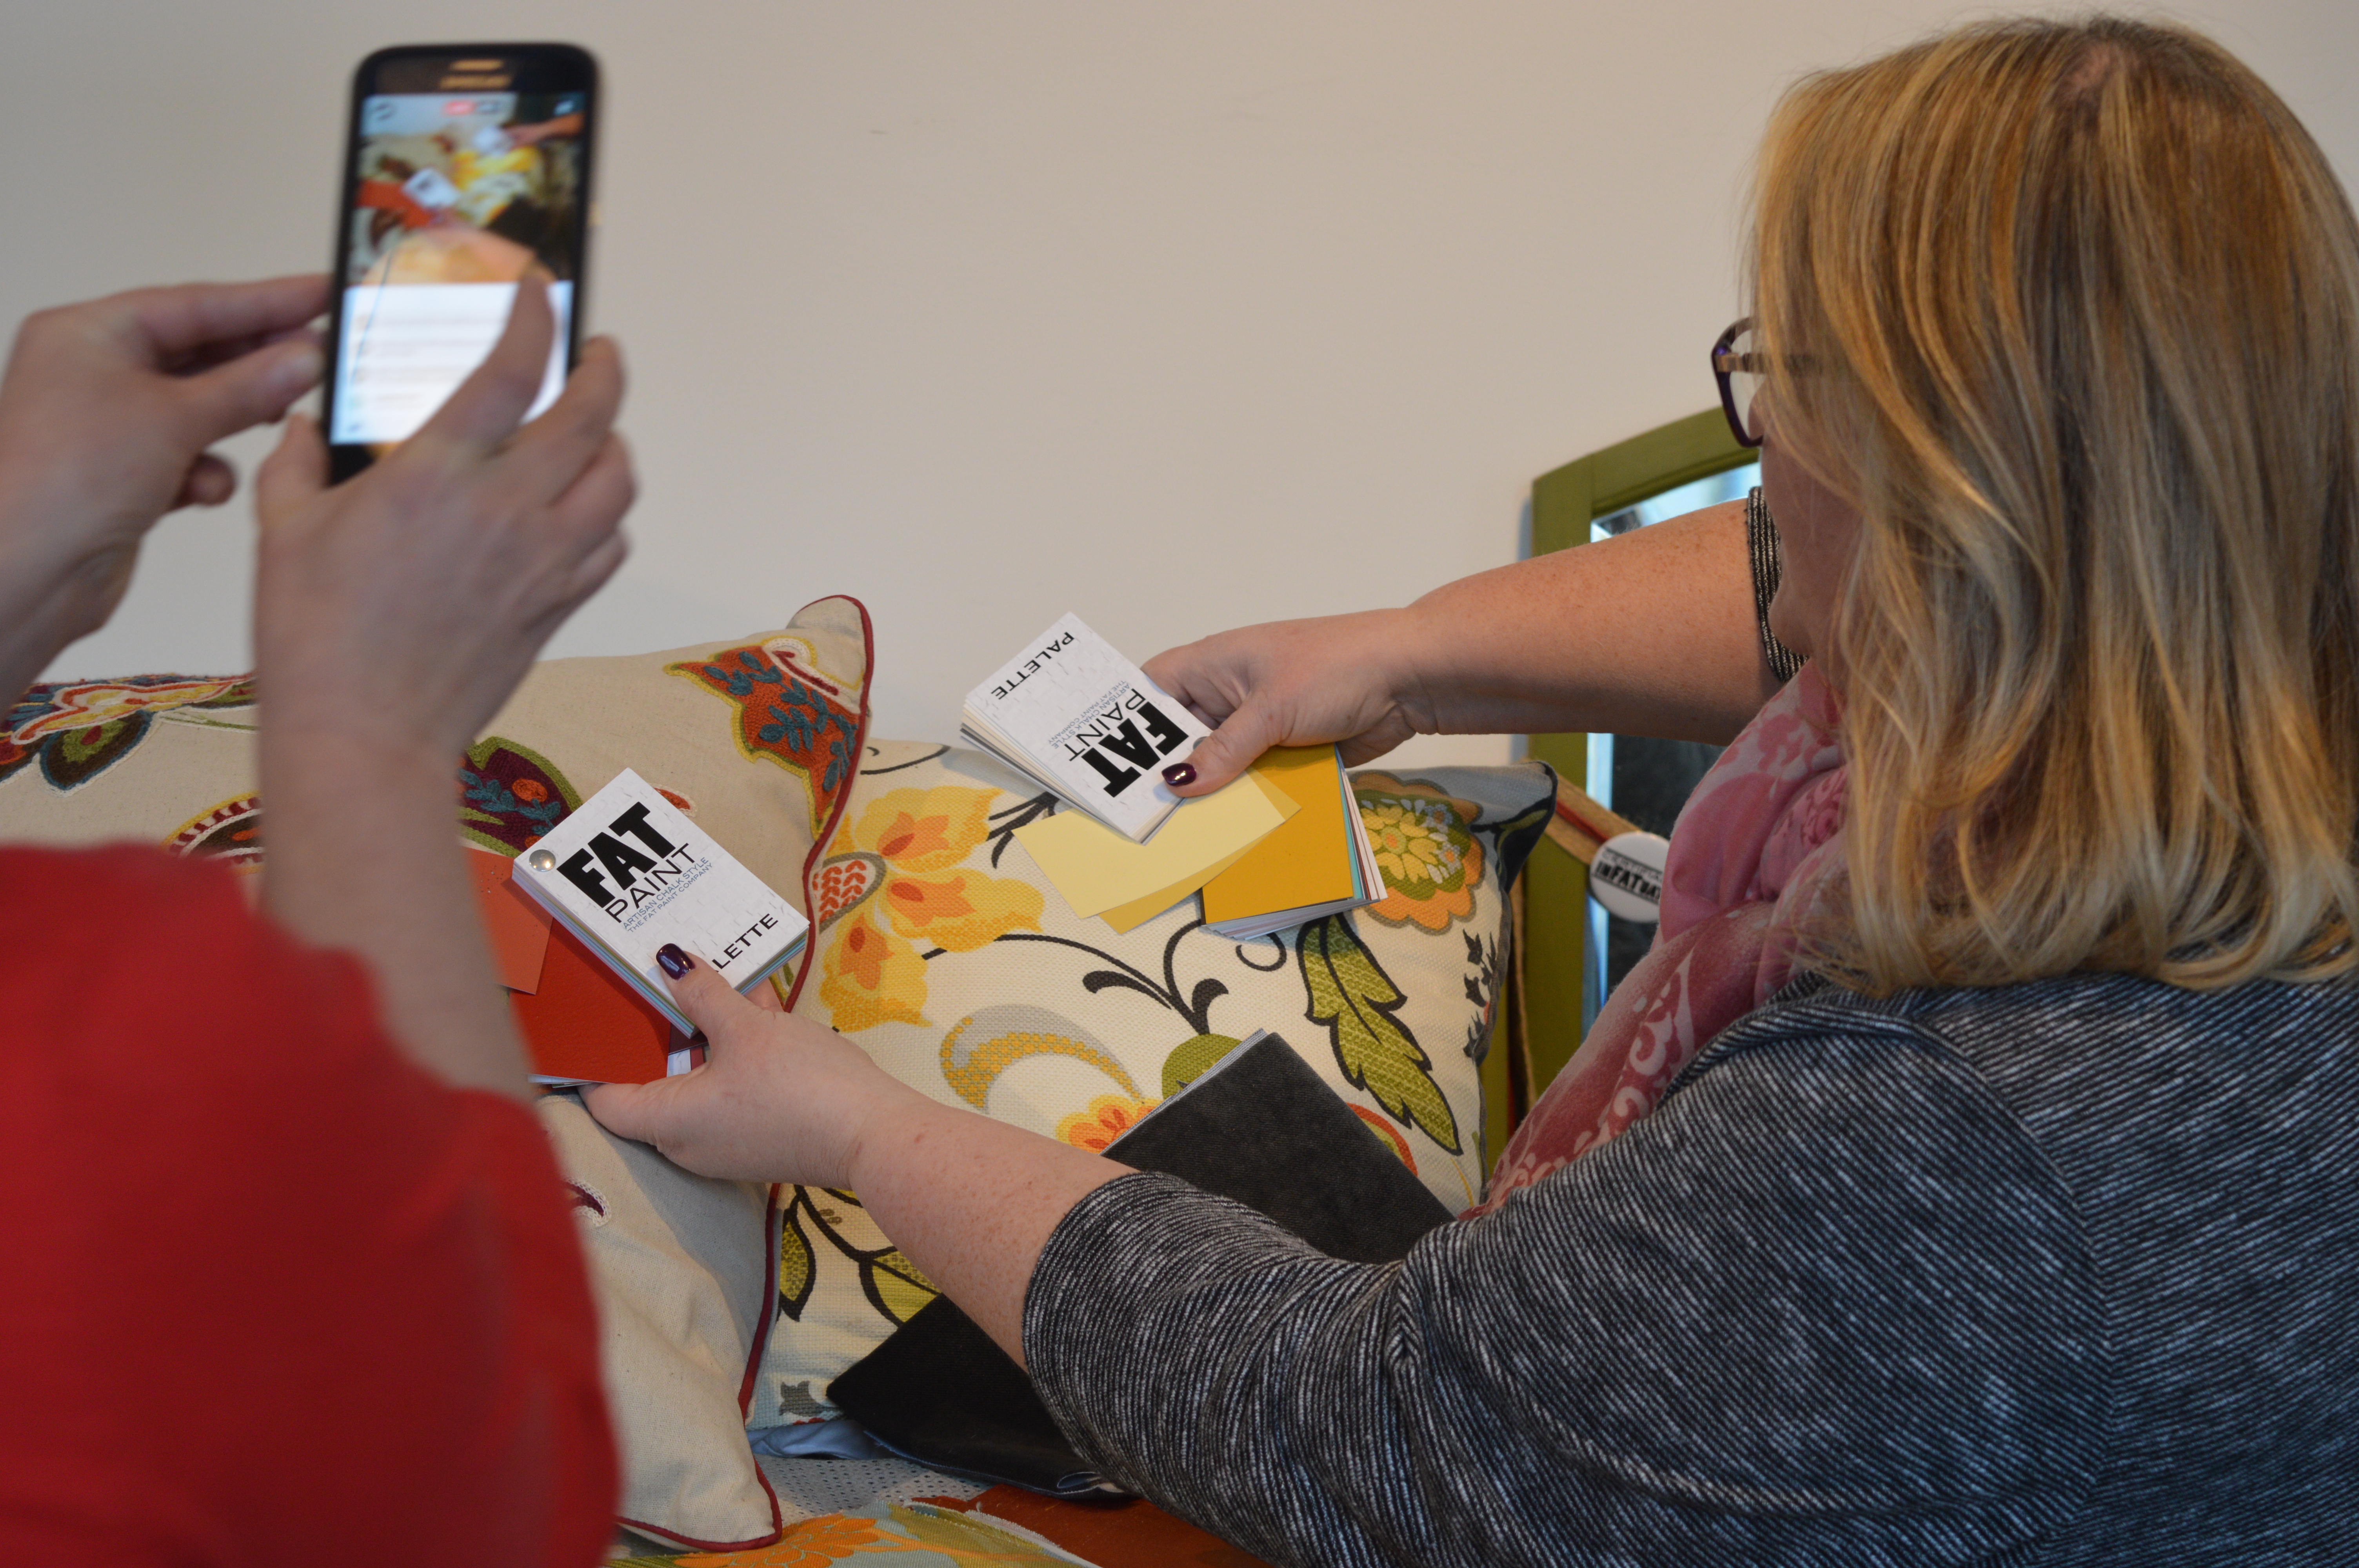
For the dresser and it’s accompanying mirror, we turned to some throw pillows Victoria had in her own home.
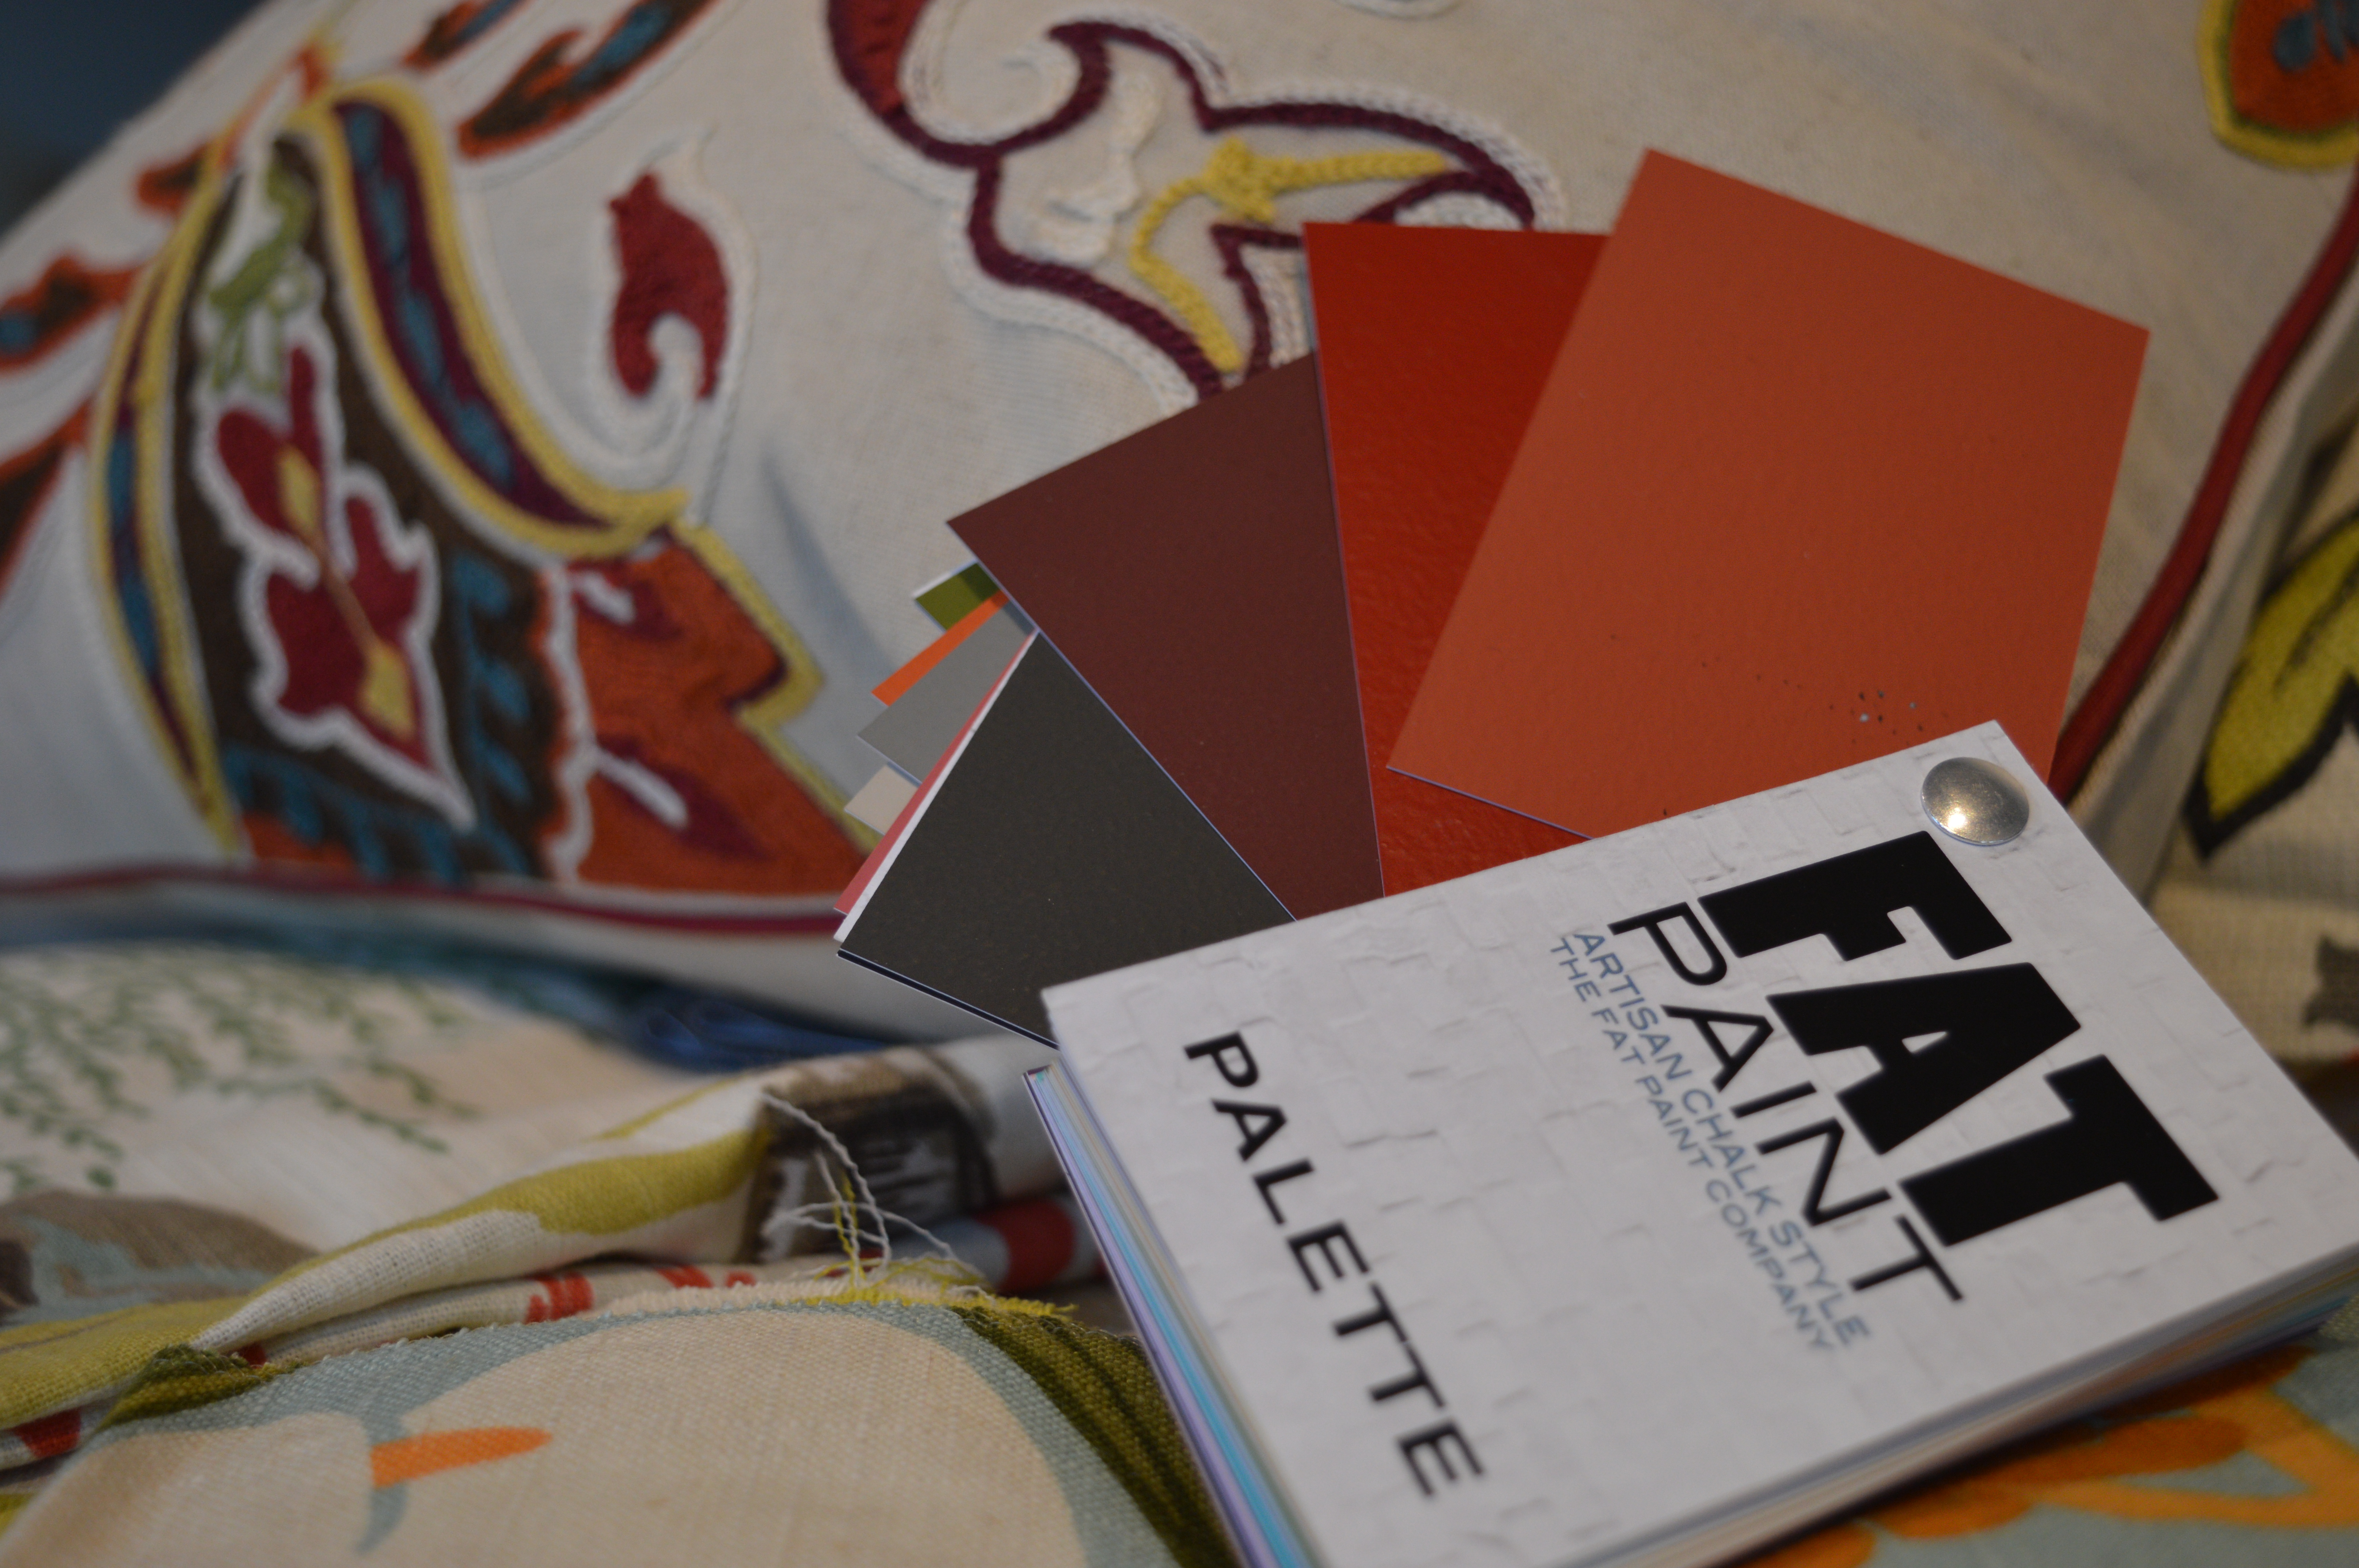
Both the pillows and the dresser have a country feel so options like Red Barchetta and Shop Door felt too bold and contemporary to work. Dune and Autumn were the best, most beautiful options but we just couldn’t decide.
After a quick poll from our live audience (did we mention we did the whole FAT Paint project live on Facebook?!), we happily settled on Autumn: a rustic red with orange undertones.
As with any furniture upcycling project – with FAT Paint or other chalk-style paints on the market – some prep is required. How much really depends on the individual piece and the desired look.
Regardless, every piece should get a quick wipe down with a degreaser to remove the grease and grime that may have built up over time.
The dresser only needed a quick “once-over” with a medium-fine (80/120 grit) sanding block to help with adhesion, paying extra attention to the flawed spots and where the drawer pulls adhere. Usually prep ends with another wash to remove the dust but, in this case, the wood is naturally very red. Victoria was worried about bleed through so she sealed the surface with a SHELLAC spray to prevent the tannins from penetrating the surface.

From natural to synthetic bristles, there is a vast array of paint brushes to choose from. Again, it all depends on the individual piece and your desired look.
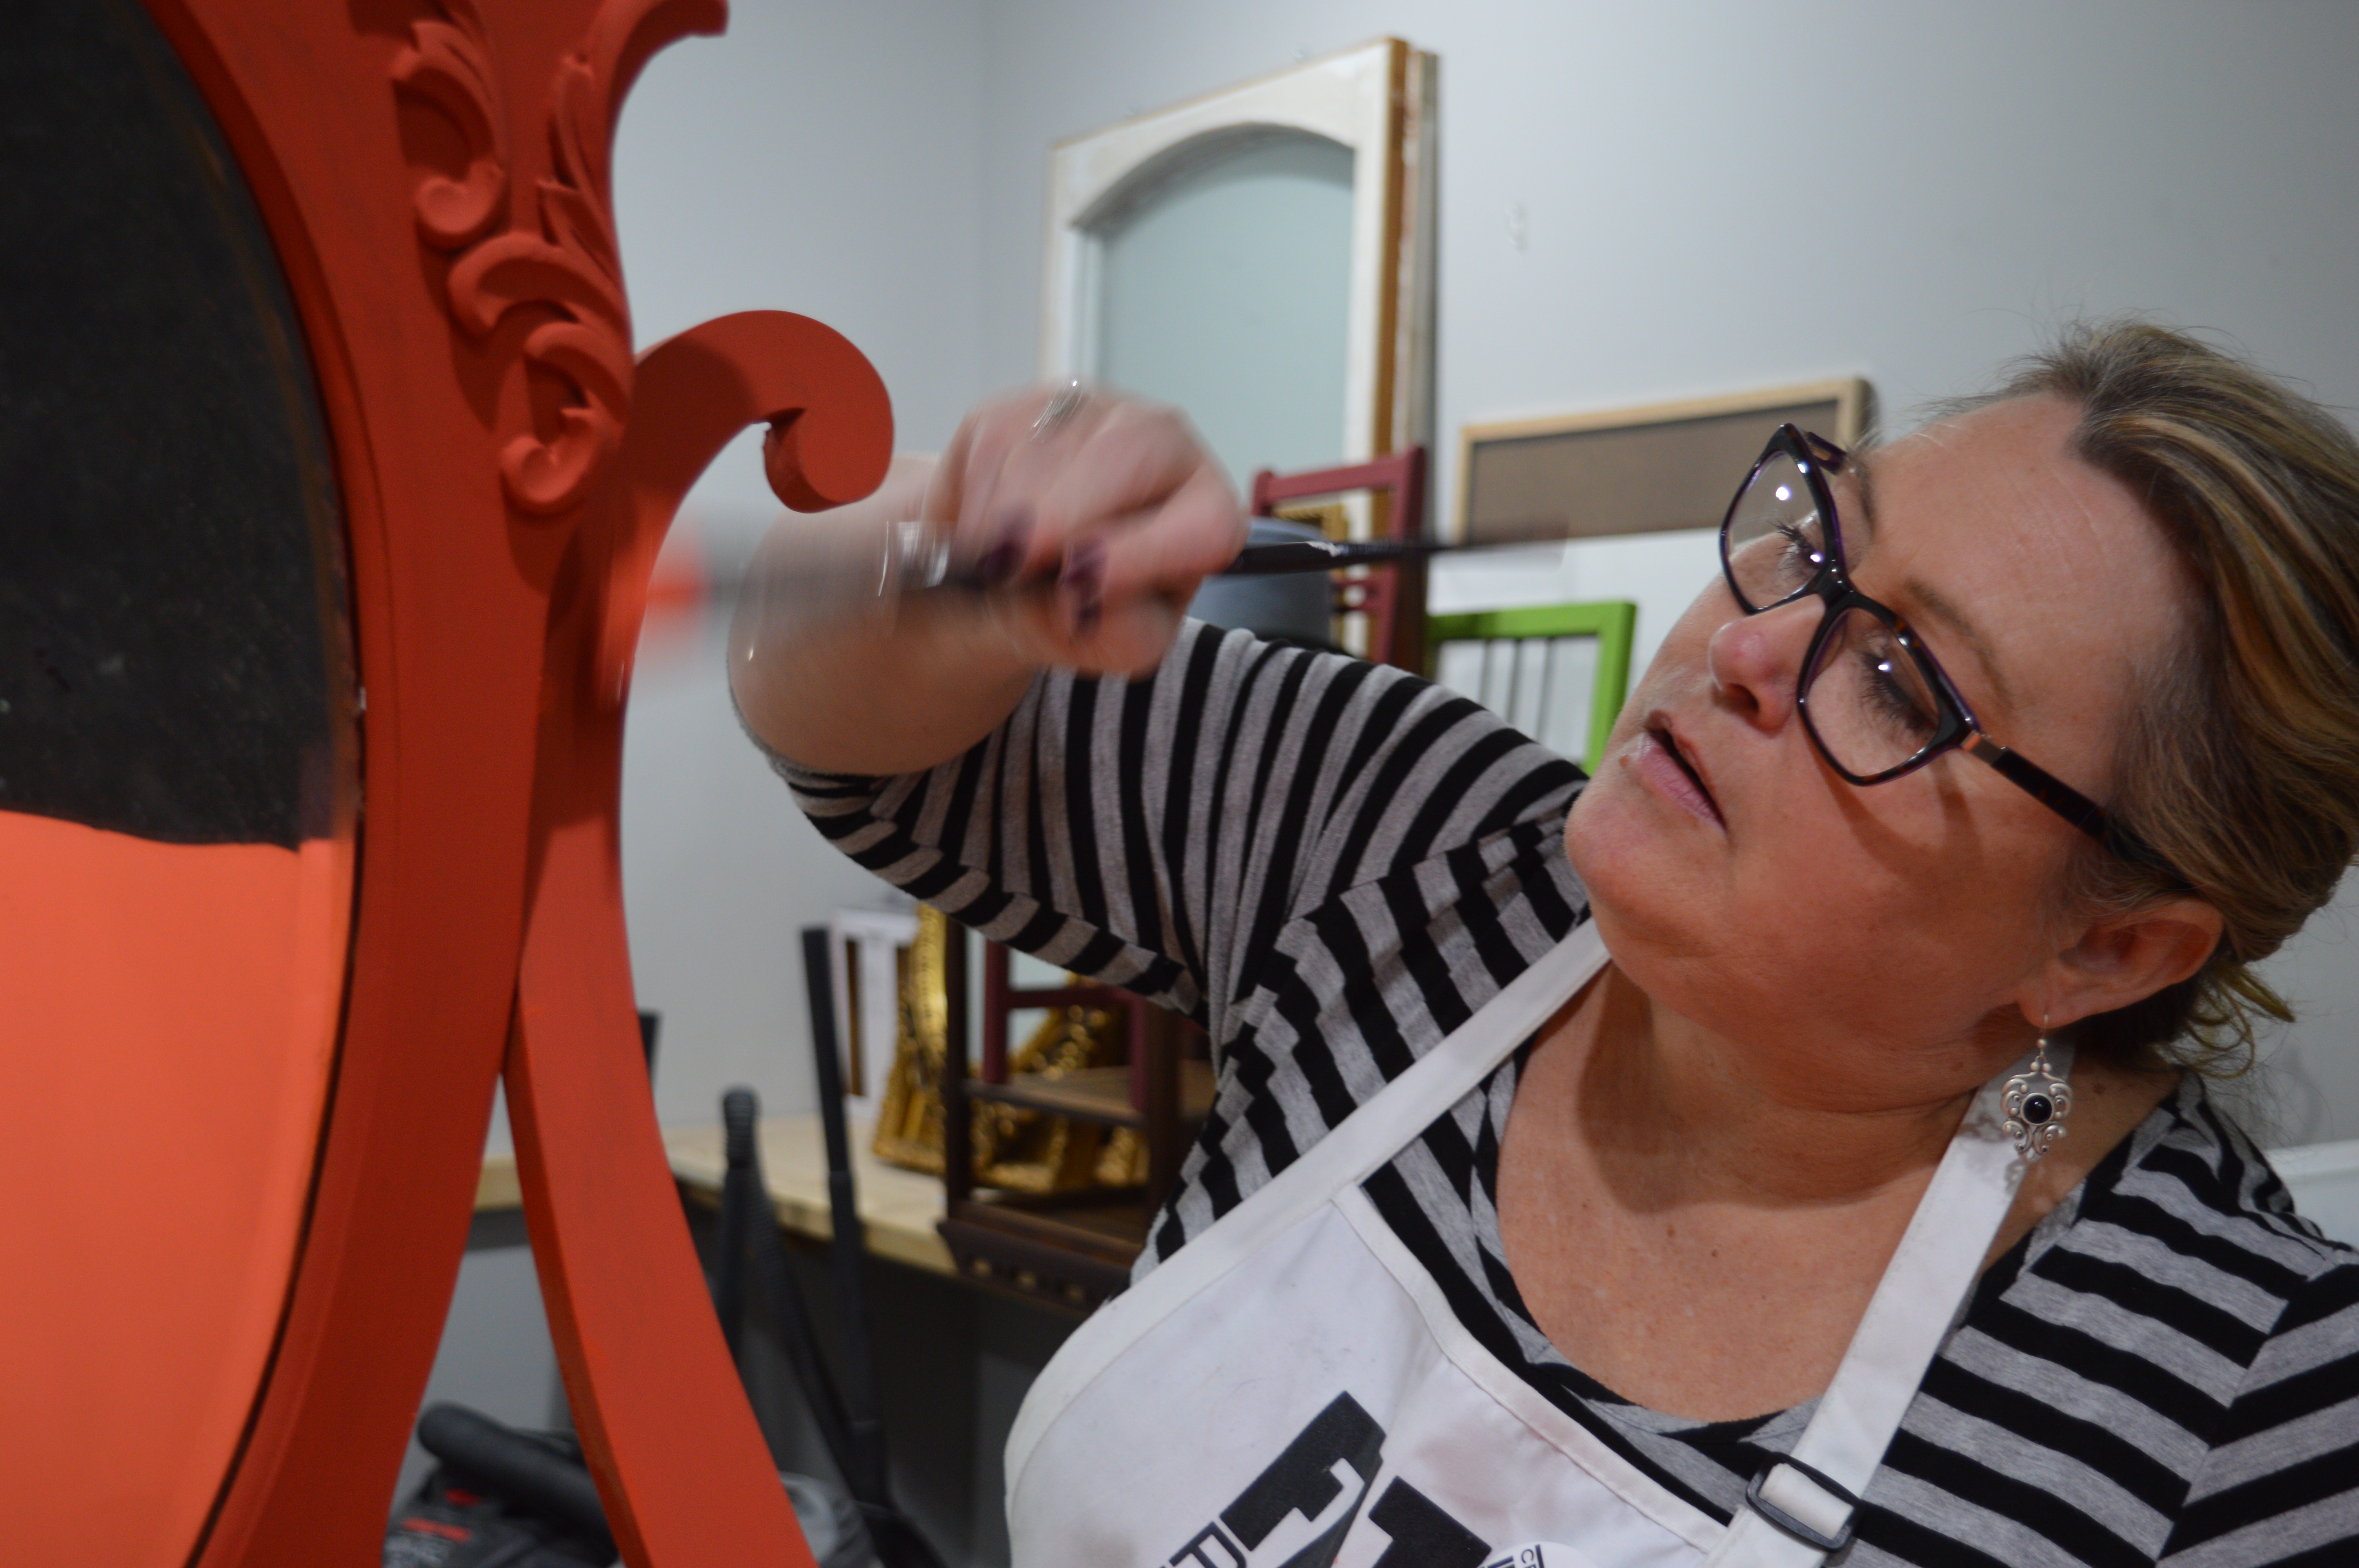
Victoria prefers synthetic brushes for most of her diy projects – the sash style gets into hard-to-reach places and usually leaves fewer brush strokes behind. For the applique on the mirror and brass around the locks, she turned to a couple of specialty brushes she picked up at the local art store.
We’ll talk about the different kinds of brushes, care and application techniques in a future blog post. For now if you need information, please refer to this super helpful Brush Care and Use Guide by Lacey at Feathering My Nest.

FAT Paint is extremely easy to apply and normally covers in just a couple of coats. Two coats for the dresser amounted to just shy of a pint – perfect for seamless coverage.
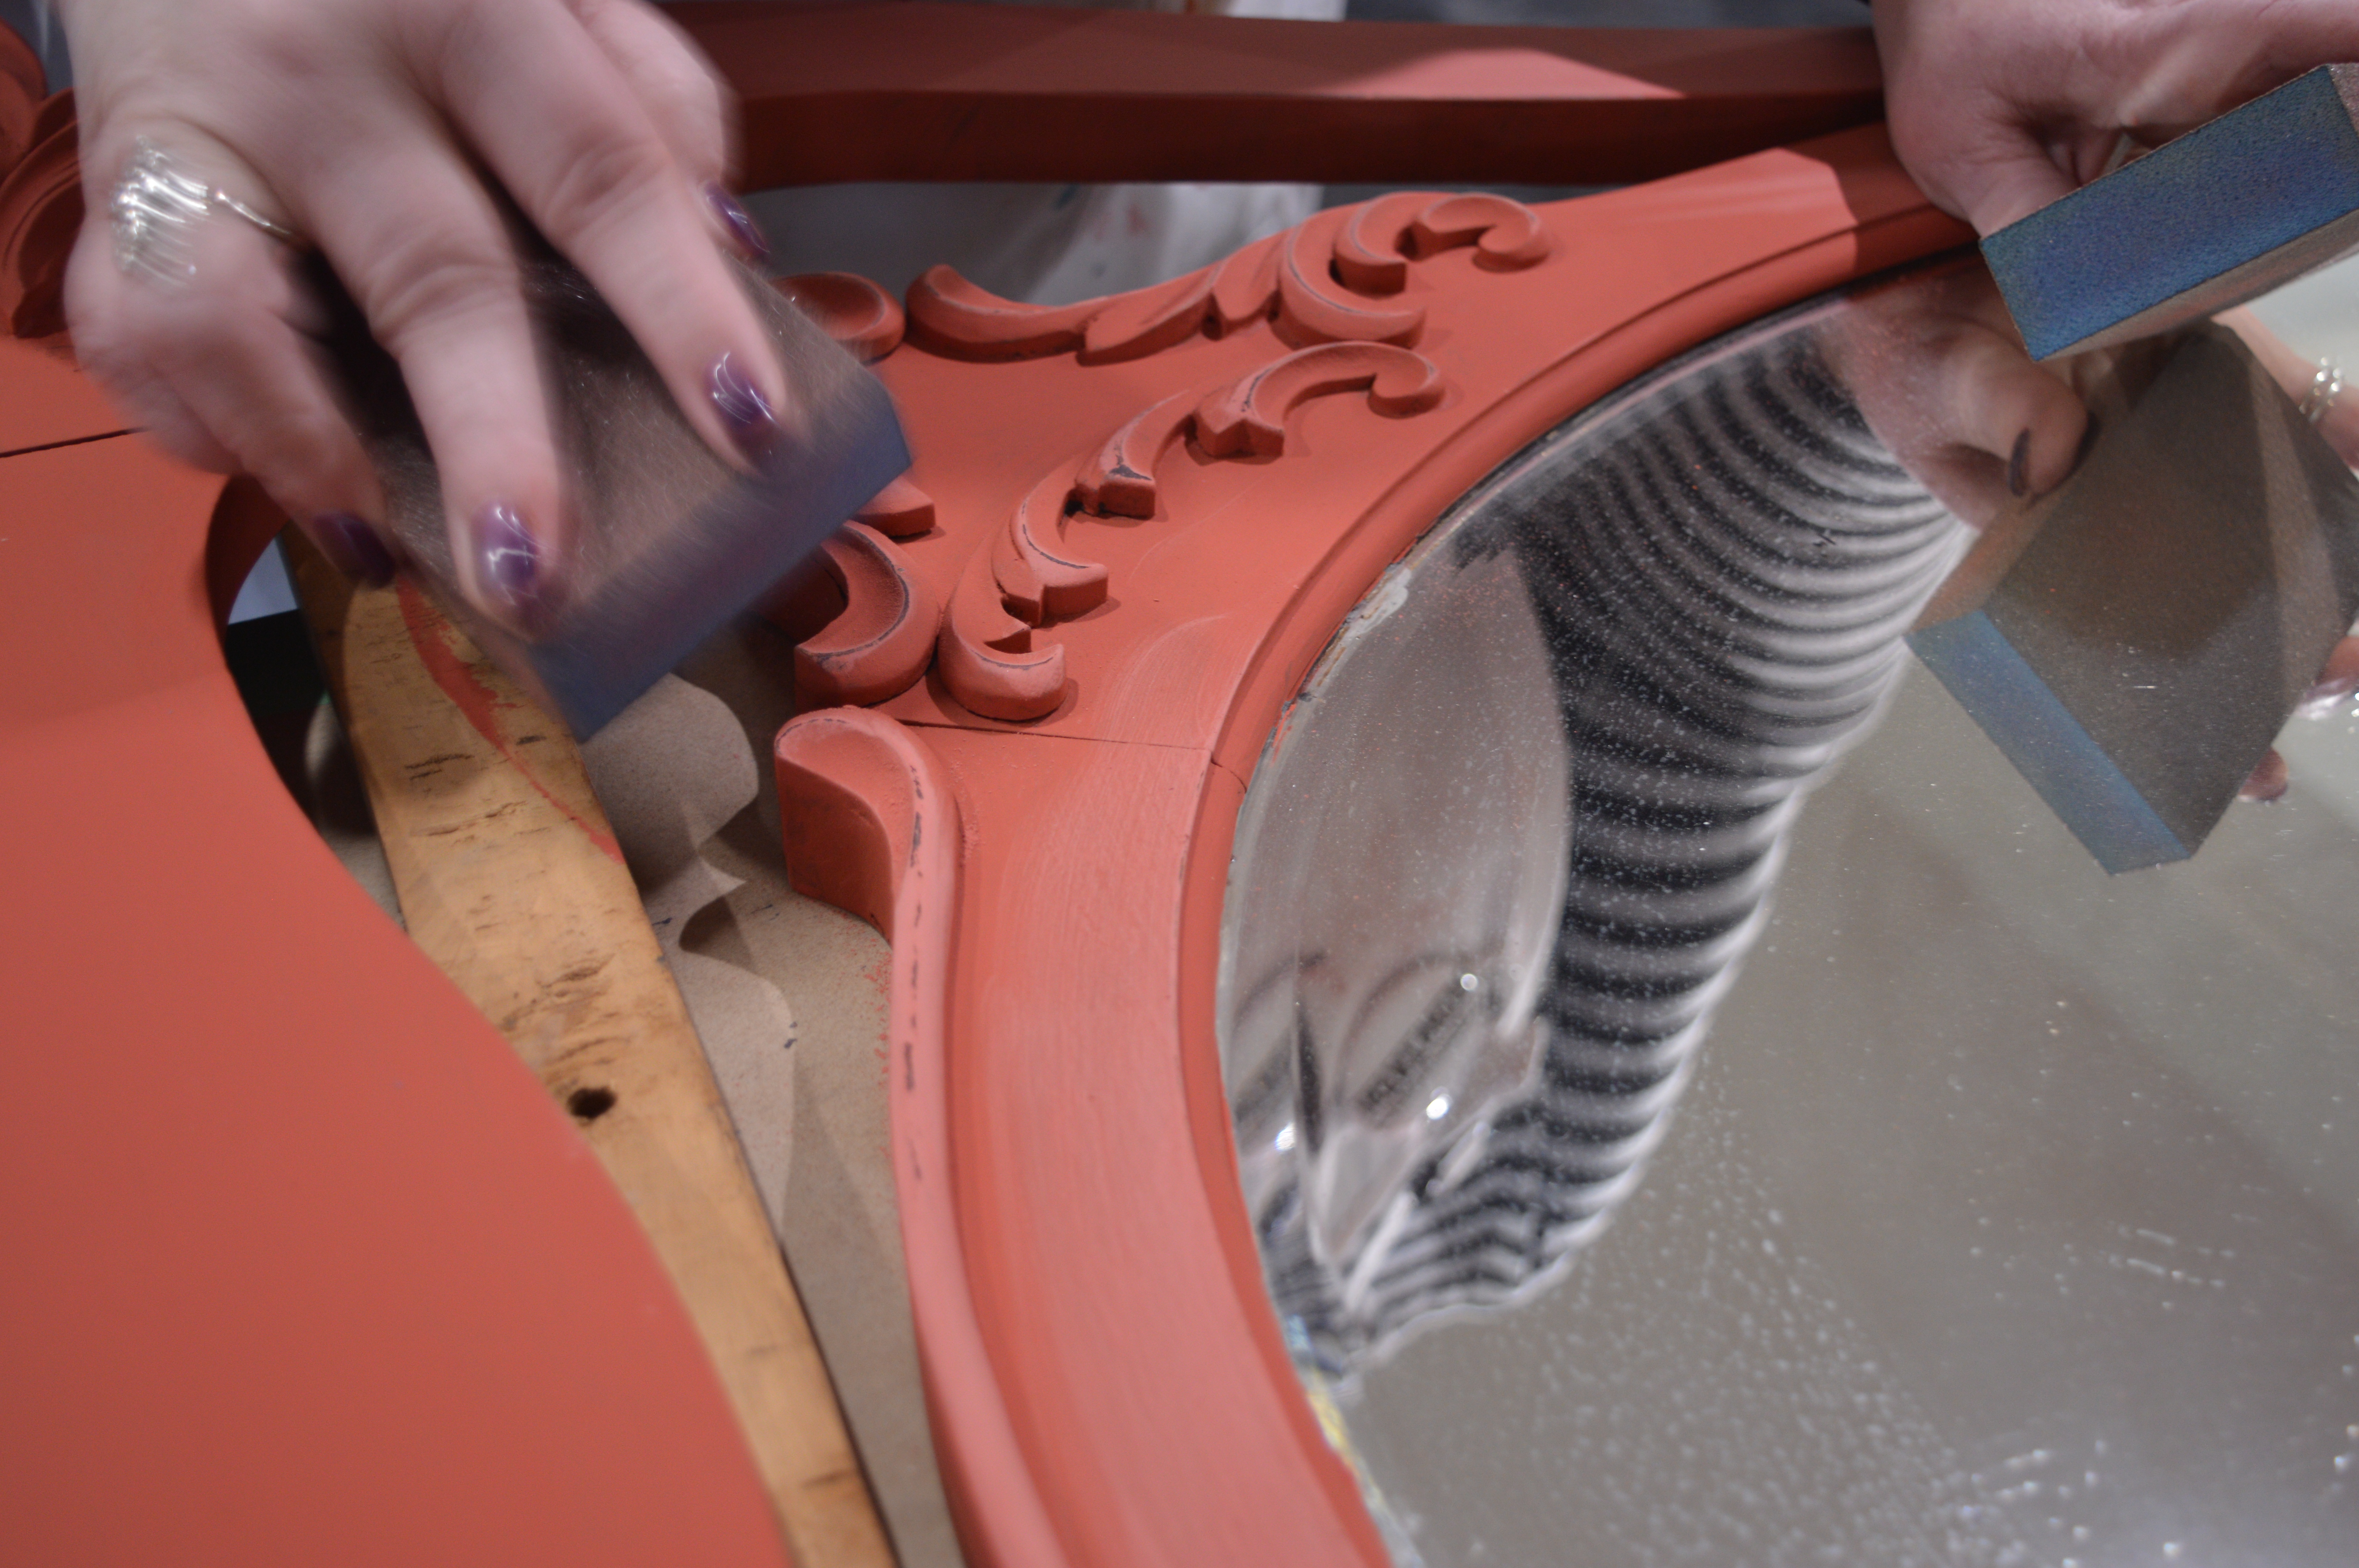
Once the second coat was completely dry (approx. 25 minutes), Victoria sanded and distressed the piece, then applied Natural FAT Wax to seal and protect the surface and enhance the colour of the paint.
Again, we’ll discuss best practices for sanding, waxing and buffing in a future blog post. Check out the How-To Guide on our website in the meantime if you need more info. Our friend and FAT Paint retailer Wendy from Front Porch Mercantile has also prepared this Easy FAT Paint Tutorial.
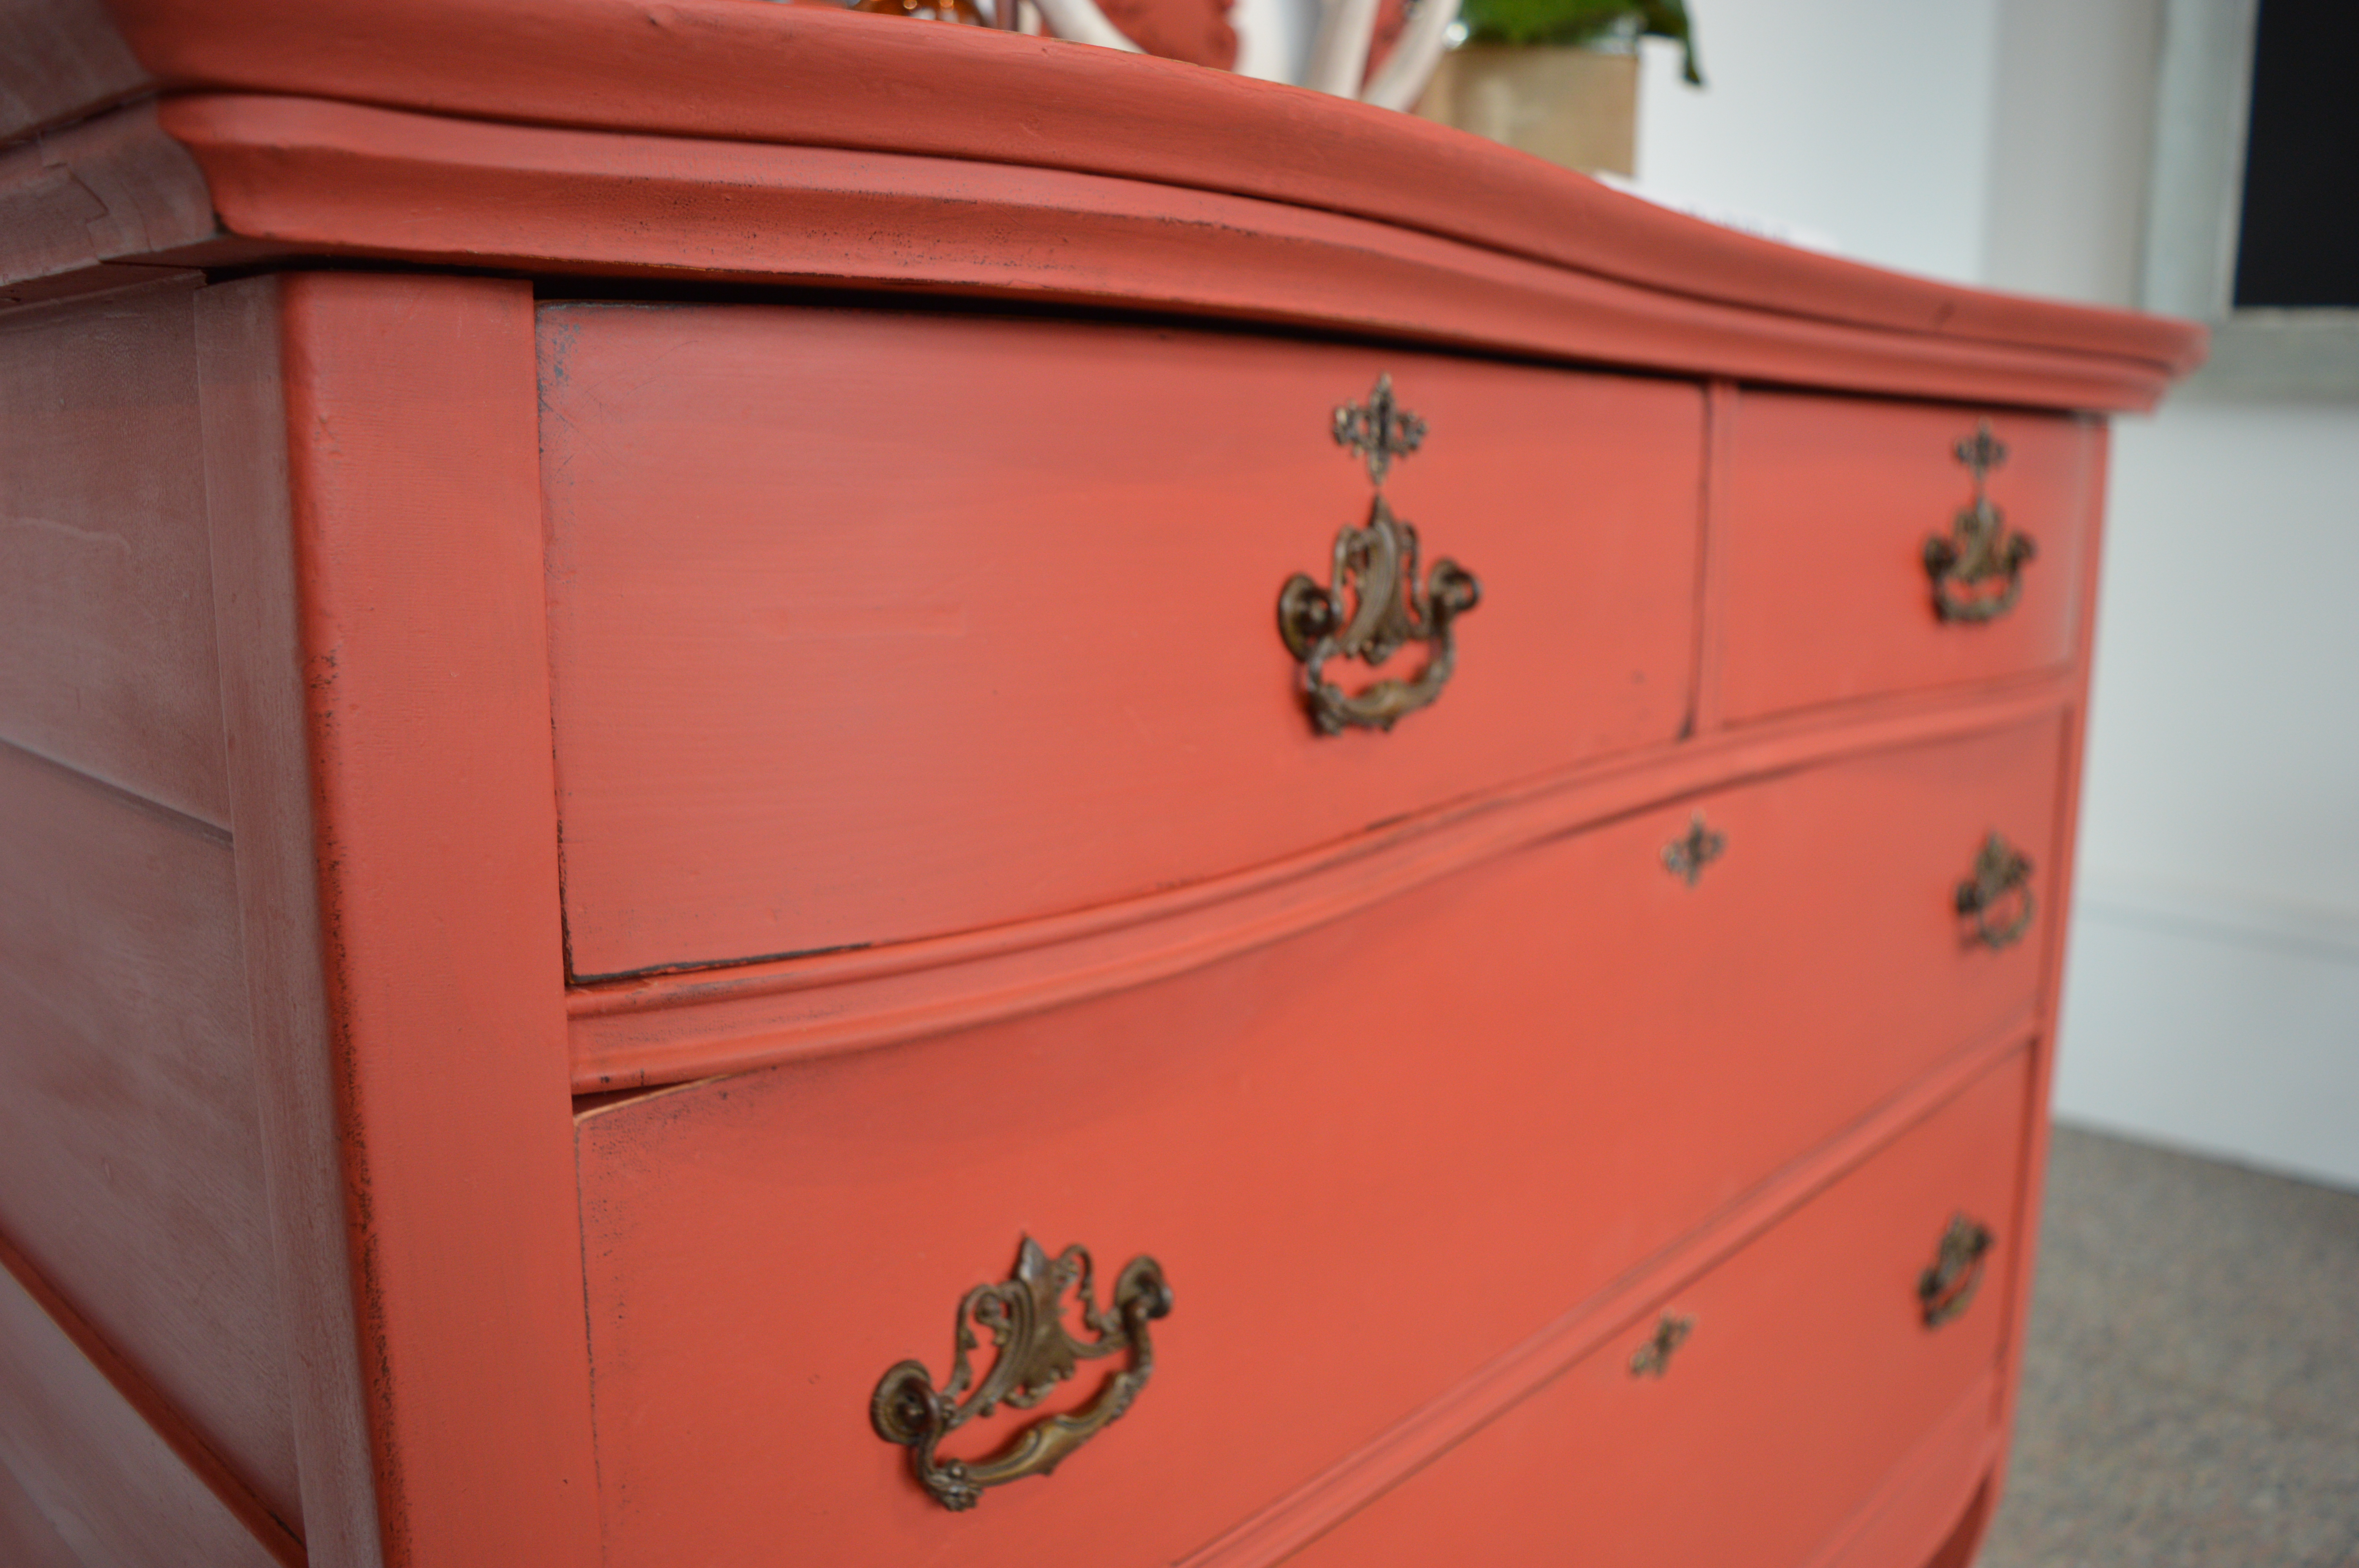
Like shoes to an outfit, dressing the inside the drawers is an essential finishing touch.
Normally, Victoria would paint them a complementary colour – Peacock or Parchment would have made a huge impact next to the Autumn. However, she had this beautiful Victorian-like unpasted wallpaper lying around.
It worked perfectly.
First, she measured out the paper inside the drawer to see where it needed to be cut, then sealed the sides with CLEAR Top Coat to mask any odors the old wood may leave behind. Using a spray adhesive, she sprayed the drawer rather than the paper to make it easier to apply, paying special attention to the corners to avoid the paper from lifting.

Just a couple of small, final steps and the transformation was complete: adhere the hardware and the mirror and give the piece a good buff.
Viola!
The final results of our latest FAT Paint project are nothing short of FATtastic, if we do say so ourselves.
FAT Paint Project Details:
- Colour: Autumn
- 16oz pint
- Unpasted wallpaper from Rona
- Finish: Natural FAT Wax
Drop us a line
You must be logged in to post a comment.
Post Comments 0